


Looking for a suitable motor?


小编
Published2025-10-15
The Mini Servo Motor and Its Role in Arduino Projects
Mini servo motors have emerged as one of the most popular components in the world of Arduino-based projects, and for good reason. These tiny yet powerful motors bring precision, versatility, and creativity to DIY electronics, robotics, and automation. If you're an electronics enthusiast, hobbyist, or student interested in bringing your ideas to life, integrating mini servo motors with an Arduino board can help you achieve impressive results. In this first part, we'll delve into the basics of mini servo motors, how they function, and the unique features that make them indispensable in Arduino projects.
What Is a Mini Servo Motor?
A mini servo motor is a small-sized actuator commonly used in applications that require precise control of angular position. Unlike regular DC motors, which continuously rotate, a servo motor can rotate within a specific range, typically from 0° to 180°, depending on the type of servo. The "mini" in mini servo refers to its compact size and low power consumption, making it a perfect fit for small projects, especially when space is limited.
The key advantage of using mini servo motors in Arduino projects is their ability to provide exact positioning. This makes them ideal for applications like steering mechanisms, robotic arms, camera pans, and even automated doors. Since they operate based on a feedback loop, servo motors can adjust their position and hold it steady with remarkable precision.
How Does a Mini Servo Motor Work?
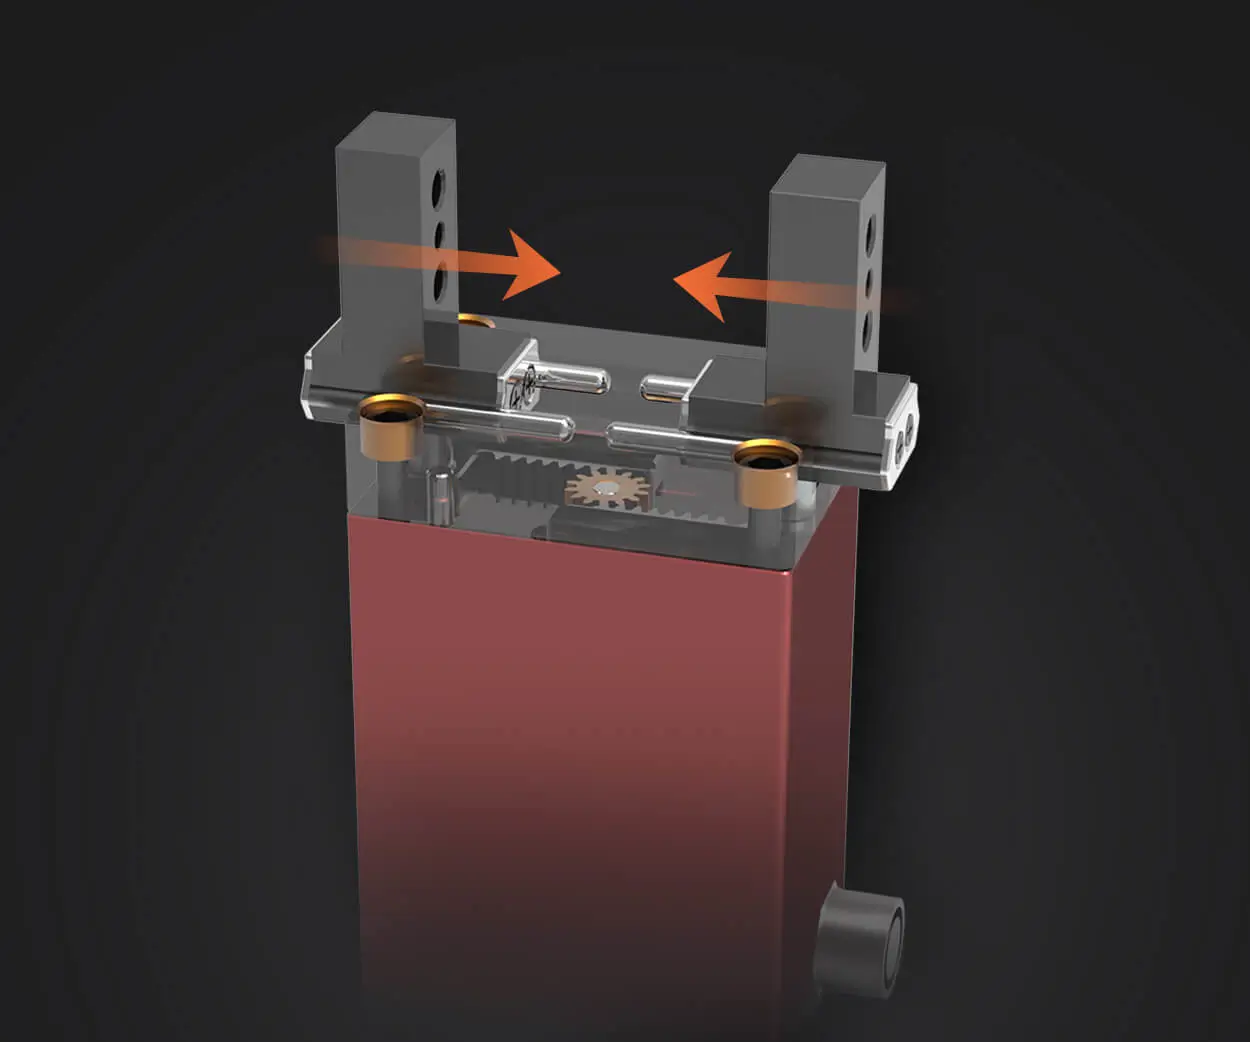
A mini servo motor consists of several key components:
Motor: The core of the servo is a small DC motor that generates rotational movement.
Gears: A series of gears attached to the motor help amplify the rotation and allow for precise control of the motor’s output.
Potentiometer (or Feedback System): A built-in potentiometer provides feedback to the servo, allowing it to adjust its position based on the signal it receives.
The motor receives input signals that dictate the position it should move to. These signals are typically Pulse Width Modulation (PWM) signals sent from an Arduino. By adjusting the width of the pulse, the servo can rotate to a specific angle, ranging from 0° to 180° or even beyond depending on the model.
Servo Motors vs. DC Motors: Why Choose a Mini Servo Motor?
In comparison to regular DC motors, mini servo motors offer several distinct advantages that make them more suitable for specific tasks:
Precise Control: Unlike DC motors that only provide continuous rotation, mini servos can be controlled to rotate to a specific angle, giving you better control over movement.
Torque: Although mini servos may not offer as much torque as larger servos, their small size means they are highly efficient and are perfect for lightweight projects.
Ease of Control: Mini servos require just a PWM signal to operate, simplifying the programming process when working with Arduino.
Compact Size: The mini size allows you to integrate servos into projects where space is a concern.
Applications of Mini Servo Motors in Arduino Projects
Mini servo motors are incredibly versatile and can be used in a wide range of projects. Here are some common applications where these motors shine:
Robotics: In robotics, mini servos are often used to control joint movements, such as the rotation of a robotic arm or the steering of a robot.
Camera Mounts: By attaching a mini servo motor to a camera mount, you can create projects that automatically pan or tilt the camera, ideal for photography or surveillance robots.
Automated Systems: Mini servos are frequently used in automation systems like automatic doors, locks, and windows that require precise and controlled movement.
RC Vehicles: Many remote-controlled vehicles, such as cars, boats, and aircraft, use mini servos to control various functions, including steering and rudder control.
Understanding the basics of how mini servo motors work and their advantages will give you the foundation needed to incorporate them into your own Arduino projects.
Programming and Practical Tips for Working with Mini Servo Motors and Arduino
Now that you understand the basics of mini servo motors and their applications, it’s time to explore how you can incorporate them into your Arduino projects. In this part, we’ll walk through the essential steps of setting up a mini servo motor with Arduino, including wiring, programming, and some practical tips to enhance your project.
Setting Up a Mini Servo Motor with Arduino
To get started, you’ll need a few basic components:
Mini Servo Motor: Choose a mini servo that meets your project’s requirements. Popular models include the SG90 and the MG90S, which are both affordable and widely available.
Arduino Board: An Arduino Uno is a great choice for beginners, but any Arduino board will work.
Breadboard and Wires: To make your connections more organized.
External Power Supply (optional): If your servo draws too much current, it may be necessary to use an external power source instead of relying on the Arduino’s 5V pin.
Wiring the Mini Servo to Arduino
The wiring process is simple:
Connect the Servo’s Power Pin: The red wire (usually) from the servo should be connected to the 5V pin on your Arduino.
Ground Connection: The black or brown wire from the servo goes to the GND (ground) pin on the Arduino.
Signal Pin: The yellow or orange wire is the signal wire. Connect it to any PWM-enabled pin on the Arduino, typically pin 9 or 10.
Writing the Code to Control the Servo
Once your servo is connected, you’ll need to program the Arduino to control the servo's movement. Below is a basic code example using the Arduino Servo library, which simplifies the control process.
Servo myServo; // Create a servo object
myServo.attach(9); // Attach the servo to pin 9
myServo.write(0); // Move the servo to 0 degrees
delay(1000); // Wait for 1 second
myServo.write(90); // Move the servo to 90 degrees
delay(1000); // Wait for 1 second
myServo.write(180); // Move the servo to 180 degrees
delay(1000); // Wait for 1 second
In this example, the servo moves from 0° to 90° to 180° in intervals. You can change these angles or add more commands to make your servo perform different actions.
Practical Tips for Working with Mini Servo Motors
Here are some tips to help you get the best performance from your mini servo motors:
Avoid Overloading the Servo: Mini servos are not designed to handle heavy loads. Keep the weight they need to move light to prevent damaging the motor.
Power Considerations: Servos draw a significant amount of current. If your Arduino board can’t supply enough current through the 5V pin, consider using an external power source (like a separate 5V power supply).
Fine-tune the PWM Signal: Adjust the timing of the PWM signal to control the speed of the servo's movement. You can experiment with different delay times to achieve smooth transitions.
Use Multiple Servos: Arduino can control multiple servos simultaneously, but make sure the power supply is adequate. You may need to use a separate power source for each servo.
Conclusion: Unlock the Full Potential of Mini Servo Motors in Arduino
Mini servo motors offer exceptional control and flexibility in Arduino projects, making them an ideal choice for anyone looking to add movement and precision to their designs. Whether you're building a robotic arm, creating an automated system, or simply experimenting with new ideas, mini servos open up endless possibilities. With the right setup and programming, you can integrate these motors into your projects seamlessly and unlock their full potential.
Established in 2005, Kpower has been dedicated to a professional compact motion unit manufacturer, headquartered in Dongguan, Guangdong Province, China.
Update:2025-10-15
Contact Kpower's product specialist to recommend suitable motor or gearbox for your product.


