Unlocking Precision and Creativity with Servo Motor Control Code
In the realm of robotics, automation, and embedded systems, servo motors stand out as a cornerstone for achieving precise, controlled movement. Whether you’re designing a robotic arm, a remote-controlled vehicle, or a home automation device, understanding how to control servo motors with code unlocks a universe of possibilities.

But what exactly is a servo motor? At its core, a servo motor is a compact device bundled with a motor, a gear train, a sensor (usually a potentiometer), and a control circuit. This integrated system allows for accurate positioning by adjusting the motor's rotation based on input signals. Unlike regular motors, which spin freely, servo motors respond to control signals with specific position commands, making them invaluable for tasks requiring precision.
The Basics of Servo Motor Control
Controlling a servo motor involves sending it a PWM (Pulse Width Modulation) signal—essentially a series of pulses with varying width—that the motor interprets as a position command. Typically, a servo expects a pulse every 20 milliseconds, with a high pulse width ranging from 1 to 2 milliseconds.
A pulse width of about 1 ms generally corresponds to the 0-degree position. A pulse of 1.5 ms commands the midpoint (such as 90 degrees). A pulse of 2 ms moves the servo to its maximum limit (around 180 degrees).
This simple interface makes it straightforward to interface with microcontrollers like Arduino, Raspberry Pi, or other embedded systems.
Diving into Servo Control Code
When starting out, Arduino is nearly synonymous with beginner-friendly hardware for servo control. The Arduino IDE offers a built-in library called Servo.h that abstracts much of the complexity involved in PWM generation and position control.
Here's a simple example to demonstrate how to control a servo using Arduino:
#include Servo myServo; void setup() { myServo.attach(9); // Attach servo to pin 9 } void loop() { for (int pos = 0; pos <= 180; pos += 1) { // Goes from 0 to 180 degrees myServo.write(pos); // Tell servo to go to position in variable 'pos' delay(15); // Waits 15ms for the servo to reach the position } for (int pos = 180; pos >= 0; pos -= 1) { // Goes back from 180 to 0 degrees myServo.write(pos); delay(15); } }
This code creates a sweeping motion from 0 to 180 degrees and back, showcasing a fundamental pattern for servo control.
Beyond Arduino: Using PWM Signals
While Arduino simplifies servo management, understanding the underlying PWM signals is insightful, especially for advanced applications. Microcontrollers like STM32, ESP32, or even custom embedded boards can generate PWM signals via hardware timers.
For instance, in an embedded C environment, creating a PWM signal involves configuring timer registers directly, setting the duty cycle (pulse width) accordingly, and ensuring the signal periodically repeats with a 20 ms cycle. This low-level control grants immense flexibility, such as synchronizing multiple servos or integrating with complex sensing feedback.
Software Libraries and Hardware Interfacing
Many microcontroller platforms have libraries or APIs designed to streamline servo control:
Arduino: Servo.h STM32: HAL libraries or third-party libraries like VarSpeedServo Raspberry Pi: Using GPIO PWM via the RPi.GPIO library or pigpio ESP32: Native PWM functions via LEDC API
Choosing the right tool depends on your hardware and project requirements. For projects involving multiple servos or complex motion sequences, developing a robust control code that manages timing, synchronization, and feedback becomes critical.
Advanced Techniques and Features
Once you grasp the basics, it's exciting to explore more sophisticated features like:
Feedback control: Using sensors (like encoders) for closed-loop position control. Speed control: Adjusting the rate of movement dynamically. Multi-servo coordination: Synchronizing multiple servos for complex mechanisms. Limit switch integration: Ensuring servos stay within safe movement bounds. Custom PWM signals: Generating non-standard PWM signals for specialized servos.
Each of these techniques involves writing more elaborate code, often integrating sensor reading, mathematical control algorithms, and real-time adjustments.
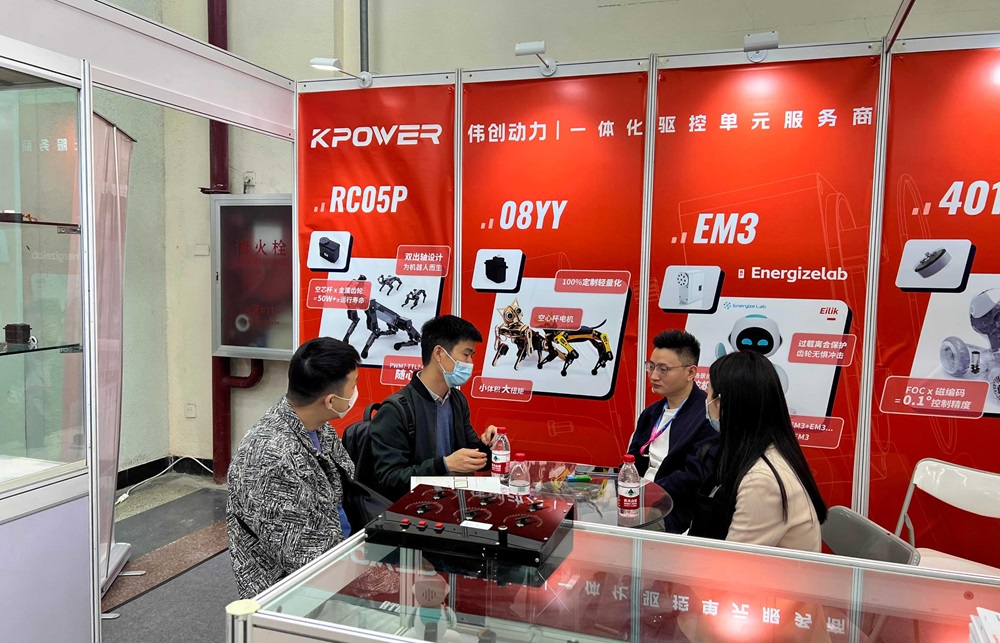
Leveraging innovations in modular drive technology, Kpower integrates high-performance motors, precision reducers, and multi-protocol control systems to provide efficient and customized smart drive system solutions.


