


Looking for a suitable motor?


小编
Published2025-10-15
Understanding Servo Motors and Their Integration with Arduino
Servo motors are a cornerstone of modern robotics, offering precise control over angular movement. They are widely used in applications such as robotics, camera systems, and automated machinery. If you’re looking to integrate a servo motor into your project, using an Arduino microcontroller is an excellent choice. Arduino provides a simple, user-friendly platform for controlling servo motors, whether you're building a robotic arm or an automated door lock.
A servo motor is a small, powerful, and versatile motor that allows precise control over angular positions. Unlike regular motors that spin continuously, servo motors can rotate to a specific angle and hold that position with great accuracy. This makes them ideal for applications requiring accurate movement, such as steering mechanisms in remote-controlled cars, pan-and-tilt camera mounts, or robotic arms.
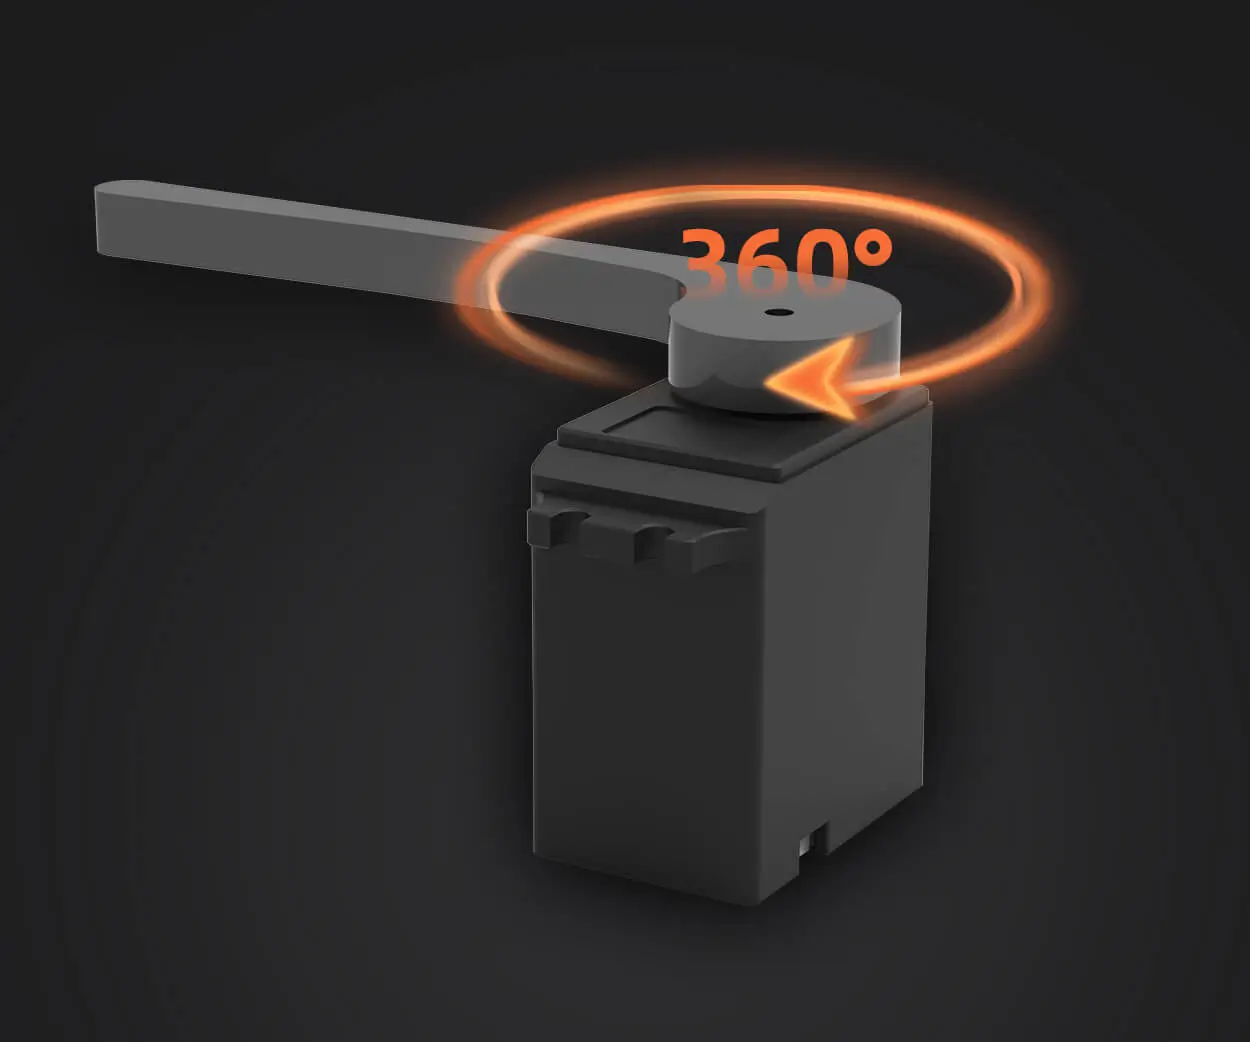
Servos typically come in two main types: standard servos and continuous servos. Standard servos allow for precise positioning of the shaft between 0° and 180°, while continuous servos can rotate continuously in either direction but lack the position feedback mechanism found in standard servos.
At the heart of a servo motor is a feedback mechanism, which ensures the motor reaches and maintains its target position. This mechanism involves a potentiometer that detects the position of the output shaft, feeding this data back to the control circuit. The controller compares the desired position with the actual position and adjusts the motor’s speed and direction accordingly.
When you send a control signal (typically a Pulse Width Modulation or PWM signal) to a servo, it translates the signal’s width into an angle. For example, a 1.5 ms pulse could move the servo to the 90° position, while a 1 ms pulse might move it to 0° and a 2 ms pulse might set it to 180°.
Arduino and Servo Motor Integration
Arduino is an open-source platform designed to simplify the process of building electronic projects. It’s particularly useful for controlling components like motors, sensors, and LEDs. By using Arduino’s Servo library, you can easily send PWM signals to a servo motor and control its position with minimal coding. Let’s walk through how to get started with an Arduino and servo motor setup.
Getting Started with Arduino and Servo Motors
To integrate a servo motor with Arduino, you’ll need:
An Arduino board (e.g., Arduino Uno)
A servo motor (standard or continuous)
A breadboard (optional, for easier wiring)
A power supply for the servo (if the servo requires more current than the Arduino can supply)
A USB cable to connect Arduino to your computer
Wiring the Servo Motor to Arduino
Connect the Servo’s Power Line: Most servo motors have three wires: power, ground, and signal. Connect the power wire (usually red) to the 5V pin on the Arduino, and the ground wire (usually black or brown) to the GND pin.
Connect the Signal Line: The signal wire (usually yellow or orange) controls the position of the servo. Connect this wire to any of the digital I/O pins on the Arduino, but let’s use pin 9 for this example.
To control a servo motor with Arduino, you need to use the Servo library. Here’s a simple code to move the servo to 0°, 90°, and 180°.
#include // Include the Servo library
Servo myServo; // Create a Servo object
myServo.attach(9); // Attach the servo signal wire to pin 9
myServo.write(0); // Move servo to 0°
delay(1000); // Wait for 1 second
myServo.write(90); // Move servo to 90°
delay(1000); // Wait for 1 second
myServo.write(180); // Move servo to 180°
delay(1000); // Wait for 1 second
In this code, the attach() function links the servo to the specified pin (pin 9), and the write() function sets the angle of the servo. The servo will rotate to 0°, then to 90°, and finally to 180° with a 1-second delay in between each movement.
Practical Applications of Servo Motors in Arduino Projects
Servo motors are fundamental components in robotics, especially in applications where precise movement is critical. One of the most popular uses of servo motors in robotics is in robotic arms. A robotic arm typically consists of several servos, each controlling a joint, enabling the arm to perform complex tasks like grabbing, lifting, or assembling components.
For instance, in a simple robotic arm, you may use three servos to control the movement of the base (rotating the arm left and right), the shoulder (raising and lowering), and the wrist (opening and closing the gripper). Arduino allows you to control these servos simultaneously to create smooth and coordinated movement.
Automating Your Home with Servo Motors
Servo motors are also great for automating tasks around the home. One of the easiest projects is to automate a door lock or window opening system. With an Arduino, a servo motor can be used to turn a locking mechanism or open a window blind based on a sensor’s input, such as a light sensor or a temperature sensor.
Here’s an example: You could use a servo motor to open or close a window blind automatically when the sunlight intensity exceeds a certain threshold. This would involve programming the Arduino to read from a light sensor and then controlling the servo to adjust the blind.
Camera Pan and Tilt Systems
Another practical use of servo motors is in camera pan-and-tilt systems. Servo motors allow for precise control of the camera’s horizontal (pan) and vertical (tilt) angles. This is useful in applications like surveillance, remote monitoring, and even aerial photography with drones.
Using an Arduino, you can control the servos to pan and tilt the camera based on the input from a joystick or automated program. By combining two servos—one for pan and another for tilt—you can create a versatile camera system that can follow moving objects or provide detailed coverage of a large area.
Creating a Simple Mechanical Linkage
Servo motors can also be used to create mechanical linkages, which are systems of rigid components designed to transmit motion. A good example is the linkage system used in model airplanes or miniature car suspensions. With precise control over each linkage's movement, you can simulate realistic mechanical behaviors.
Arduino makes it easy to control the servo motors that drive these linkages, creating more interactive and lifelike machines. Whether you’re working on a project for fun or a professional mechanical design, servos provide the necessary precision and flexibility.
Challenges and Considerations
While servo motors are highly versatile, there are a few things to consider when using them in Arduino projects. First, be aware that servos require a significant amount of current, especially when under load. If your servo is not getting enough power, it may fail to operate correctly. In such cases, using an external power supply for the servo motor is a good idea.
Another consideration is the servo’s range of motion. Most standard servos offer a range of 0° to 180°, but there are some servos designed for extended ranges. Additionally, continuous rotation servos don’t have positional feedback, meaning they are better suited for tasks like driving wheels on a robot rather than precise positioning.
Lastly, be sure to consider the servo’s torque rating, as this will determine how much weight or force the servo can handle. Using a servo motor that is too weak for your application could lead to failure or damage over time.
Arduino-based projects that use servo motors open up a world of possibilities, from building intricate robots to automating everyday tasks around the house. The combination of Arduino’s ease of use and the precision of servo motors allows anyone—from hobbyists to engineers—to create innovative systems with remarkable accuracy and reliability.
By understanding the basics of servo motor control and experimenting with different setups, you’ll soon be able to incorporate servo motors into your own Arduino projects with ease. Whether you’re building a robotic arm, a home automation system, or a camera system, servo motors are a reliable, efficient, and exciting component to work with!
Established in 2005, Kpower has been dedicated to a professional compact motion unit manufacturer, headquartered in Dongguan, Guangdong Province, China.
Update:2025-10-15
Contact Kpower's product specialist to recommend suitable motor or gearbox for your product.


