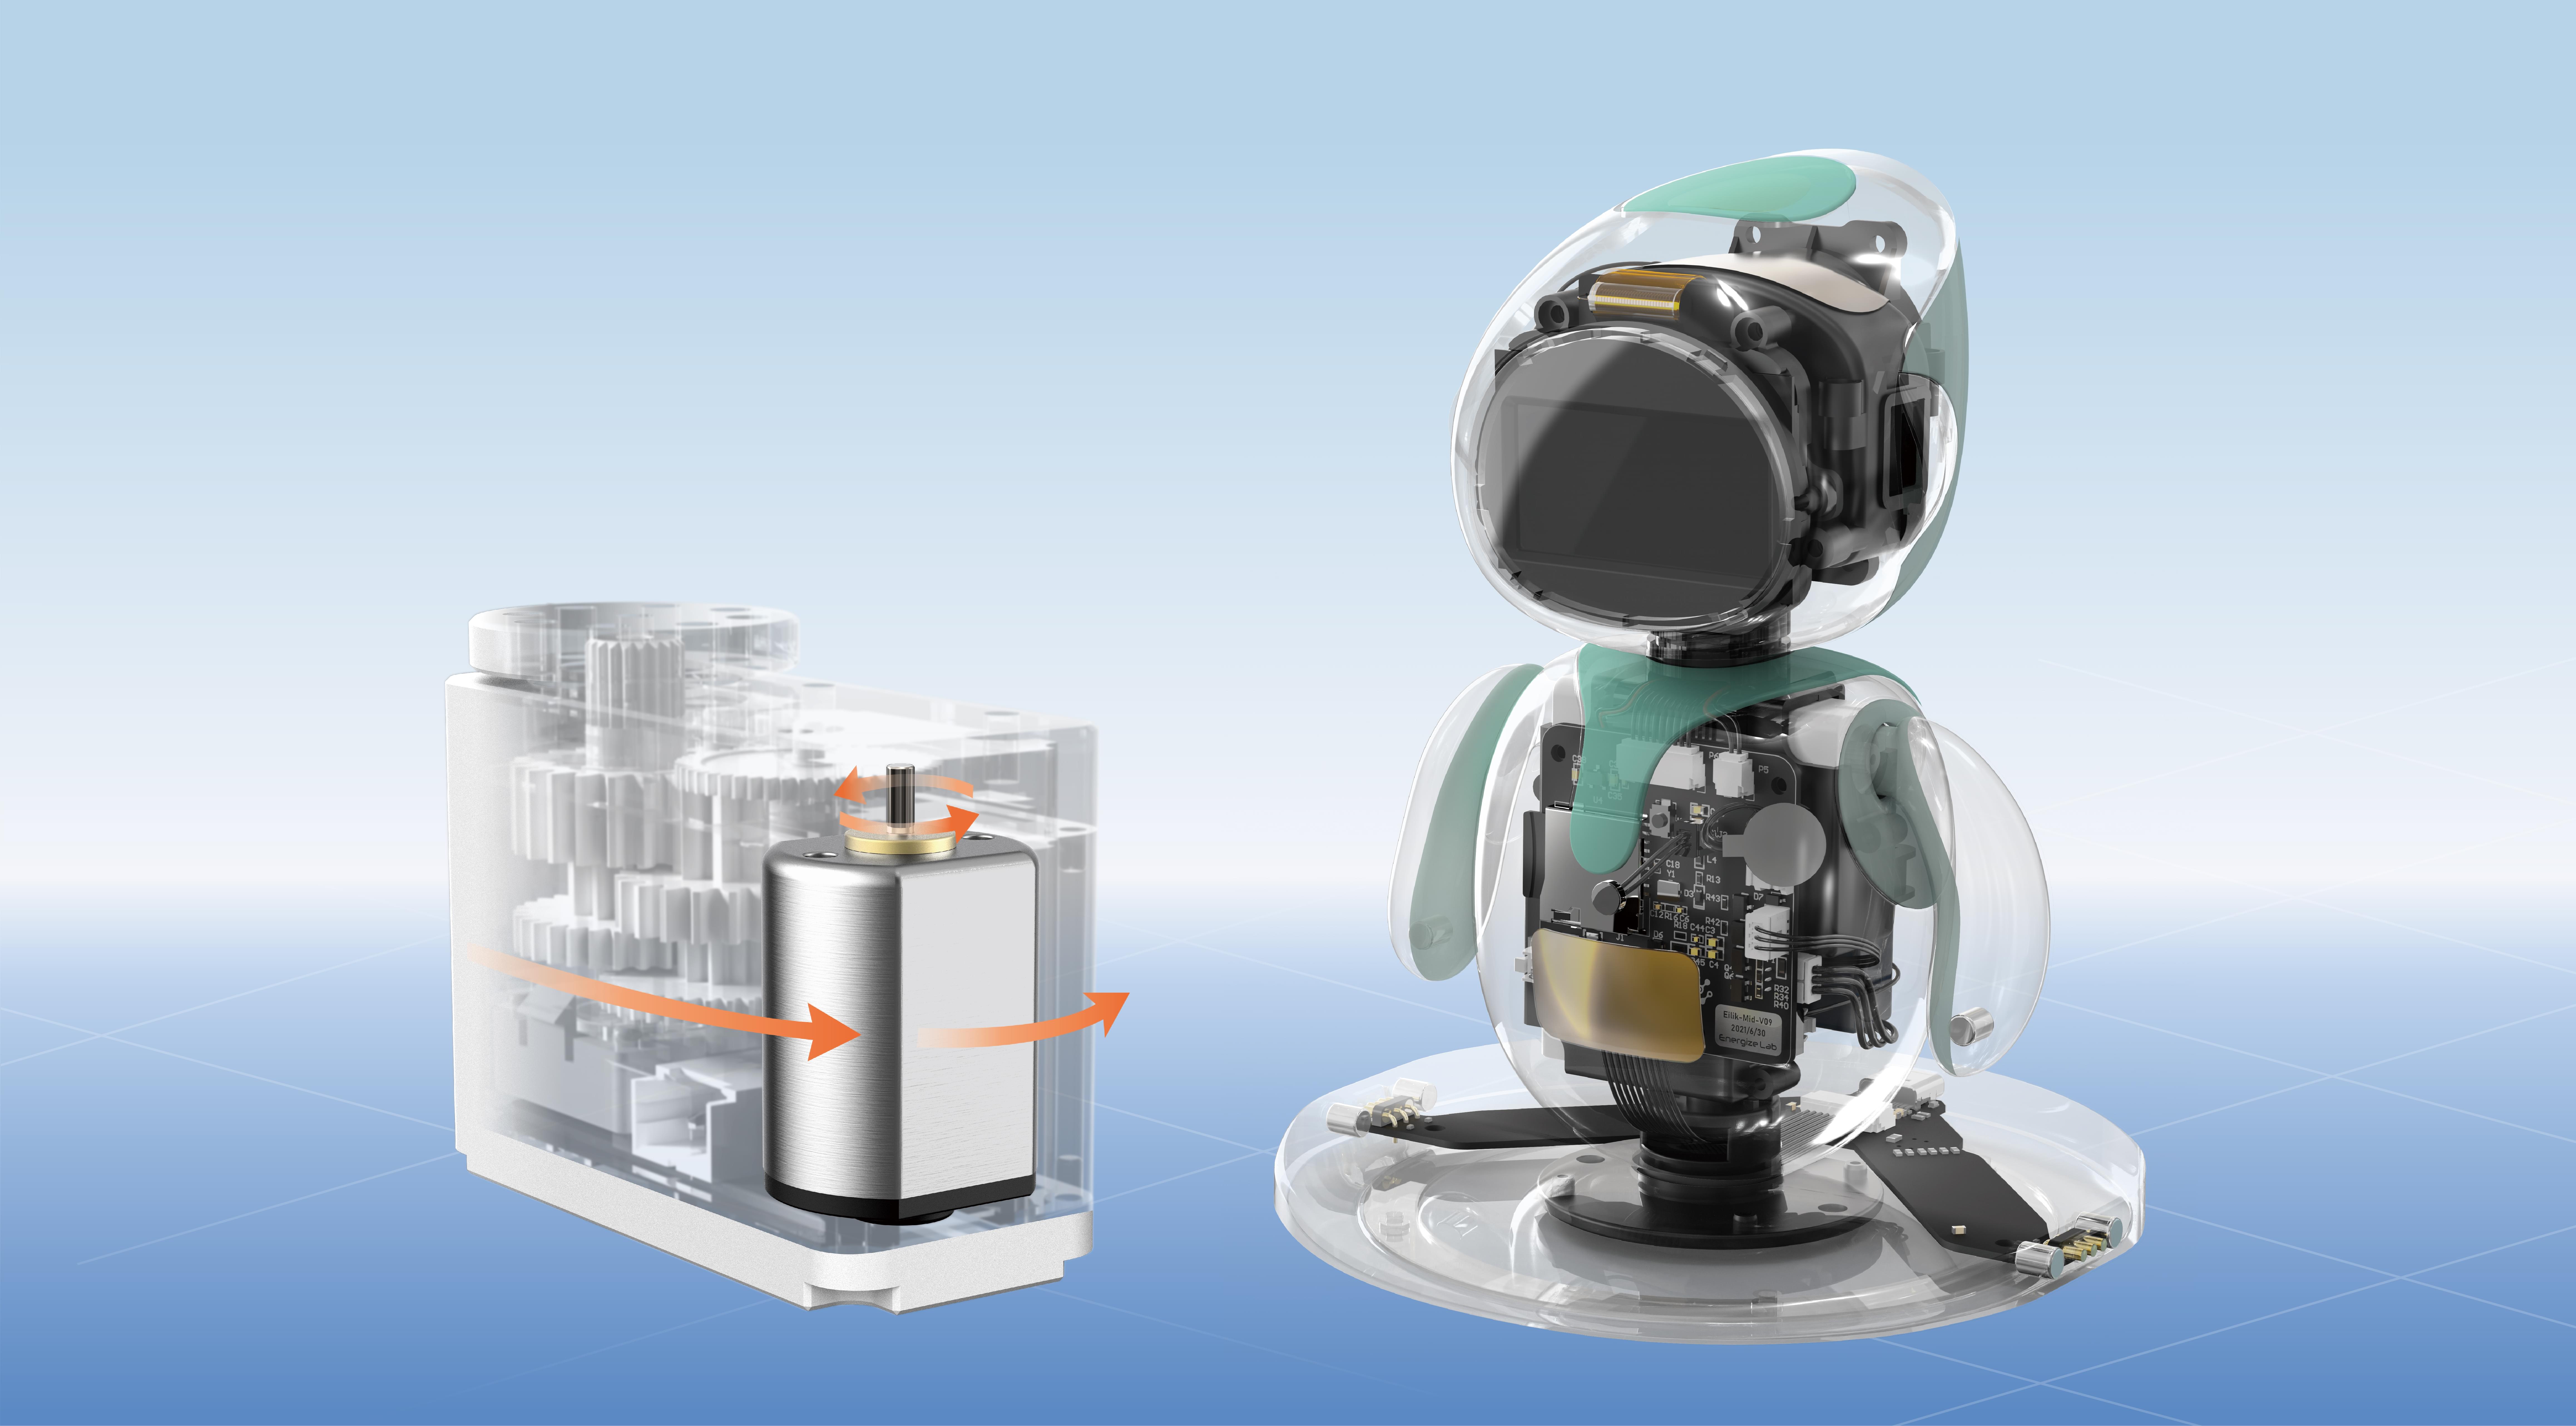
Unleashing the Power of Arduino and Servo Motors for Your DIY Projects
Imagine a world where you can effortlessly breathe life into your creative ideas—robots that wave hello, cameras that pan and tilt, automated systems that respond to your commands. At the heart of these marvels are two indispensable components: the Arduino microcontroller and the servo motor. Together, they form an unbeatable duo that empowers hobbyists, students, and makers to turn imagination into reality.

But before diving into the excitement, it’s worth understanding what makes this pairing so special. Arduino, an open-source electronics platform, acts as the brain of your project. Its simplicity and versatility make it perfect for beginners yet powerful enough for seasoned engineers. Servo motors, on the other hand, are precise movement devices capable of rotating a shaft to a specific position, making them ideal for applications requiring controlled motion.
Why Choose Arduino and Servo Motors? The appeal is rooted in their user-friendly nature. Arduino's straightforward programming environment and abundant tutorials have democratized electronics, opening doors for people at all skill levels. Similarly, servo motors are readily available, affordable, and come in various sizes and torque ratings suitable for miniatures or larger projects.
Getting Started: What You Need To embark on your journey, gather the essentials:
An Arduino board (Uno, Nano, or Mega) A standard servo motor (such as SG90 or MG996R) Breadboard and jumper wires Power supply (battery or USB power) Optional: potentiometer for manual control, sensors, or switches
Hardware Setup: Making the Connection Connecting your Arduino to a servo motor is surprisingly straightforward. The servo has three wires:
Power (usually red) — Connect to the 5V pin on Arduino Ground (usually black or brown) — Connect to GND on Arduino Control (usually yellow, white, or orange) — Connect to a PWM-capable digital pin, like D9
Here's a simple step-by-step guide:
Connect Power and Ground: Insert the red wire into the 5V pin on the Arduino. Connect the black/brown wire to GND on Arduino. Connect Control Signal: Attach the control wire to digital pin D9 (or any other PWM-capable pin). Power Considerations: For small servos like SG90, powering directly from the Arduino's 5V is usually fine. For larger servos, use an external power supply to prevent overloading the Arduino. Connect the external ground to Arduino GND to maintain a common ground reference.
Programming the Arduino: Programming is where your creativity takes flight. The Arduino Integrated Development Environment (IDE) simplifies writing code to control servo movement. The core library called Servo.h streamlines communication with your servo.
Here’s a simple example sketch:
#include Servo myServo; // create servo object to control a servo void setup() { myServo.attach(9); // attaches the servo on digital pin 9 } void loop() { for (int angle = 0; angle <= 180; angle += 1) { // goes from 0 to 180 degrees myServo.write(angle); // tell servo to go to position in variable 'angle' delay(15); // waits 15ms for the servo to reach the position } for (int angle = 180; angle >= 0; angle -= 1) { // goes from 180 back to 0 degrees myServo.write(angle); delay(15); } }
This code smoothly swings your servo from 0° to 180° and back, creating simple animations or movement sequences.
Understanding PWM and Servo Control: PWM, or Pulse Width Modulation, is a method that varies the width of a pulse to control power delivered to a device. Servos interpret specific pulse widths as position commands: roughly 1 millisecond for 0°, 1.5 ms for 90°, and 2 ms for 180°. The Servo.h library abstracts these details, letting you specify angles directly in degrees.
Practical Tips for Reliable Connections:
Use short wires to reduce interference. Confirm your servo’s power requirements; do not overload the Arduino’s 5V pin if the servo demands higher current. Keep grounds connected; a common ground is pivotal for stable operation. Secure connections with breadboard clips or soldered headers for durability—especially if your project moves or vibrates.
Troubleshooting Common Issues:
Servo jittering or not responding: Check power supply and ensure correct wiring. Unusual noises or overheating: Ensure the servo isn’t overloaded and isn’t trying to move beyond its physical limits. No movement: Verify code uploads correctly, and test with example sketches from the Servo library.
Expanding Your Project: Once you've mastered basic control, the possibilities grow exponentially. Use sensors to automate movements, add potentiometers for manual control, or incorporate multiple servos for complex mechanisms. The Arduino and servo duo form an adaptable foundation for robotics, animatronics, camera rigs, or even artistic installations.
In the next part, we'll explore more advanced programming techniques, power management tips for large and multiple servos, and exciting project ideas to ignite your imagination. So, stay tuned and get ready to push your creativity even further!
Do you want me to generate the second part now?
Kpower has delivered professional drive system solutions to over 500 enterprise clients globally with products covering various fields such as Smart Home Systems, Automatic Electronics, Robotics, Precision Agriculture, Drones, and Industrial Automation.


