part 1:
Imagine a tiny hero in your electronics toolkit—compact, capable, and constantly ready to bring your creative projects to life. That hero is the Arduino Nano, a small but mighty microcontroller, perfectly paired with one of the most beloved actuators in robotics: the servo motor. Together, they form a powerful duo that opens doors to endless possibilities, from simple robotic arms to intricate automation systems. If you’re a hobbyist, student, or aspiring engineer, understanding how these components work together can transform your DIY projects from basic experiments into impressive, functional gadgets.

The Charm of the Arduino Nano
The Arduino Nano is a small, breadboard-friendly microcontroller board based on the ATmega328P chip. Its size—roughly a postage stamp—belies its capability. It offers multiple input and output pins, USB connectivity for programming, and compatible voltage levels, making it ideal for compact projects.
What makes the Nano especially popular among enthusiasts is its ease of use. It’s beginner-friendly, yet versatile enough for more advanced applications. You can program it using the Arduino IDE, a free and intuitive environment that simplifies coding in C/C++. With a handful of components, you can turn a simple Arduino Nano into a functioning robot, sensor system, or automation device.
Why Use Servo Motors?
Servos are a special type of motor designed precisely for precise control of angular position. Unlike regular motors that run continuously when powered, servos hold their position until commanded to move, making them perfect for applications needing accurate, repeatable positioning—think robotic arms, steering mechanisms, camera gimbals, or even animatronics.
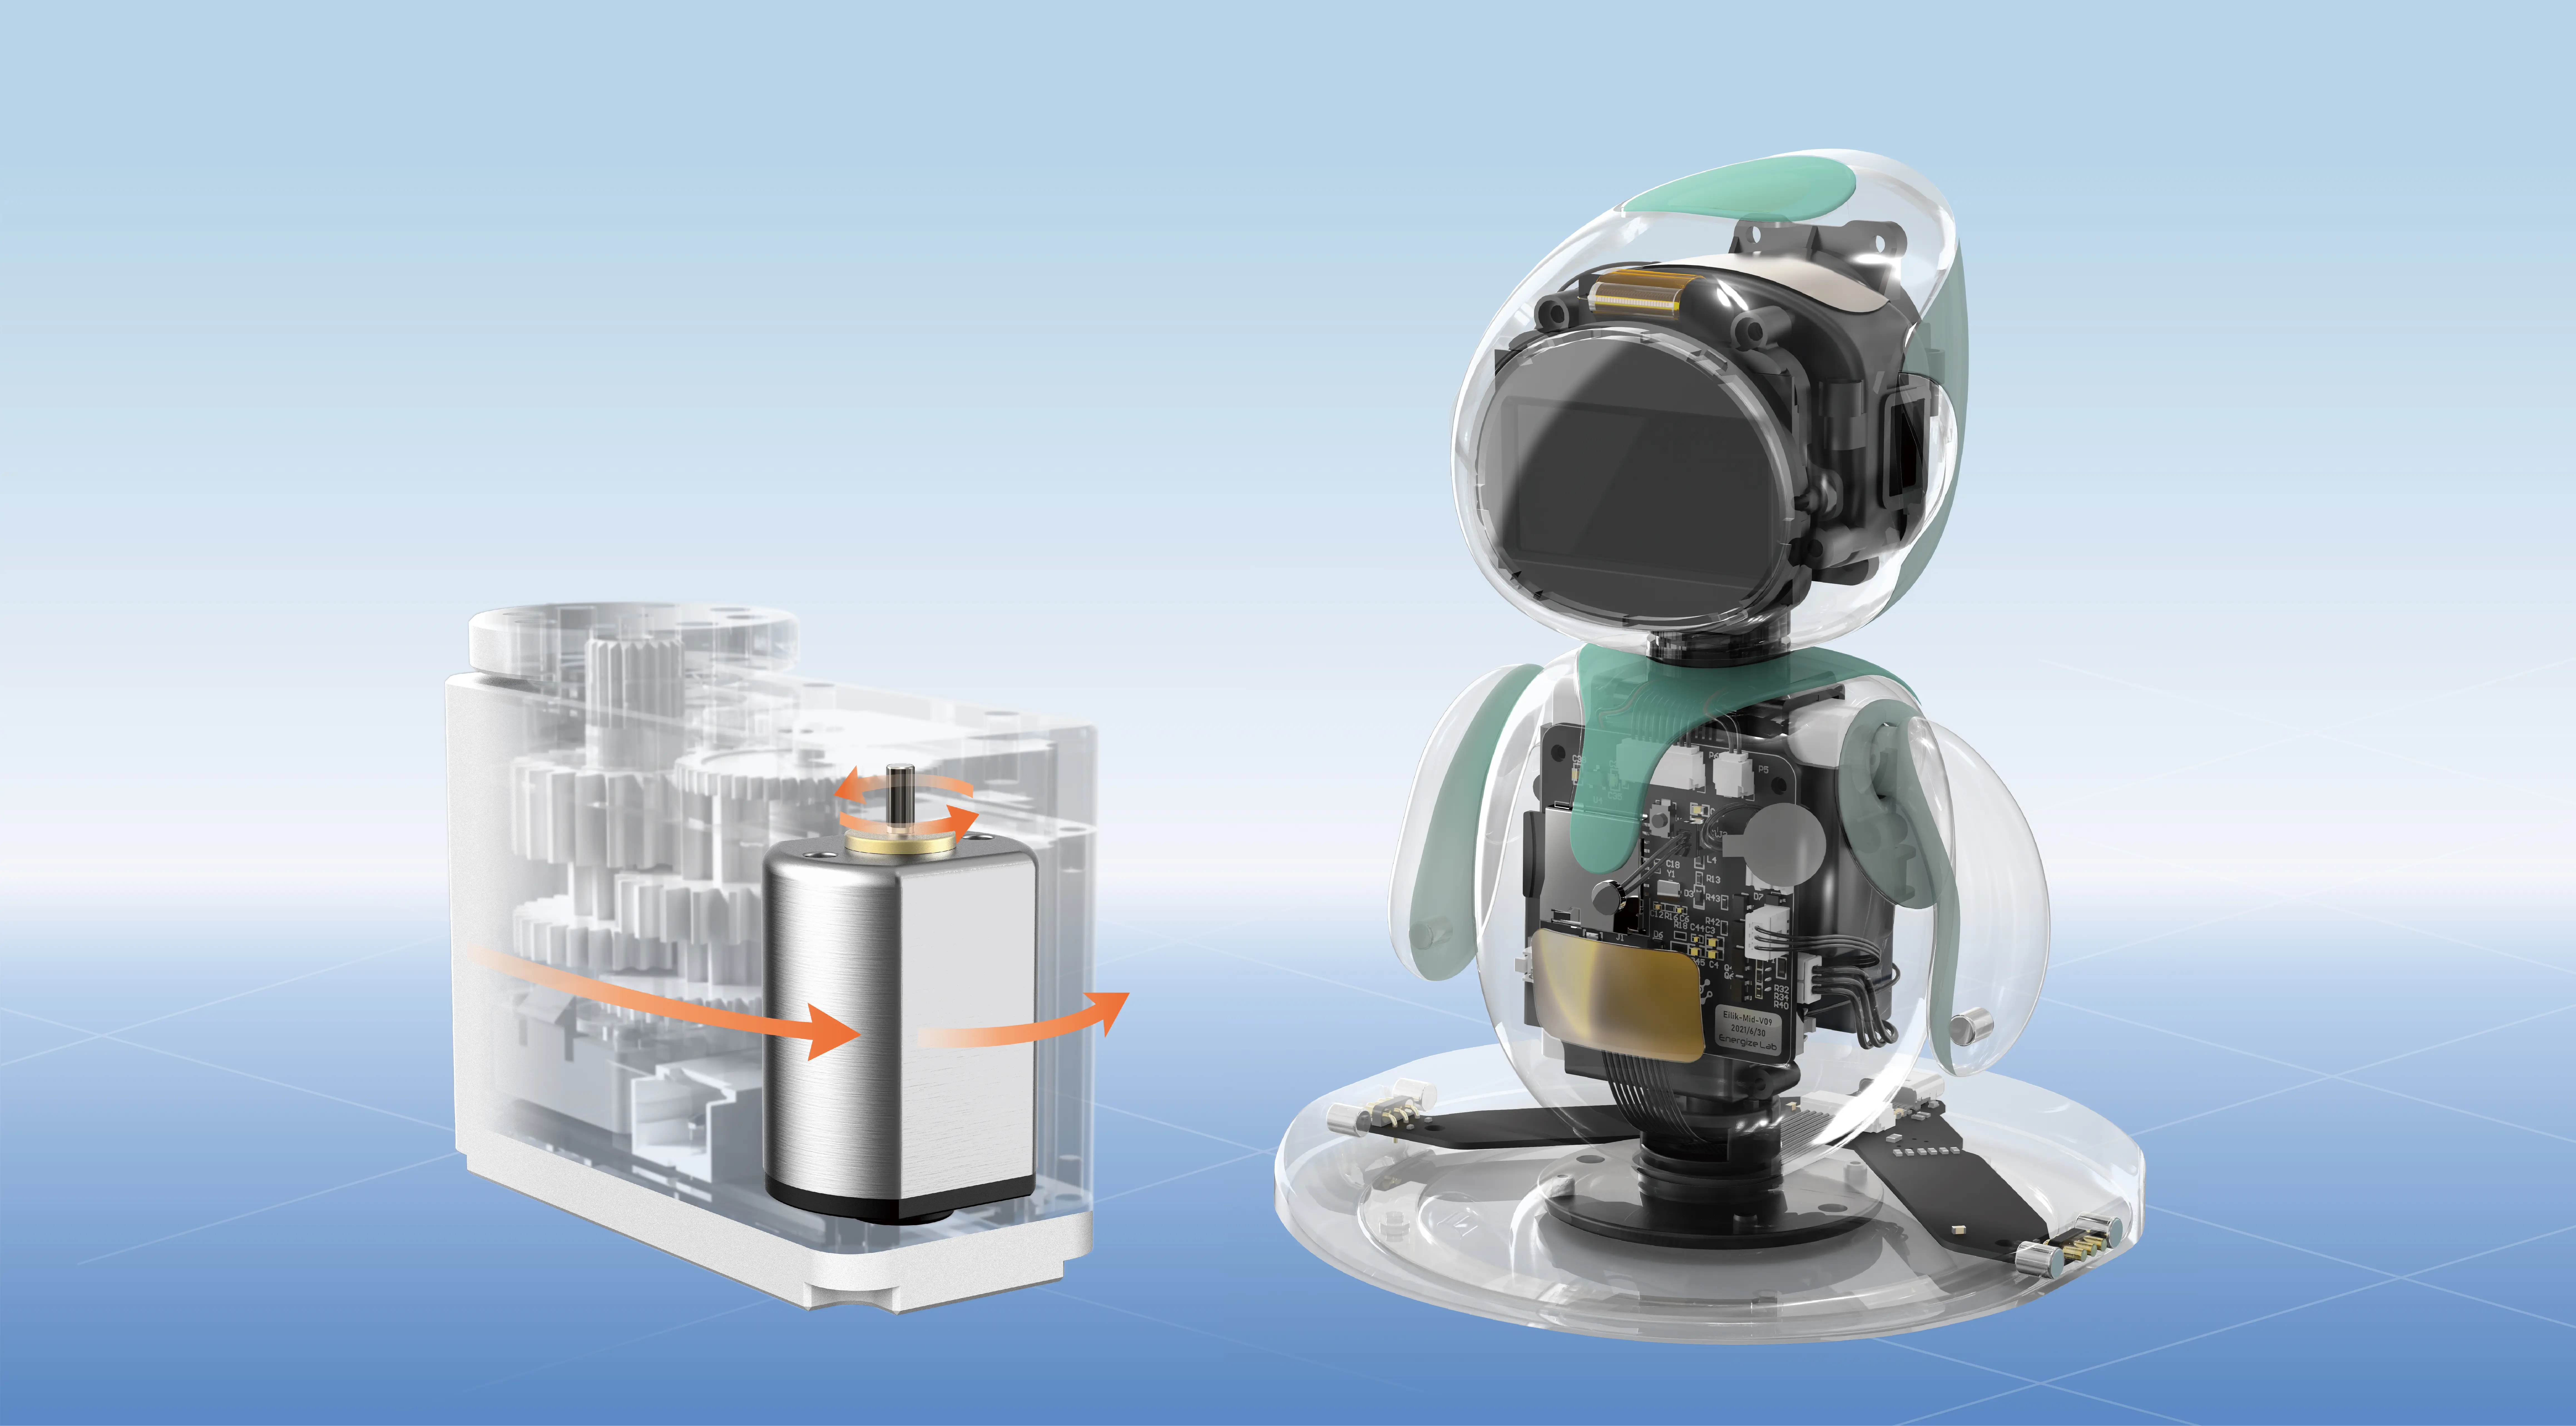
A typical servo motor consists of a small DC motor, a feedback sensor (usually a potentiometer), and a control circuit. When you send a pulse signal (PWM—pulse width modulation) to the servo, it interprets this as a position command, moving its shaft accordingly and holding it there with remarkable precision.
The Magic of Combining Nano and Servo
The reason the Arduino Nano and servo motors are a match made in electronics heaven is simplicity and control. The Nano can generate the PWM signals needed to drive servos, and with just a few lines of code, you can command your servo to move to specific angles or follow complex movement patterns.
This combo’s ease of implementation makes it perfect for learners and hobbyists. You don't need to invest heavily or tackle complicated circuitry to deploy your first servo-controlled project. Plus, the Nano’s small footprint means your projects can be lightweight and portable.
Starting Your First Project: The Basic Servo Control
A common beginner project is creating a simple servo control system. You will need:
Arduino Nano Standard hobby servo motor Jumper wires Breadboard (optional but helpful) Power supply (usually USB or 5V source)
The goal is straightforward: program the Nano to move the servo to a specific position, then to another, back and forth, demonstrating control and precision.
Here’s a brief overview of what's involved:
Connect the servo’s signal wire to one of the Nano’s PWM pins (like D9). Connect the power (Vcc) and ground wires from the servo to the Nano's 5V and GND pins. Write or upload a simple code using the Arduino IDE that sets the servo to different angles with servo.write() commands. Upload the sketch and watch the servo move accordingly.
This simple setup is invaluable—serving as a foundation for more complex projects such as robotic arms, pan-and-tilt cameras, or automated mechanical systems.
Expanding Horizons: From Simple to Sophisticated Projects
Once you’re comfortable with basic control, the Nano and servo duo scale up. You can integrate sensors like ultrasonic distance sensors to create obstacle-dodging robots, or add Bluetooth modules for remote control via smartphones.
For example, imagine programming your Arduino Nano to receive commands over Bluetooth and adjust the position of a servo-mounted camera view in real-time—bringing your robot to life with interactive, remote capabilities. Or, design a miniature robotic arm that performs pick-and-place tasks, mimicking industrial automation processes but on your desktop.
Challenges and Tips for Success
While working with Nano and servos is exciting, there are common pitfalls worth noting:
Power management: Servos can draw substantial current, especially under load. Always power servos independently if possible, rather than relying solely on the Nano’s 5V pin.
Signal interference: Keep your signal wires short and separate from power lines to minimize noise.
Calibration: Different servo models may have slight variations in their angle ranges. Calibrate your code accordingly.
Test each component: Before integrating, test your servo and Nano separately to troubleshoot issues early.
The Future is in Your Hands
The magic of combining the Arduino Nano with servo motors lies in accessibility and limitless potential. Whether you’re creating a robotic pet, an automated door, or a camera gimbal, understanding this duo empowers you to turn abstract ideas into tangible creations.
In the next part, we’ll explore advanced techniques, project ideas to inspire your creativity, and tips for troubleshooting common issues. Dive in, get your hands dirty, and prepare to expand your microcontroller mastery.
Leveraging innovations in modular drive technology, Kpower integrates high-performance motors, precision reducers, and multi-protocol control systems to provide efficient and customized smart drive system solutions.


