


Looking for a suitable motor?


小编
Published2025-10-15
Unlocking Precision: A Complete Guide on How to Control a Servo Motor
Servo motors are the resilient, precise heartbeats of countless automation and robotics projects. From remote-controlled cars to sophisticated robotic arms, these miniature powerhouses translate electronic signals into smooth, controlled movements, making everything from hobby projects to industrial applications possible. But how does one translate seemingly abstract commands into real, physical motion? How can you ensure your servo moves exactly where you want it, when you want it? The answers lie in understanding the fundamentals of servo motor control, the components involved, and various techniques to master this process.
Understanding the Basics of Servo Motors
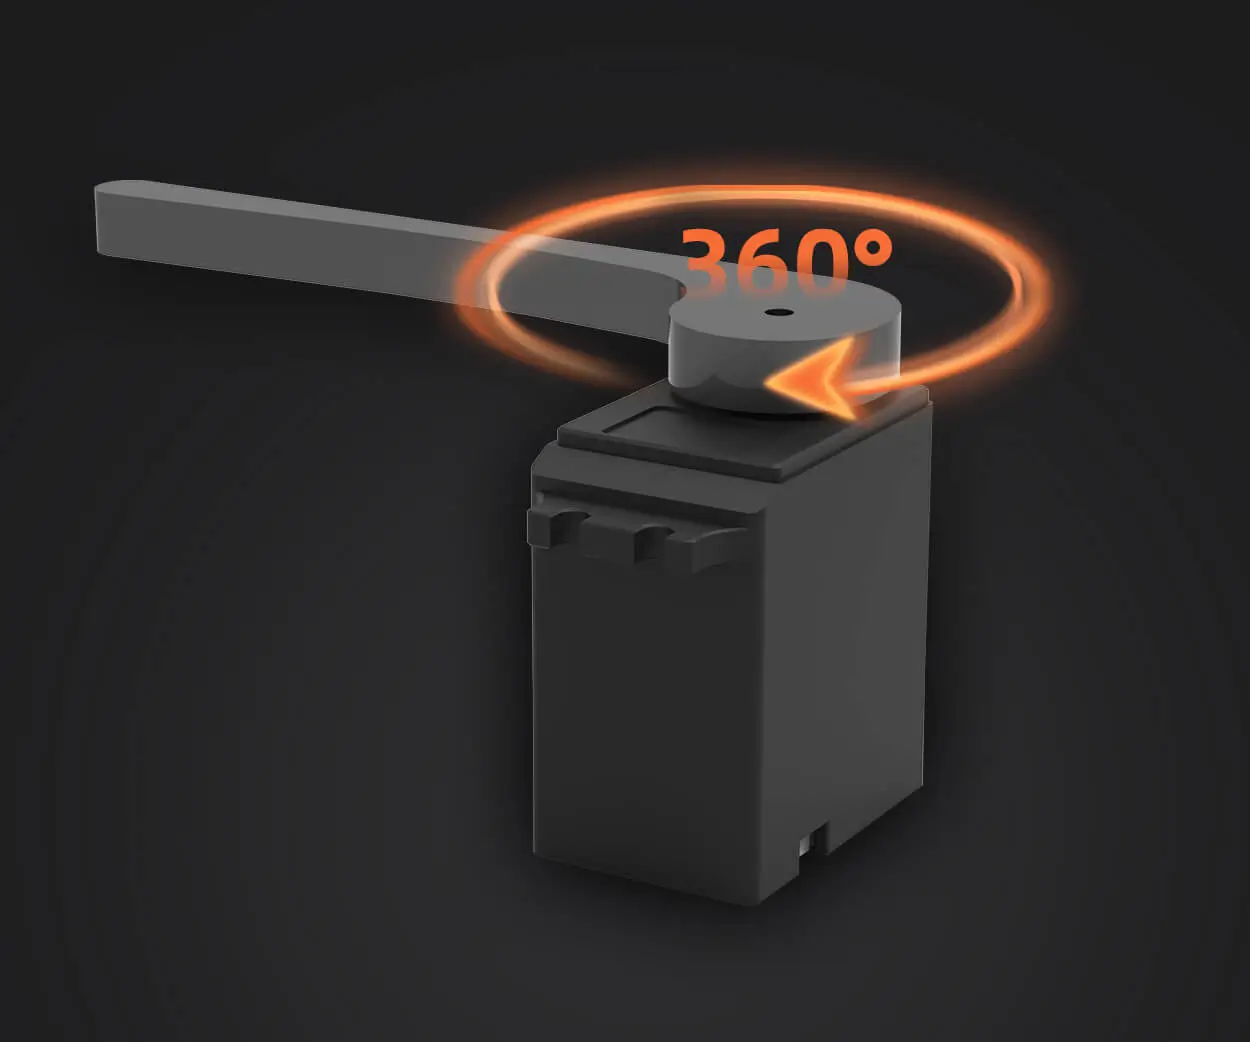
At its core, a servo motor is a rotary or linear actuator that permits precise control of angular or linear position, velocity, and acceleration. Unlike simple DC motors, which run continuously when powered, servos operate based on a control signal—commonly a Pulse Width Modulation (PWM) signal—that determines their position or movement.
Most hobbyist and industrial servos used in beginner projects are closed-loop systems. This means they contain a built-in sensor—usually a potentiometer—that continuously provides position feedback to a control circuit, allowing for accurate and repeatable movements.
There are several types of servo motors to consider:
Standard Servos: Typically used in RC models, these are small, inexpensive, and provide about 180 degrees of rotation. Digital Servos: Offer higher precision, faster response times, and better holding torque. Continuous Rotation Servos: Can rotate fully in both directions, often used for drive wheels. Industrial Servos: Customizable, high-torque, capable of complex motion sequences, and integrated with sophisticated control systems.
Knowing your project's demands will help you select the best type, but the core control principles remain similar across categories.
Essential Components for Controlling a Servo Motor
Before diving into control techniques, gather these essentials:
Servo Motor: The actuator you will be controlling. Microcontroller/Controller Board: Devices like Arduino, Raspberry Pi, or ESP32 are popular choices. Power Supply: Adequate voltage and current for your servo; often, a separate power source is recommended. Control Signal Interface: Usually a PWM signal generated by your microcontroller. Optional Drivers or Shields: Especially for high-power servos or multiple units.
The Pivotal Role of PWM in Servo Control
Pulse Width Modulation (PWM) signals are the cornerstone of servo control. By adjusting the width of a pulse within a fixed period (commonly 20ms), you exercise precise control over the servo’s position.
In standard servos, a typical pulse width ranges from 1ms (full one direction), 1.5ms (centered), to 2ms (full opposite direction). The control system seeks to generate this pulse repeatedly, with the width correlating directly to the desired position.
Designing the PWM signal correctly and synchronizing it with your servo's specifications is vital to achieving accurate and reliable movement.
First Steps to Control Your Servo
Here’s an outline of how to get started:
Choose the Right Servo: Determine your torque, speed, and rotation requirements. Set Up the Hardware: Connect your servo's power and ground lines carefully; connect the control wire to your microcontroller’s PWM-capable pin. Power Up and Initialize: Use a dedicated power source if necessary to prevent voltage dips. Write Basic Code: Use libraries like Servo.h in Arduino to generate PWM signals effortlessly. Test and Calibrate: Move your servo to different positions, noting the pulse widths, and refine your control signal.
Practical Example: Controlling a Servo with Arduino
Most beginners start with Arduino because of its simplicity and vast community support. Here’s a quick setup:
Connect the servo control wire to a PWM-capable pin, like pin 9. Power the servo with the recommended voltage (often 5V or 6V). Use a library like Servo.h to write code that rotates the servo to specific angles. #include Servo myServo; void setup() { Serial.begin(9600); myServo.attach(9); // Attach servo control pin } void loop() { myServo.write(90); // Move to 90 degrees delay(1000); myServo.write(0); // Move to 0 degrees delay(1000); myServo.write(180); // Move to 180 degrees delay(1000); }
This simple code swings your servo between the middle, minimum, and maximum positions, demonstrating basic control.
Stay tuned for the second part, where we'll explore advanced control techniques, troubleshooting, and tips to optimize your servo motor performance for more complex projects. Whether you're building gesture-controlled robots or automation systems, mastering control opens up a universe of possibilities.
Established in 2005, Kpower has been dedicated to a professional compact motion unit manufacturer, headquartered in Dongguan, Guangdong Province, China.
Update:2025-10-15
Contact Kpower's product specialist to recommend suitable motor or gearbox for your product.


