Unlocking the Power of Servo Motor Code for Arduino: A Beginner’s Guide to Precision Robotics
When it comes to building robots, creating moving parts, or automating tasks, few components are as versatile and accessible as servo motors. They unlock a world of possibilities for hobbyists, students, and even seasoned engineers looking to prototype quickly. However, understanding how to control a servo motor with Arduino isn’t just about plugging wires; it’s about unlocking a language—a coding language—that transforms simple hardware into a dynamic marvel of automation.

What Is a Servo Motor?
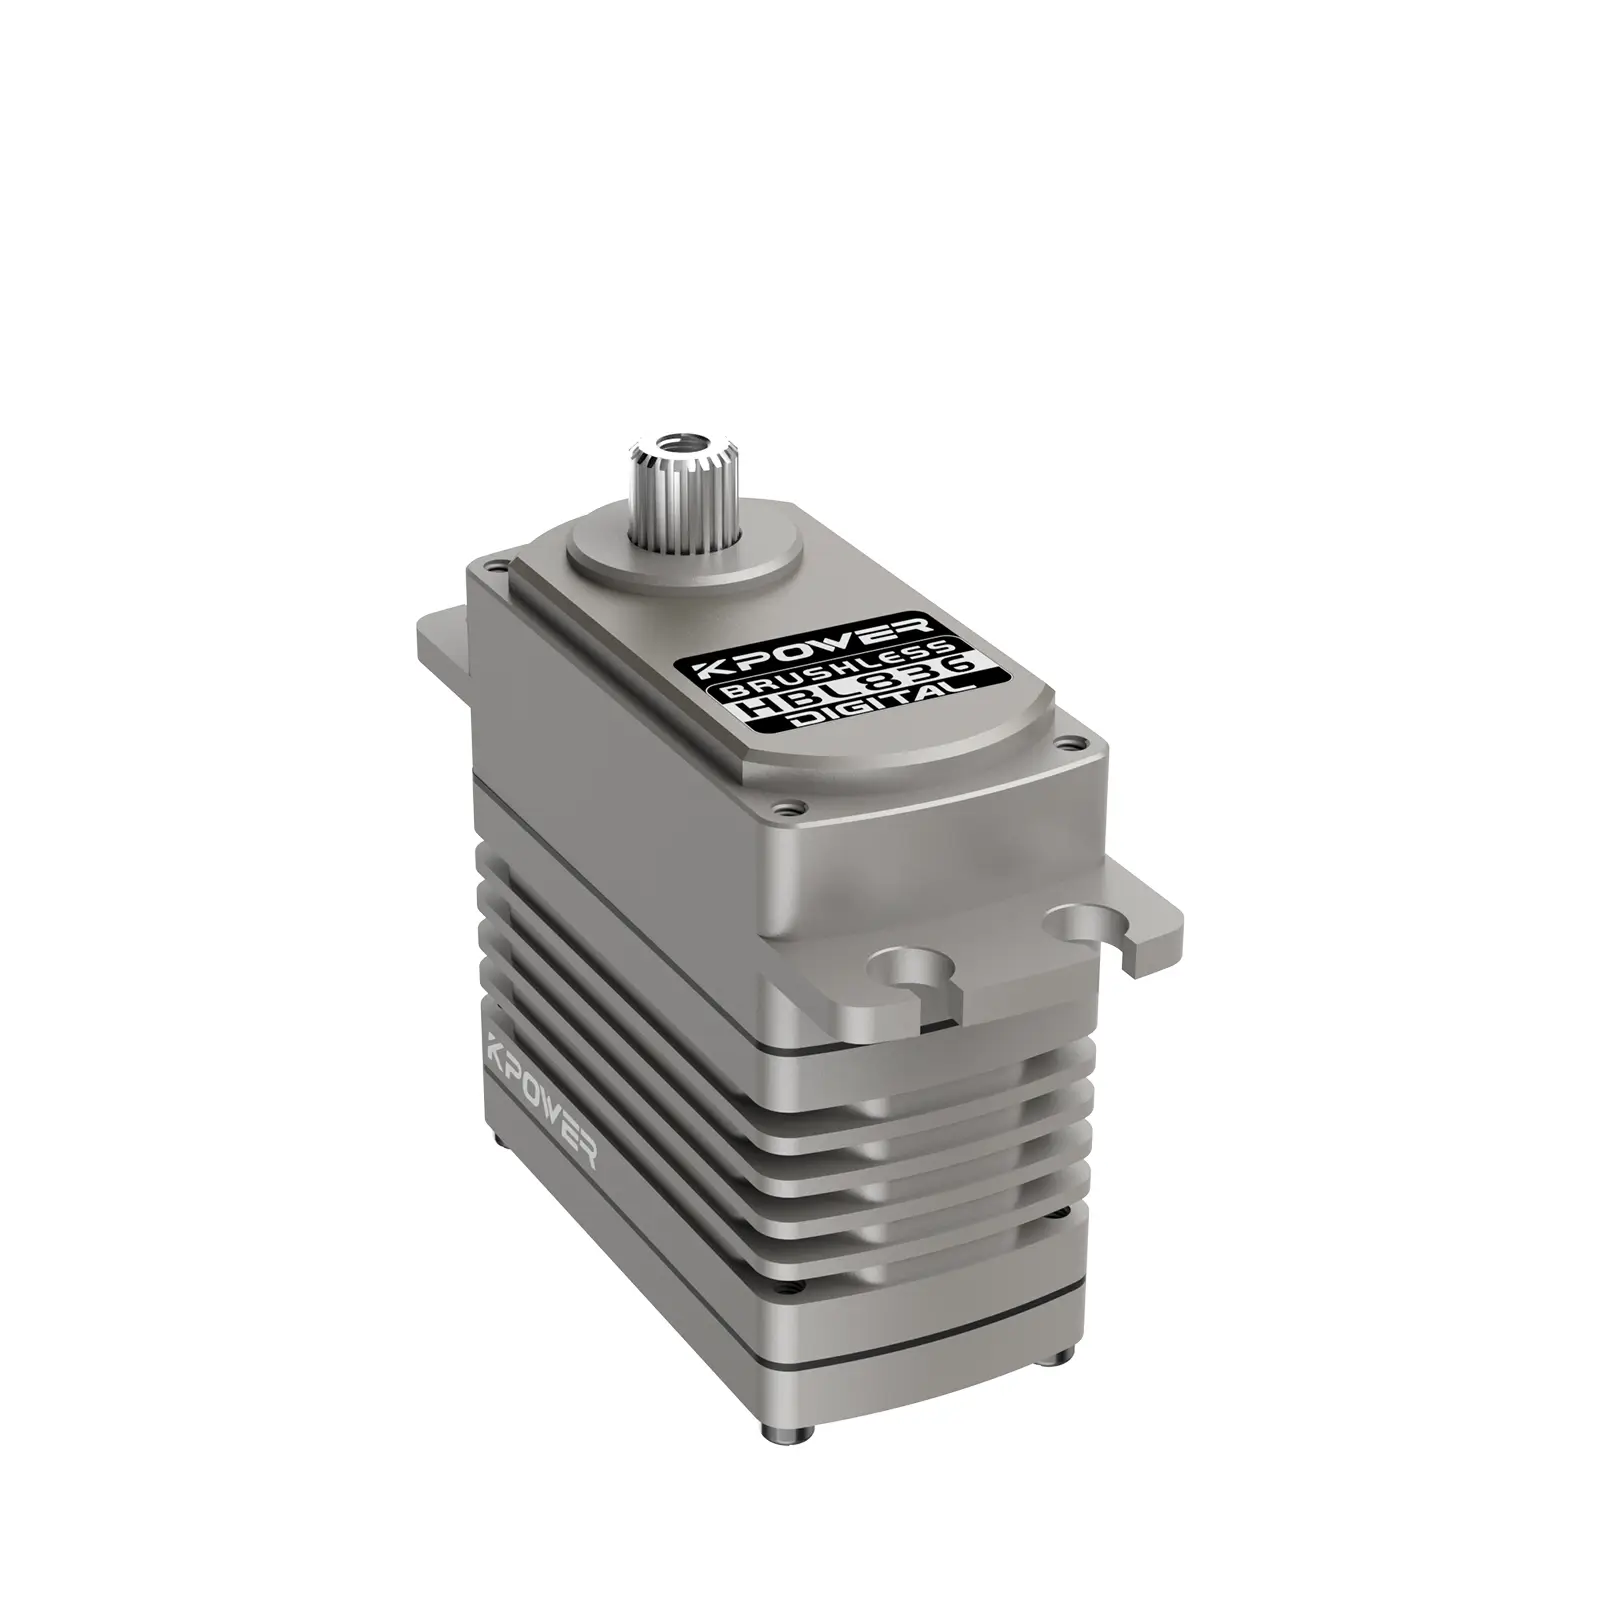
Before diving into code, let's clarify what a servo motor is. Unlike typical motors that rotate endlessly, servo motors are designed to rotate to specific angles and hold that position precisely. They contain a motor, a control circuit, and a feedback mechanism—usually a potentiometer—that continuously informs the controller about the current position. This feedback loop allows for precise motion control, which is invaluable in robotics, camera stabilization, remote-controlled vehicles, and more.
Arduino and Servo: The Perfect Match
Arduino microcontrollers are renowned for their simplicity and flexibility. They serve as the perfect brains to command servo motors. Using a few lines of code, you can make a servo turn to any angle, perform sweeping motions, or respond to sensors and inputs in real-time.
Getting Started: Materials You Need
An Arduino Uno or compatible board A servo motor (e.g., SG90, MG90S, or any standard servo) Jumper wires A breadboard (optional but helpful) Power supply (if your servo demands more current)
Basic Wiring
Wiring a standard servo to Arduino is straightforward:
Red wire (Vcc) connects to the 5V pin on Arduino Brown/Black wire (Ground) connects to GND on Arduino Orange/White wire (Signal) connects to a digital PWM capable pin (like pin 9)
Make sure your servo’s power supply can provide enough current—some servos draw significant power, and powering them directly from the Arduino might cause resets or erratic behavior.
A Simple Arduino Sketch to Control a Servo
The foundation of servo control in Arduino revolves around the Servo.h library. It's pre-installed in the Arduino IDE, allowing you to focus on writing simple, effective code.
Here's a basic example:
#include Servo myServo; // create a Servo object void setup() { myServo.attach(9); // attach servo to pin 9 } void loop() { myServo.write(0); // move to 0 degrees delay(1000); // wait for a second myServo.write(90); // move to 90 degrees delay(1000); myServo.write(180); // move to 180 degrees delay(1000); }
This code makes the servo sweep through three positions, pausing at each for a second. It’s simple but demonstrates the core concept of position control via code.
Understanding the Code
#include : imports the library that simplifies servo control Servo myServo;: creates an object representing the servo .attach(9);: binds the servo to pin 9 write(): commands the servo to a specific angle between 0 and 180 degrees delay(): pauses the program, giving the servo time to move and settle
Fine-tuning Your Servo Control
While the above example is foundational, more sophisticated applications involve:
Smooth movement: gradually changing the angle to avoid abrupt jumps (using for loops or millis() timing) Interactive control: responding to inputs like potentiometers, buttons, or sensors Automated routines: scripting complex motion sequences for tasks like picking and placing or panoramic capturing
Limitations and Considerations
Servo motors can only rotate within certain limits—usually 0 to 180 degrees—although some specialized servos can go beyond. They also respond best to pulses of specific durations (usually 1-2 milliseconds), which the Servo.h library handles internally.
Additionally, powering multiple servos at once requires careful power management. Supplying them from an external source instead of the Arduino's 5V pin prevents brownouts and ensures stable operation.
Leveraging innovations in modular drive technology, Kpower integrates high-performance motors, precision reducers, and multi-protocol control systems to provide efficient and customized smart drive system solutions.


