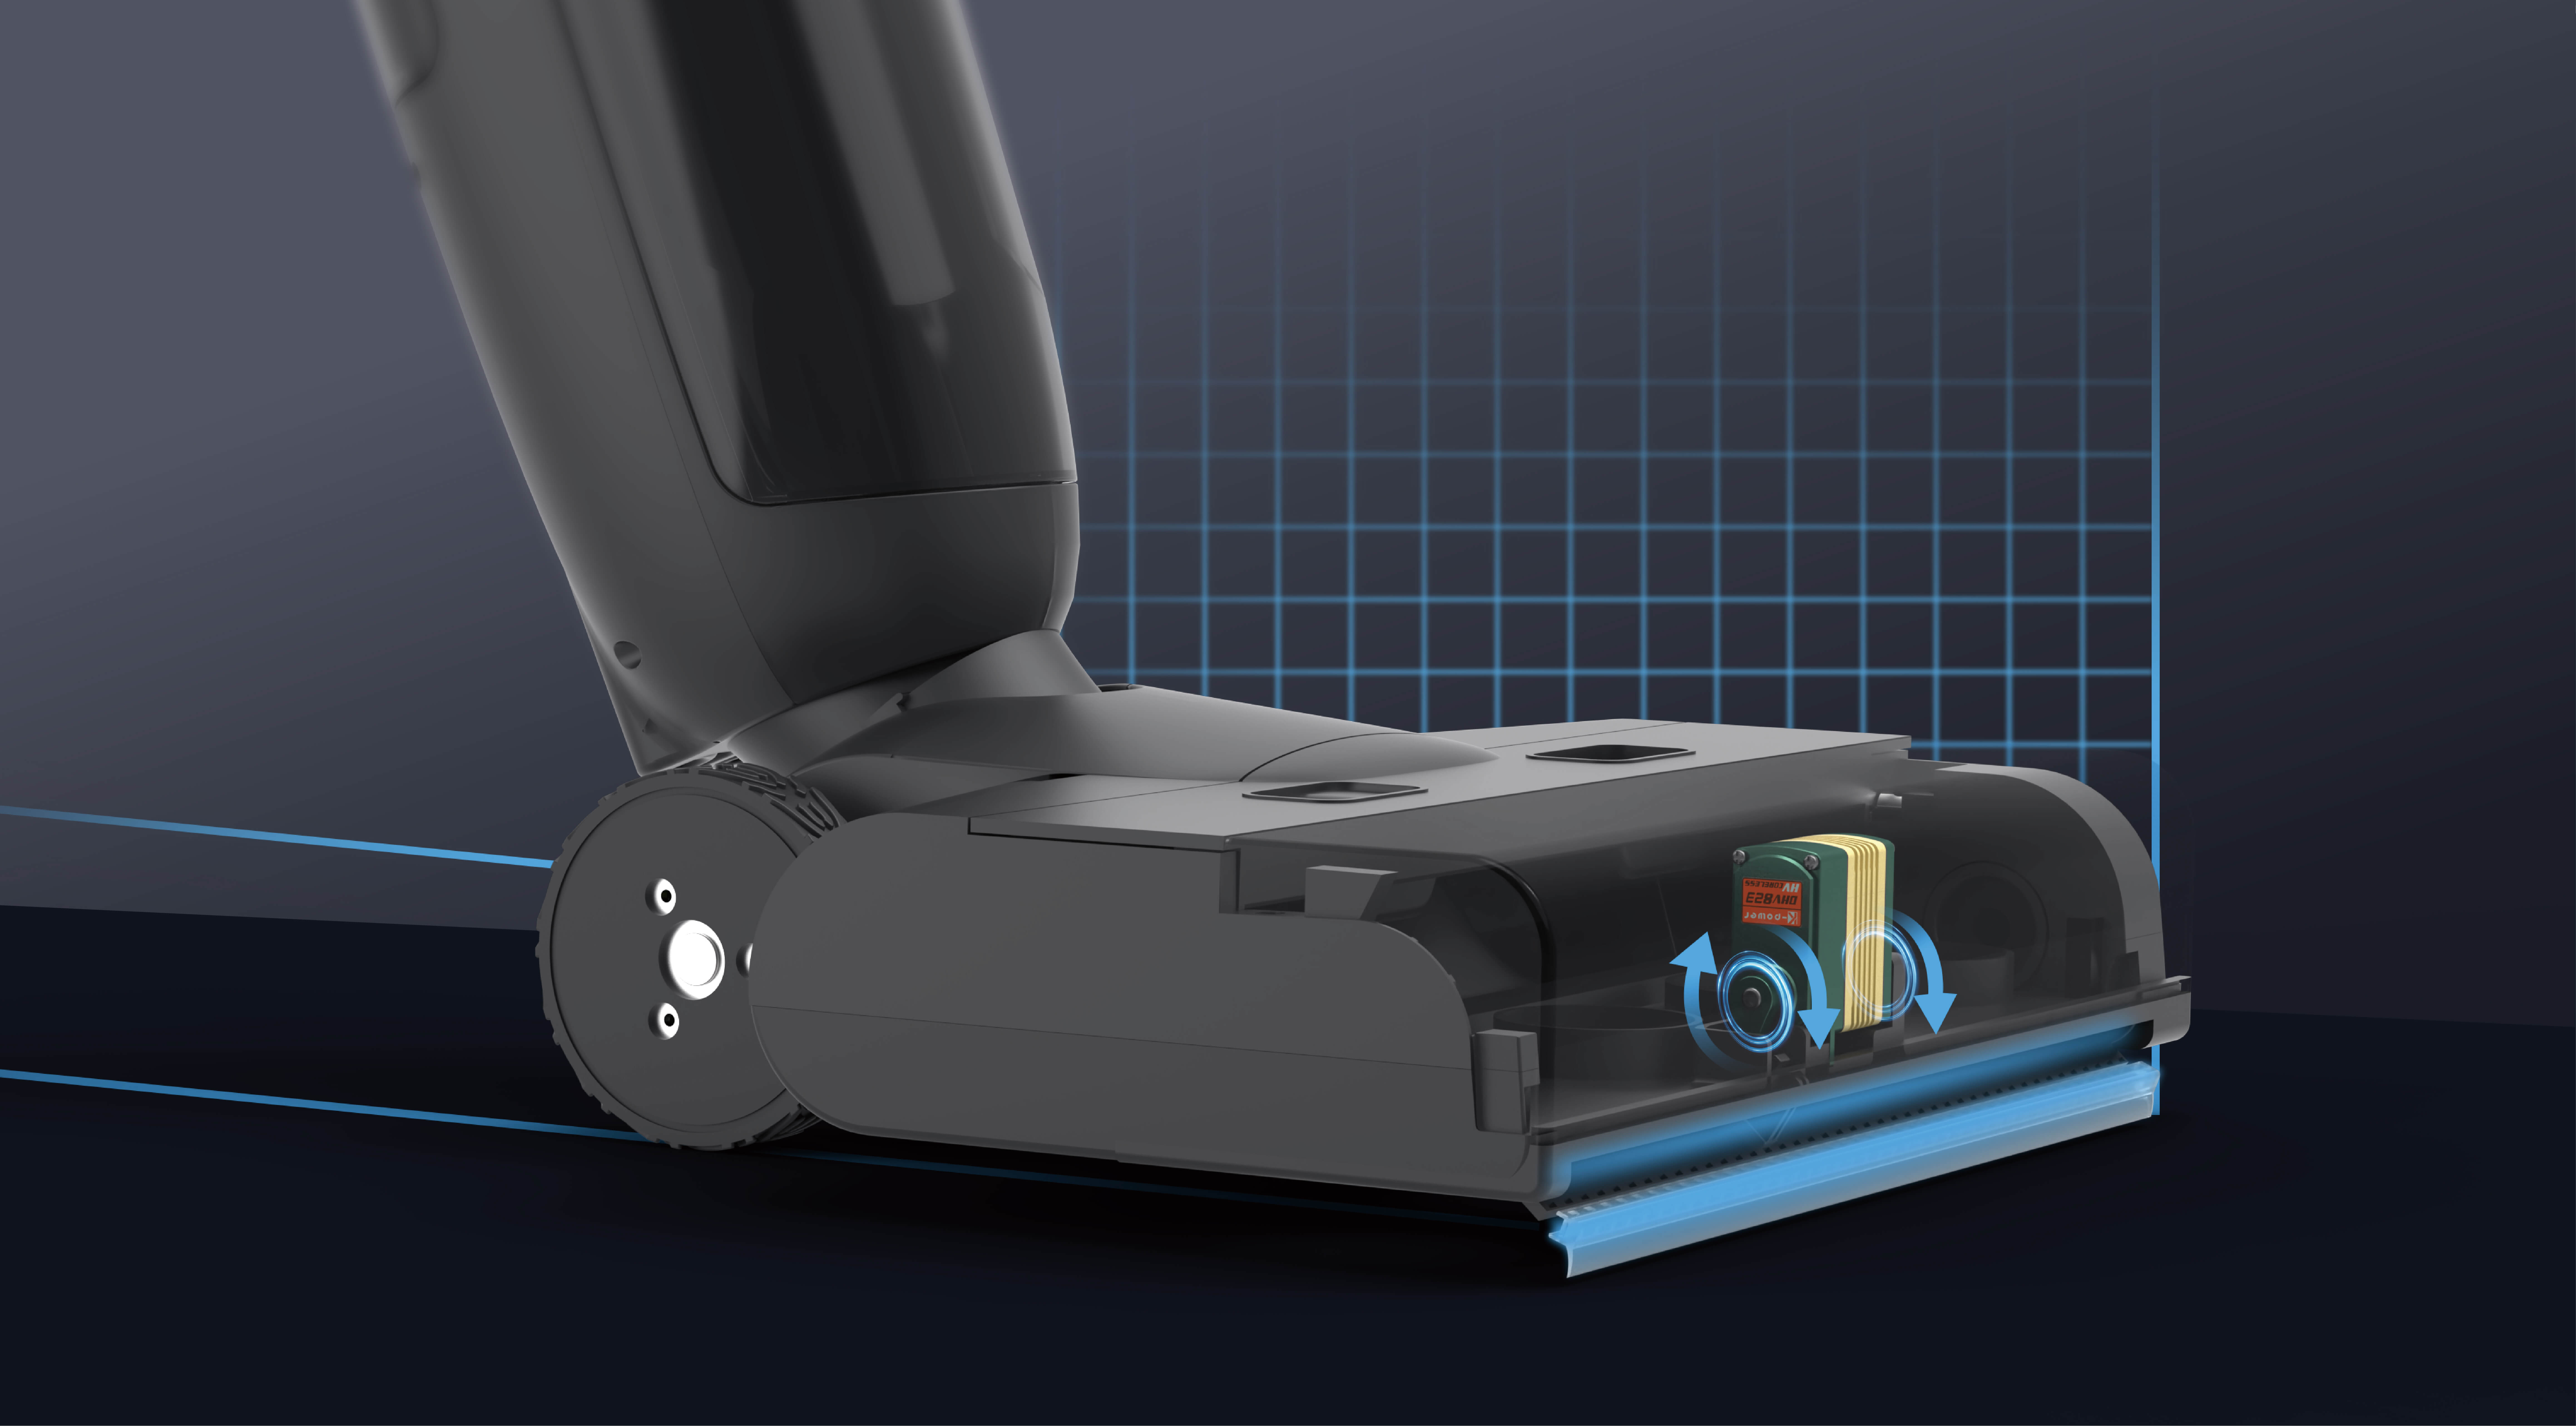
Imagine a world where machines move precisely on command—arms that replicate human gestures, robotic vehicles navigating complex terrains, or even art installations that respond to viewer interaction. Behind all these fascinating feats are servo motors, the tiny yet mighty components that make precise movement possible. When paired with an accessible platform like Arduino, servo motors open doors to limitless creative and functional possibilities.

What is a Servo Motor?
A servo motor is a compact device that provides precise control of angular position, velocity, and acceleration. Unlike simple DC motors that spin freely, servo motors have built-in feedback mechanisms and control circuitry that enable them to maintain a specific position or set trajectory. They contain a small motor, a geartrain, and a potentiometer or encoder to report position back to the controller.
Servos come in various shapes and sizes, but their core functionality remains the same: precise, controllable movement. They are widely used in robotics, RC vehicles, automation, and hobby projects. Thanks to their affordability and ease of use, they are the perfect choice for DIY enthusiasts looking to integrate mechanical motion into their creations.
Choosing the Right Servo Motor
Before diving into setup, it’s important to select the appropriate servo for your project:
Size and Torque: Larger servos provide more torque but may be bulky. Match your servo's torque to the weight and load you'll be moving. Speed: Some projects require quick movement, so check the speed specifications. Voltage: Commonly 4.8V to 6V; ensure your power supply matches the servo’s requirements. Control Type: Most hobby servos are analog, but some advanced models are digital, offering finer control and holding torque.
Getting Started with Arduino and Servo Motors
Arduino boards—like the Uno, Mega, or Nano—are ideal for controlling servo motors due to their simplicity, versatility, and a robust community support network. To get your setup ready, you'll need a few essential components:
Arduino microcontroller Servo motor(s) Power supply compatible with your servo Jumper wires Breadboard (optional, for prototyping) Arduino IDE installed on your computer
Basic Concept of Servo Control via Arduino
Controlling a servo is surprisingly straightforward. The Arduino communicates with the servo through Pulse Width Modulation (PWM) signals. The servo's control wire receives a PWM signal where the pulse's width corresponds to a specific position. Typical PWM signals for hobby servos range from 1 ms (full left) to 2 ms (full right), repeated every 20 ms.
The Arduino’s Servo library simplifies this process. With a few lines of code, you can rotate your servo to designated positions, sweep from one angle to another, or create complex motion sequences.
Hardware Setup: Connecting Your Servo to Arduino
Let’s walk through a simple example:
Identify Servo Wires: Most servos have three wires—power (usually red), ground (black or brown), and signal (white, yellow, or orange).
Power and Ground: Connect the power wire to the Arduino's 5V pin (or a dedicated power supply for higher torque servos). Connect the ground wire to the Arduino’s GND.
Signal: Connect the signal wire to a digital PWM-capable pin on Arduino, such as pin 9.
Power Considerations: For small servos, powering directly from Arduino is fine. For larger or multiple servos, use an external power supply with a common ground that connects to Arduino GND to prevent voltage drops and resets.
Programming Your First Servo
Download and install the Arduino IDE if you haven't already. Here's a minimal example sketch:
#include Servo myServo; // create servo object to control a servo int servoPin = 9; // define the PWM pin void setup() { myServo.attach(servoPin); // attaches the servo on pin 9 } void loop() { myServo.write(0); // move servo to 0 degrees delay(1000); // wait 1 second myServo.write(90); // move to 90 degrees delay(1000); myServo.write(180); // move to 180 degrees delay(1000); }
This code sweeps the servo through three positions, pausing briefly at each. Once uploaded to your Arduino, your servo should respond accordingly.
Troubleshooting Common Problems
Servo not moving: Check wiring, power supply, and ensure the servo is compatible with your voltage. * jittering or noise:* Has power supply issues. Use a dedicated power source for the servo. Overheating: Servos can get hot if under heavy load. Use appropriate torque rating and don't force movement beyond physical limits.
Expanding Your Setup
Once you have the basics down, you can start exploring:
Servo Sweeps and Continuous Rotation: Program continuous motion or oscillations. Sensor Integration: Use potentiometers, ultrasonic sensors, or other inputs to control servo movement dynamically. Multiple Servos: Coordinate more than one for complex robotic arms or multi-DOF (Degrees of Freedom) robots. Advanced Control: Implement PID control for precise positioning, or integrate feedback mechanisms for real-time adjustments.
This initial playground is just the beginning. The magic truly happens when you combine these elements into more advanced projects like robotic grippers, camera sliders, or autonomous vehicles.
Kpower has delivered professional drive system solutions to over 500 enterprise clients globally with products covering various fields such as Smart Home Systems, Automatic Electronics, Robotics, Precision Agriculture, Drones, and Industrial Automation.


