


Looking for a suitable motor?


小编
Published2025-10-15
Introduction to Servo Motors and Arduino Control
Servo Motors and Their Importance in Modern Electronics
In the world of electronics, servo motors are integral components in a vast range of systems. They are precision motors that allow for controlled movement of a mechanical component within a defined range of motion, often 180 degrees or less. Servo motors are widely used in applications such as robotics, model airplanes, automated systems, and CNC machinery due to their accuracy, reliability, and ease of use.
The key feature of a servo motor lies in its ability to rotate to a precise angle. Unlike regular DC motors, which continuously spin, servo motors can be controlled to move to a specified angle, making them ideal for applications requiring specific positioning.
For those working in electronics or robotics, learning to control servo motors is an essential skill. And when combined with Arduino, a popular open-source microcontroller platform, controlling servo motors becomes a straightforward and accessible process for both beginners and experts alike.
Understanding the Arduino Platform
Arduino is an open-source electronics platform based on simple software and hardware. It is designed to make creating interactive electronic projects easy. The platform includes a microcontroller, which serves as the brain of your projects, enabling it to read inputs from sensors and control outputs like motors, lights, and displays.
When it comes to servo motor control, Arduino is particularly powerful due to its flexibility and the availability of the Servo library, which simplifies the coding process significantly. With Arduino, you can send control signals to servo motors, adjusting their angle based on input from sensors or other control mechanisms.
How Arduino Controls a Servo Motor
To control a servo motor with Arduino, the first thing you need is a basic understanding of pulse-width modulation (PWM). PWM is a method of controlling the power sent to an electrical component by varying the width of the pulses in a signal. A servo motor requires PWM to determine the angle at which it should rotate.
Arduino generates PWM signals, which are sent to the control pin of the servo. The width of the pulse determines the angle the servo motor will turn. A wider pulse will rotate the servo to one extreme, while a narrower pulse will rotate it to the other extreme. The Arduino Servo library simplifies this process, allowing you to specify angles easily without manually dealing with the underlying PWM signals.
Basic Components Required for Arduino Servo Control
Before diving into coding, you’ll need a few key components:
Arduino Board (e.g., Arduino Uno)
Breadboard (optional for clean setup)
Power Source (if required for the servo)
The servo motor typically has three pins:
Power (VCC) – Connect to 5V on the Arduino board.
Ground (GND) – Connect to GND on the Arduino.
Signal (Control) – Connect to a digital PWM-enabled pin on the Arduino (e.g., Pin 9).
With these components, you are ready to start controlling your servo motor.
Setting up the hardware is straightforward. Connect the power pin of the servo to the 5V pin on the Arduino and the ground pin to the GND pin. The signal pin should be connected to one of the Arduino’s PWM-capable digital pins. These pins are usually labeled with a tilde (~), such as pins 3, 5, 6, 9, 10, and 11 on an Arduino Uno.
You can also use an external power source for the servo motor if the Arduino’s 5V pin cannot supply enough current. This is important for larger servos that require more power than the Arduino can provide.
Once the hardware is set up, you can begin programming your Arduino to control the servo motor.
The Arduino IDE (Integrated Development Environment) is where you will write your code. The Servo library simplifies the process of controlling the servo, eliminating the need to manually handle PWM signals.
Here’s a simple example code to control the servo:
#include // Include the Servo library
Servo myservo; // Create a Servo object
myservo.attach(9); // Pin 9 is connected to the signal pin of the servo
myservo.write(90); // Move the servo to 90 degrees
delay(1000); // Wait for 1 second
myservo.write(0); // Move the servo to 0 degrees
delay(1000); // Wait for 1 second
This code will move the servo back and forth between 0 and 90 degrees, with a 1-second delay between each move. The Servo.write(angle) function sends a PWM signal to the servo, and the angle value you provide determines the position the servo will rotate to.
Advanced Control Techniques
Once you’re comfortable with basic servo control, you can begin exploring more advanced techniques:
Servo Sweep: Create a sweeping motion by gradually changing the servo’s angle from 0 to 180 degrees, mimicking a scanning motion.
Feedback Systems: Combine servos with sensors like potentiometers or encoders to create a closed-loop feedback system, where the servo adjusts its position based on real-time input.
Multiple Servo Control: If you want to control multiple servos simultaneously, you can attach multiple servos to different pins on the Arduino and use myservo.attach(pin) for each one.
Real-World Applications and Troubleshooting
Applications of Servo Motor Control with Arduino
Servo motors, when combined with Arduino, open up a world of possibilities for creative and practical applications. Let’s explore some real-world examples where Arduino-controlled servos are commonly used.
In robotics, servo motors play a critical role in controlling the movement of robot arms, legs, or other parts. For example, in a robotic arm, servos are used to control the joints and fingers, allowing the robot to perform precise tasks like picking up objects or assembling parts. By programming Arduino to control multiple servos, you can build complex robotic systems that mimic human movement.
2. Automated Camera Systems
Servo motors are commonly used in automated camera systems, where they allow the camera to pan, tilt, and zoom. With Arduino, you can control the position of the camera based on sensor inputs or preset instructions, making it perfect for security systems, surveillance, or even automated photography rigs.
In home automation, servos can be used to control window blinds, door locks, or other mechanical systems. Arduino can be programmed to open or close blinds at specific times of the day, adjust the thermostat, or even lock doors when you leave home. Servo motors, with their precise movement, are perfect for tasks that require exact positioning.
Servo motors are essential in controlling steering mechanisms in model cars, boats, planes, and drones. By programming Arduino, you can control the speed and direction of the vehicle, making it respond to sensors, remote control inputs, or autonomous navigation algorithms.
Troubleshooting Common Servo Motor Issues
While controlling servo motors with Arduino is relatively simple, there are a few common issues you may encounter. Let’s go over some potential problems and their solutions.
1. Servo Not Moving or Behaving Erratically
If the servo isn’t moving or is jerking around, check the following:
Ensure that the servo is receiving a stable power supply.
Double-check your wiring connections, particularly the signal and ground connections.
Ensure that the servo is correctly attached to the PWM pin (e.g., Pin 9).
2. Inadequate Power Supply
Servo motors can draw more current than the Arduino board can supply, especially when under load. If your servo behaves erratically or doesn’t move correctly, try powering it using an external power source (e.g., a 5V battery pack). Make sure to connect the ground of the external power source to the Arduino ground to create a common reference.
3. Servo Does Not Reach Desired Angles
If your servo motor does not reach the expected angles, it could be due to the mechanical limitations of the servo or incorrect programming. Some servos have a limited range of motion (e.g., 0-180 degrees), while others might not be calibrated properly. Make sure the write() function is called with a value within the servo’s range.
Finally, make sure your code is correct. Always check for syntax errors or incorrect pin assignments in your code. Arduino’s IDE provides helpful error messages to guide you if something goes wrong.
By following the steps outlined above, you’ll be well on your way to mastering servo motor control with Arduino. Whether you’re building a robot, automating your home, or experimenting with electronics, servo motors provide the precision and versatility you need to bring your projects to life.
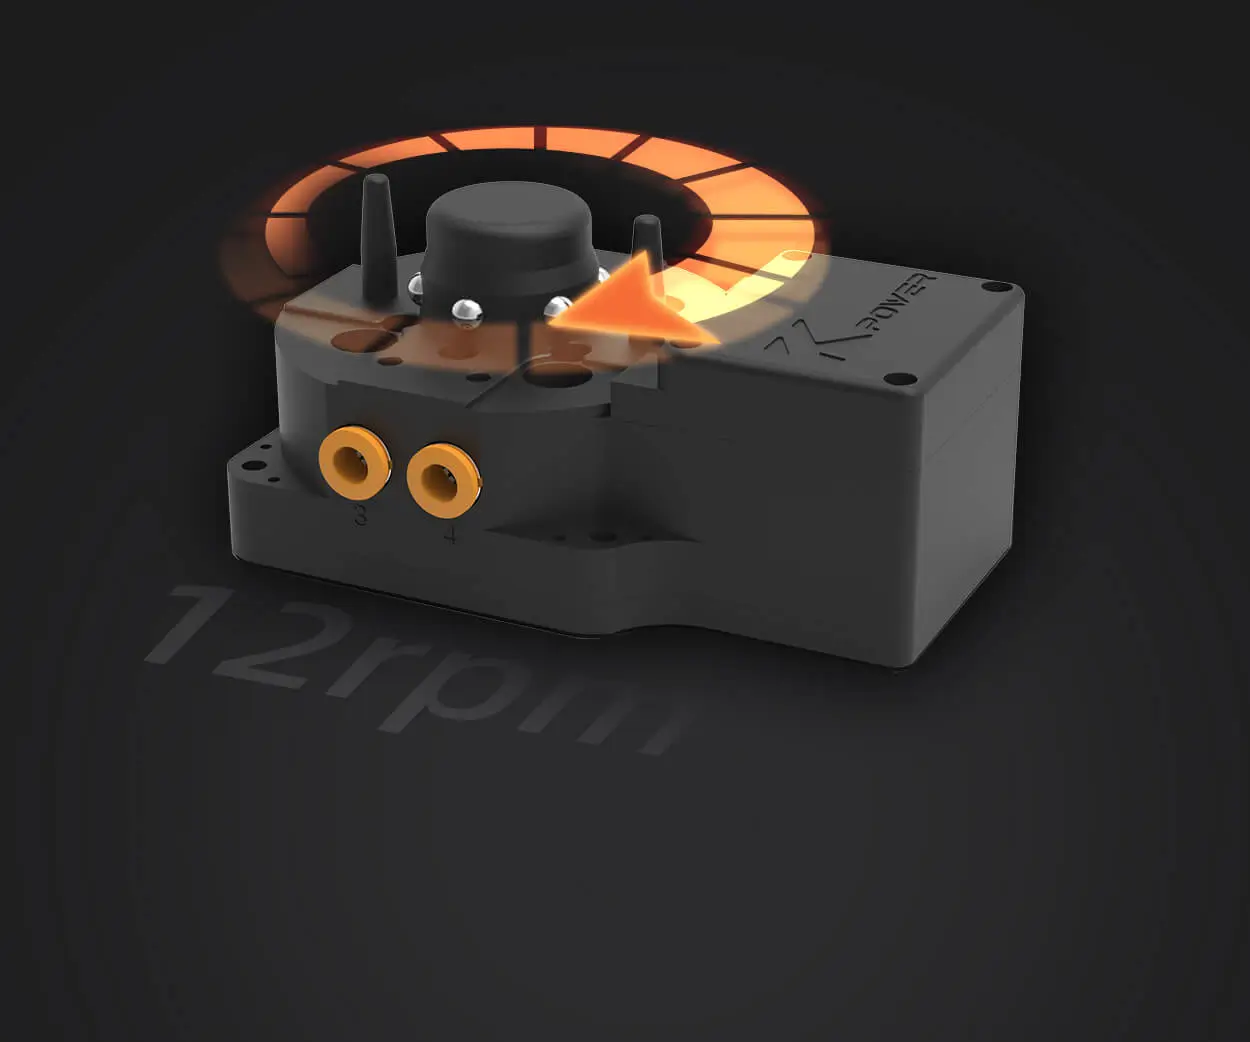
Kpower has delivered professional drive system solutions to over 500 enterprise clients globally with products covering various fields such as Smart Home Systems, Automatic Electronics, Robotics, Precision Agriculture, Drones, and Industrial Automation.
Update:2025-10-15
Contact Kpower's product specialist to recommend suitable motor or gearbox for your product.


