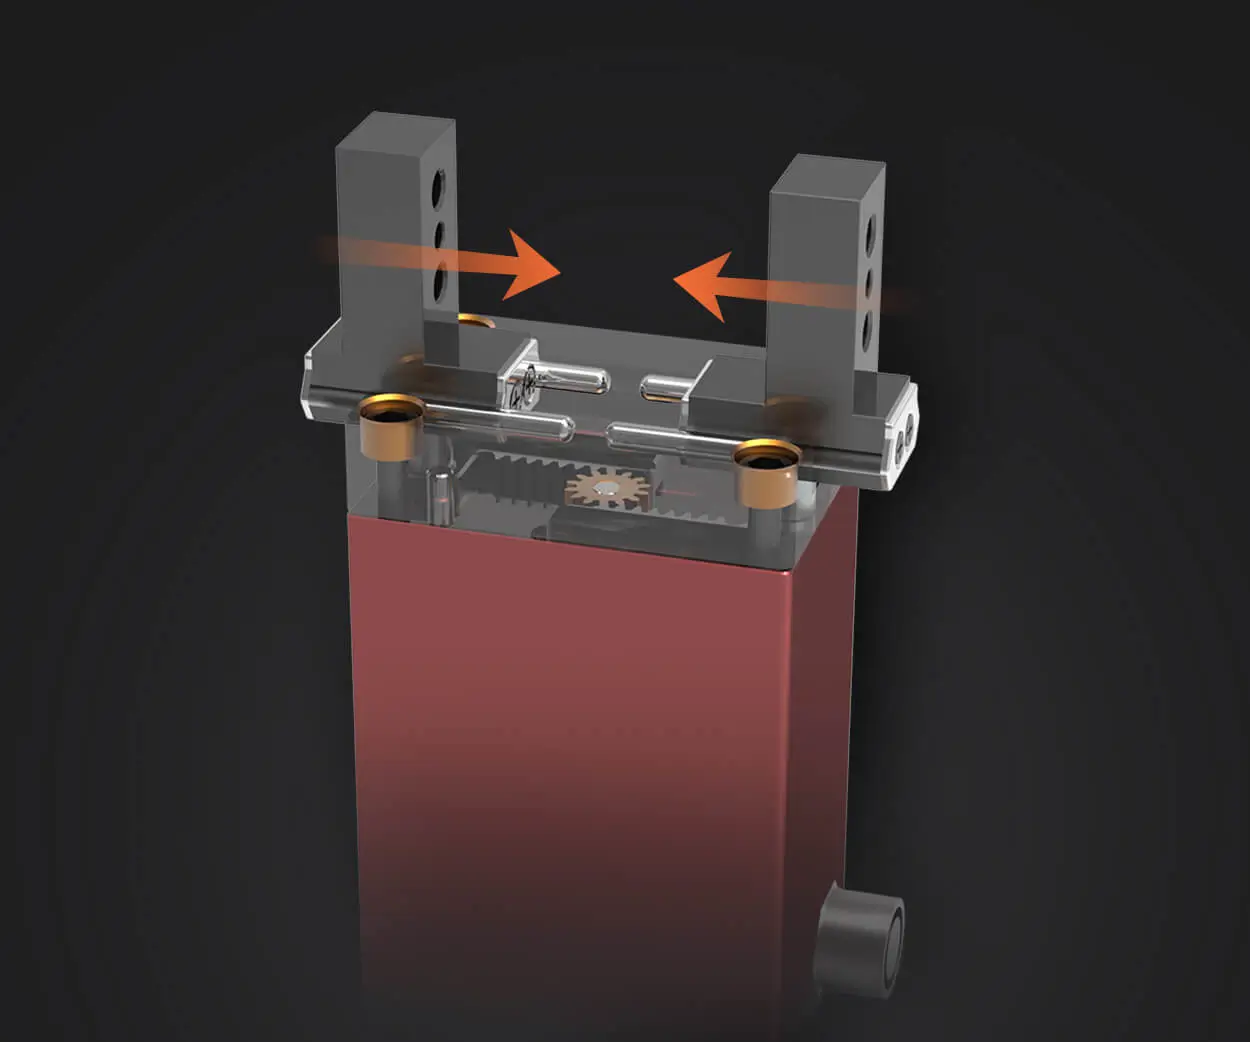
Unleashing Movement: The Power of Servomotors in Arduino Projects
Imagine a tiny device that can rotate, tilt, or swing with pinpoint accuracy—this is the magic of a servomotor. These compact, versatile components are the backbone of many hobby projects, from robotic arms to camera gimbals. But how exactly do you make a servomotor dance to your commands? That’s where Arduino, the open-source electronics platform, becomes your best friend.

What is a Servomotor?
At its core, a servomotor is a rotary actuator that allows precise control of angular position, velocity, and acceleration. Unlike standard motors, servos come with built-in feedback systems, enabling them to achieve and maintain specific positions, making them ideal for applications that demand accuracy. Most hobby servos operate within a range of 0 to 180 degrees, providing full 180-degree movement, which is perfect for most DIY tasks.
Why Use an Arduino for Servomotor Control?
Arduino boards are renowned for their simplicity and flexibility, making them perfect for controlling servos. With a few lines of code, you can command a servo to rotate to a specific angle, pause, or even perform synchronized movements in complex projects. The combination of Arduino's open-source environment and a wide array of compatible components turns a simple idea into a working prototype in no time.
Getting Started: What You Need
Before jumping into the coding aspect, gather your materials:
An Arduino board (like Arduino Uno) A standard hobby servo motor Jumper wires A breadboard (optional, for ease of connections) External power supply (recommended if you're controlling multiple motors or high-torque servos) A computer with Arduino IDE installed
Connecting Your Servomotor
The wiring is straightforward:
Power: Connect the servo's power (usually red wire) to the Arduino's 5V pin. Ground: Connect the servo's ground (black or brown wire) to one of Arduino's GND pins. Control Signal: Connect the servo's control wire (white, yellow, or orange) to a PWM-capable digital pin on Arduino (for example, pin 9).
If you're using multiple servos or high-torque motors, consider powering the servos directly from an external power source, keeping grounds connected to the Arduino for common reference.
Writing Your First Program: Basic Servo Control
Now, let's translate ideas into code. The Arduino IDE uses a library called Servo.h that simplifies controlling servo motors. Here’s a simple example to rotate your servo to 0°, then 180°, and back:
```c++
include
Servo myServo; // create servo object to control a servo
void setup() { myServo.attach(9); // attaches the servo on pin 9 to the servo object }
void loop() { myServo.write(0); // tell servo to go to position 0 degrees delay(1000); // waits for a second myServo.write(180); // tell servo to go to position 180 degrees delay(1000); // waits for a second } ```
This simple script demonstrates how to move the servo between two points, serving as the foundation for more complex movements.
Understanding the Code
#include : Imports the servo library, providing functions to control the motor. Servo myServo;: Creates an instance of the servo object. myServo.attach(9);: Defines which digital pin is used for control. myServo.write(angle);: Commands the servo to turn to a specific angle (0-180). delay(ms);: Pauses execution to allow the servo to reach the target position before moving again.
Next Steps: Expanding Your Control
With this basic setup, you’re ready to explore more complex routines:
Continuous rotation: Modifying code to rotate servos infinitely at variable speeds. Sensor integration: Using light, distance, or position sensors to make the servo respond dynamically. Multiple servos: Coordinating several motors for robotic arms or moving platforms.
In the next part, we'll dive into more advanced programming techniques, troubleshoot common issues, and explore creative ways to use servomotors in your projects. Stay tuned to unlock the full potential of Arduino-powered motion!
Established in 2005, Kpower has been dedicated to a professional compact motion unit manufacturer, headquartered in Dongguan, Guangdong Province, China.


