Imagine a world where your ideas come to life with just a few lines of code—where mechanical movements are no longer a daunting mystery but a well-choreographed dance. This is the magic of controlling servo motors with Arduino. Whether you’re designing a robot arm, a remote-controlled vehicle, or an innovative art installation, understanding how to accurately control a servo motor’s rotation is fundamental.

What is a Servo Motor?
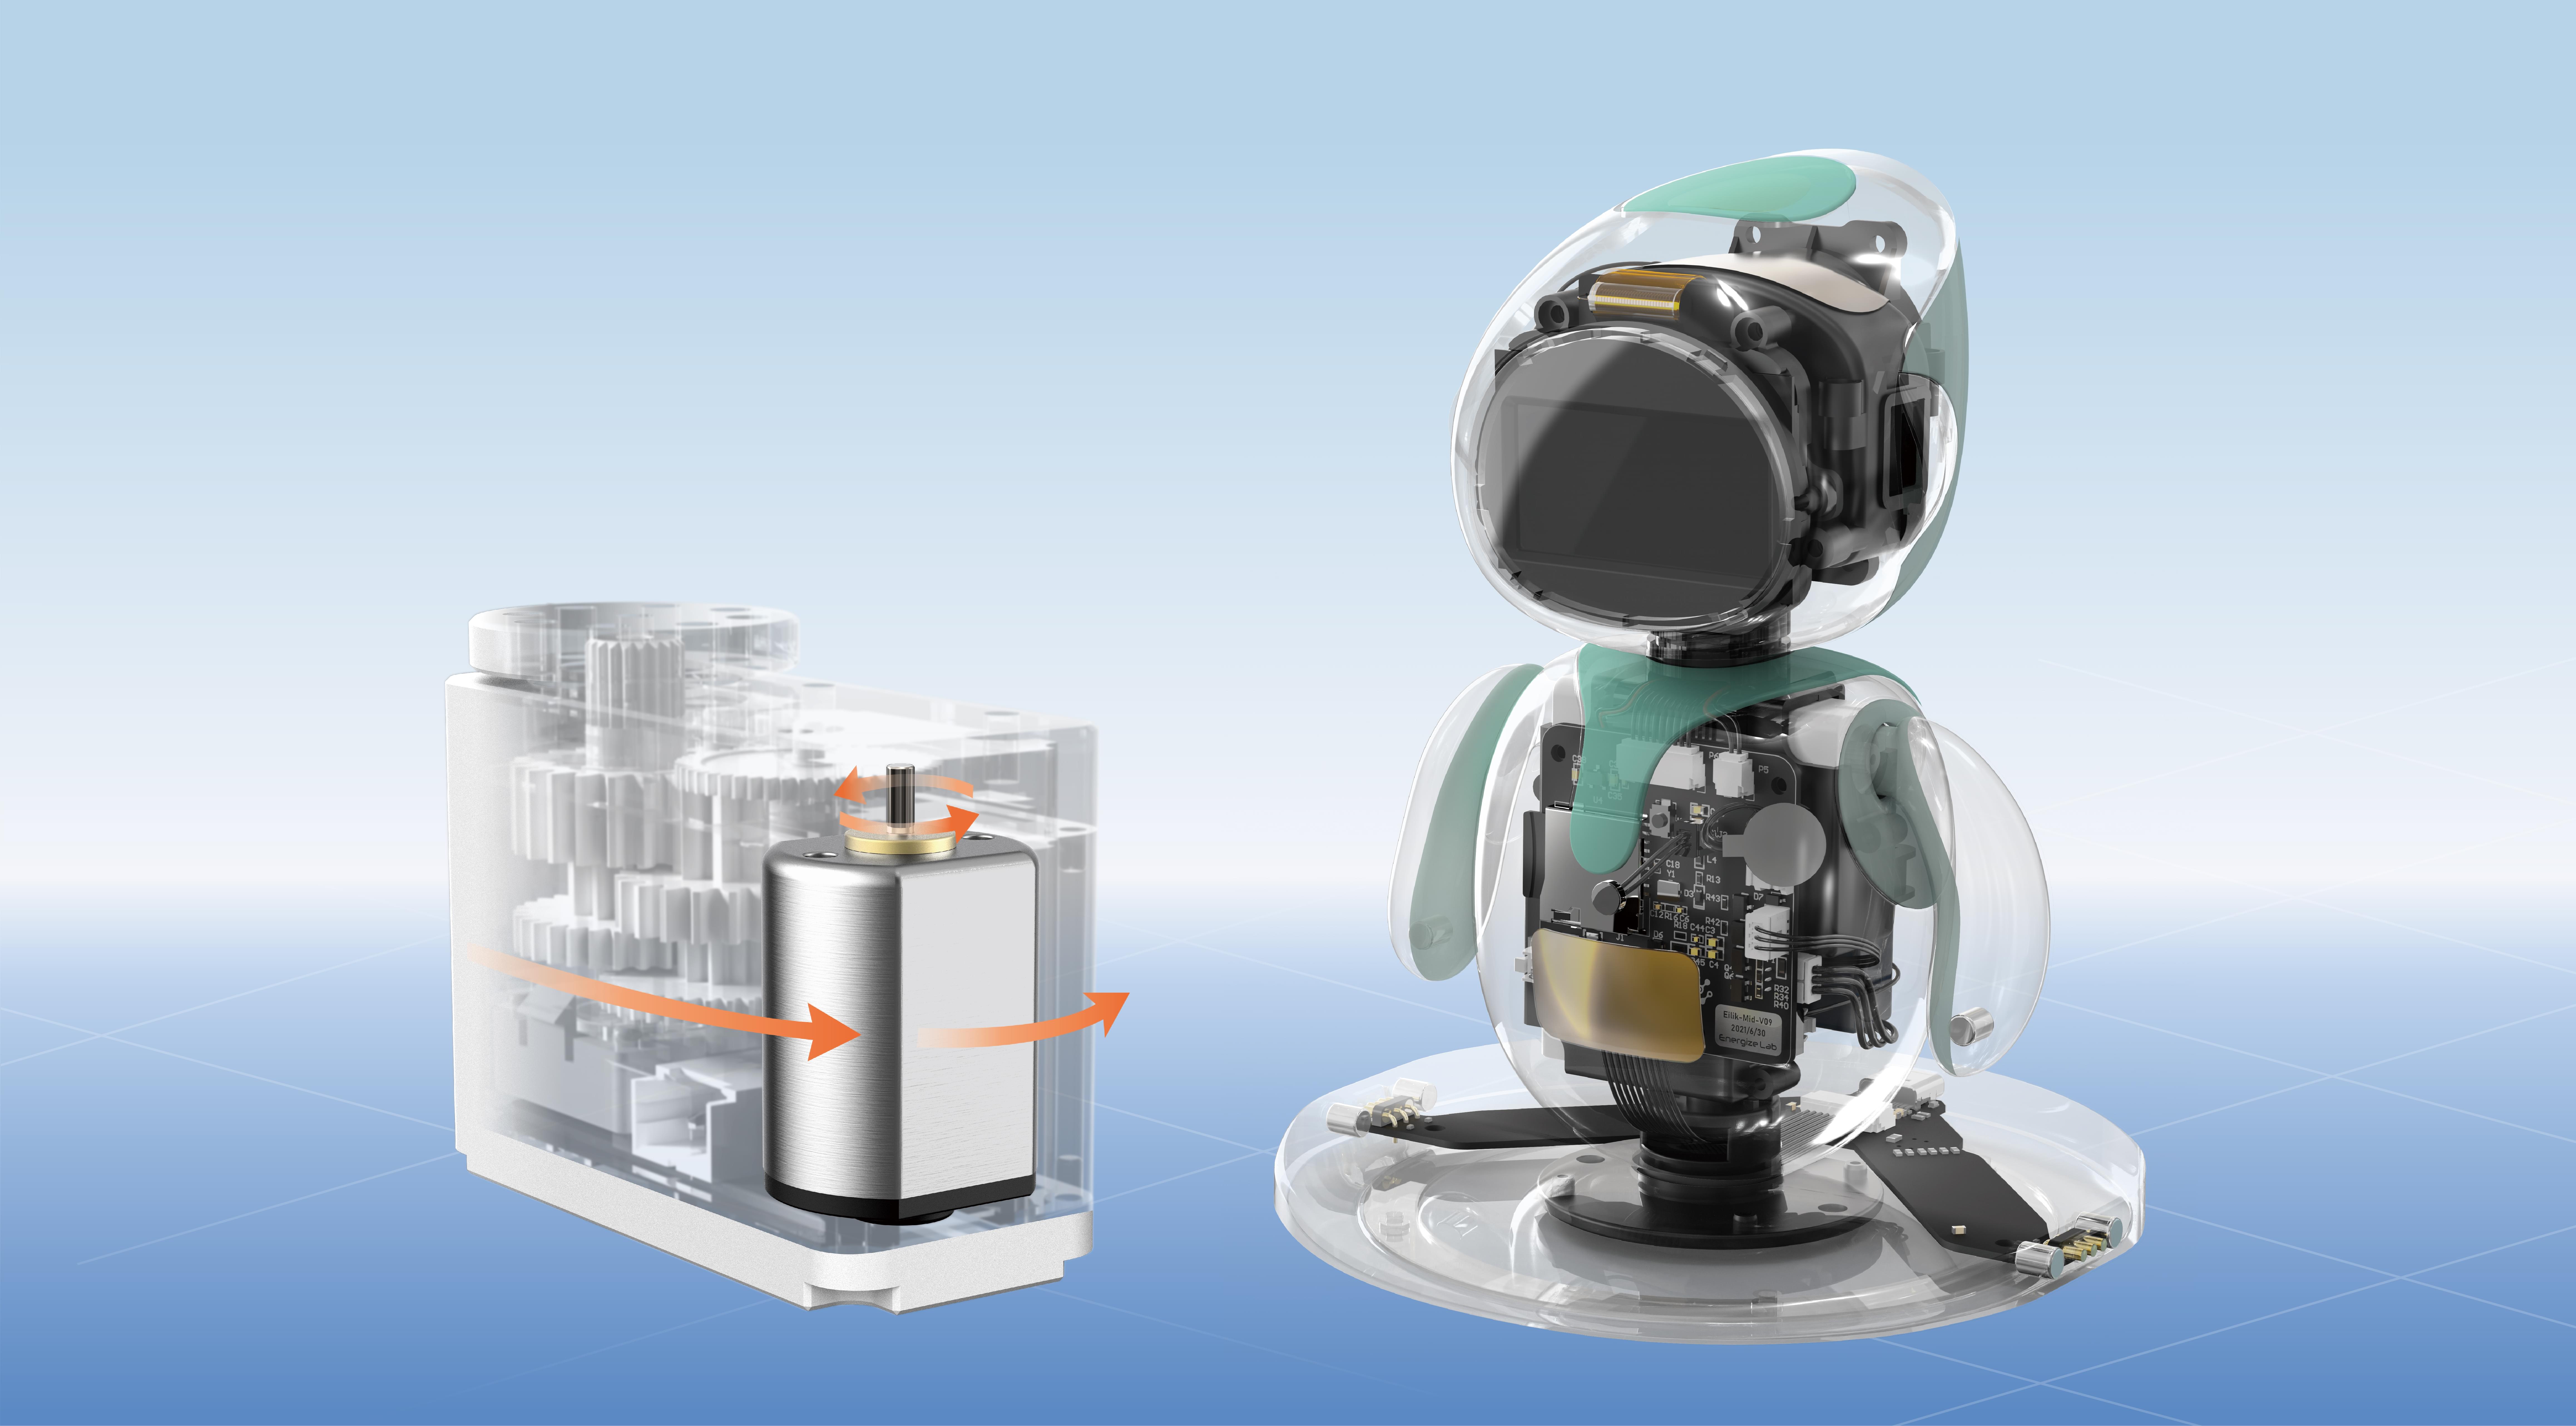
A servo motor might seem like a simple motor at first glance, but it packs a lot of sophistication into its small frame. Essentially, it’s a rotary actuator—meaning it can produce a rotational movement—equipped with a built-in feedback mechanism. This allows it to rotate precisely to a specified position, making it ideal for applications where exact control is necessary.
Servos are commonly used in robotics, RC vehicles, drones, and automation projects. They typically operate on 4.8 to 6 volts and come with a built-in control circuit that interprets PWM (pulse-width modulation) signals to manage position. The control signal determines the angle of rotation, usually within a range of 0° to 180°, although some servos can rotate beyond this limit.
Why Use Arduino to Control Servos?
Arduino, with its user-friendly environment and extensive community support, is a perfect platform for controlling servo motors. Using Arduino’s dedicated Servo library, you can easily send PWM signals to the servo and command it to move to specific angles.
This simplicity allows hobbyists and professionals alike to focus on their project’s creative aspects without getting bogged down in complex electronics. Plus, Arduino’s versatility lets you control multiple servos at once, synchronize movements, and integrate sensors and communication modules—all crucial features for sophisticated automation systems.
The Basics of Servo Control
Controlling a servo with Arduino involves generating PWM signals that tell the servo what position to move to. Unlike the regular PWM used for LED brightness, servo control PWM is specific: it’s a pulse train within a set timeframe, typically 20 milliseconds. The width of the pulse within that frame determines the servo’s position.
Pulse width 1ms: Corresponds to the 0° position. Pulse width 1.5ms: Corresponds to the 90° (middle) position. Pulse width 2ms: Corresponds to the 180° position.
The Arduino servo library abstracts all this complexity, providing functions like write() or writeMicroseconds() to specify the desired position directly.
Setting Up Your Hardware
Getting started is simple:
Components Needed:
Arduino board (Uno, Mega, Nano, etc.) Servo motor (standard 180° servo) Power supply (if powering multiple servos or larger ones) Jumper wires Breadboard (optional for prototyping)
Connections:
Connect the servo’s signal pin (usually yellow or white) to a digital PWM pin on Arduino (e.g., Pin 9). Connect the servo’s power line (red) to the 5V pin (or external power if needed). Connect the ground (black or brown) to Arduino ground (GND).
Basic Arduino Code for Servo Control
Here’s a simple example that moves a servo to 0°, then to 90°, and then to 180°:
#include Servo myServo; void setup() { myServo.attach(9); // Attach servo to digital pin 9 } void loop() { myServo.write(0); // Move to 0 degrees delay(1000); // Wait 1 second myServo.write(90); // Move to 90 degrees delay(1000); myServo.write(180); // Move to 180 degrees delay(1000); }
This code demonstrates fundamental movement, but you can expand on it with sensor feedback, autonomous routines, or interactive control.
Practical Applications and Projects
From automating small mechanical arms to developing complex robotics, controlling servos can revolutionize your projects. Imagine deploying a robotic camera gimbal that keeps your footage steady, or constructing an automated greenhouse window vent that responds to temperature sensors. The possibilities are endless—and accessible thanks to Arduino.
Tips for Smooth and Accurate Servo Control
Power carefully: Some servos draw significant current; power them from an external source if necessary. Delay appropriately: Always give enough time for the servo to reach its position before issuing new commands. Limit your angles: Avoid commanding the servo beyond its physical limits (check your servo’s datasheet). Calibrate your servo: Different models may interpret PWM signals slightly differently; measure and fine-tune PWM values as needed. Use hardware PWM: Arduino’s dedicated PWM pins help in generating cleaner signals, reducing jitter.
With these foundational steps, you're well on your way to mastering servo motor control through Arduino. Practice, experiment, and let your creativity lead you to discover new, exciting ways to animate your ideas.
(part2 to be provided in the next message)
Established in 2005, Kpower has been dedicated to a professional compact motion unit manufacturer, headquartered in Dongguan, Guangdong Province, China.


