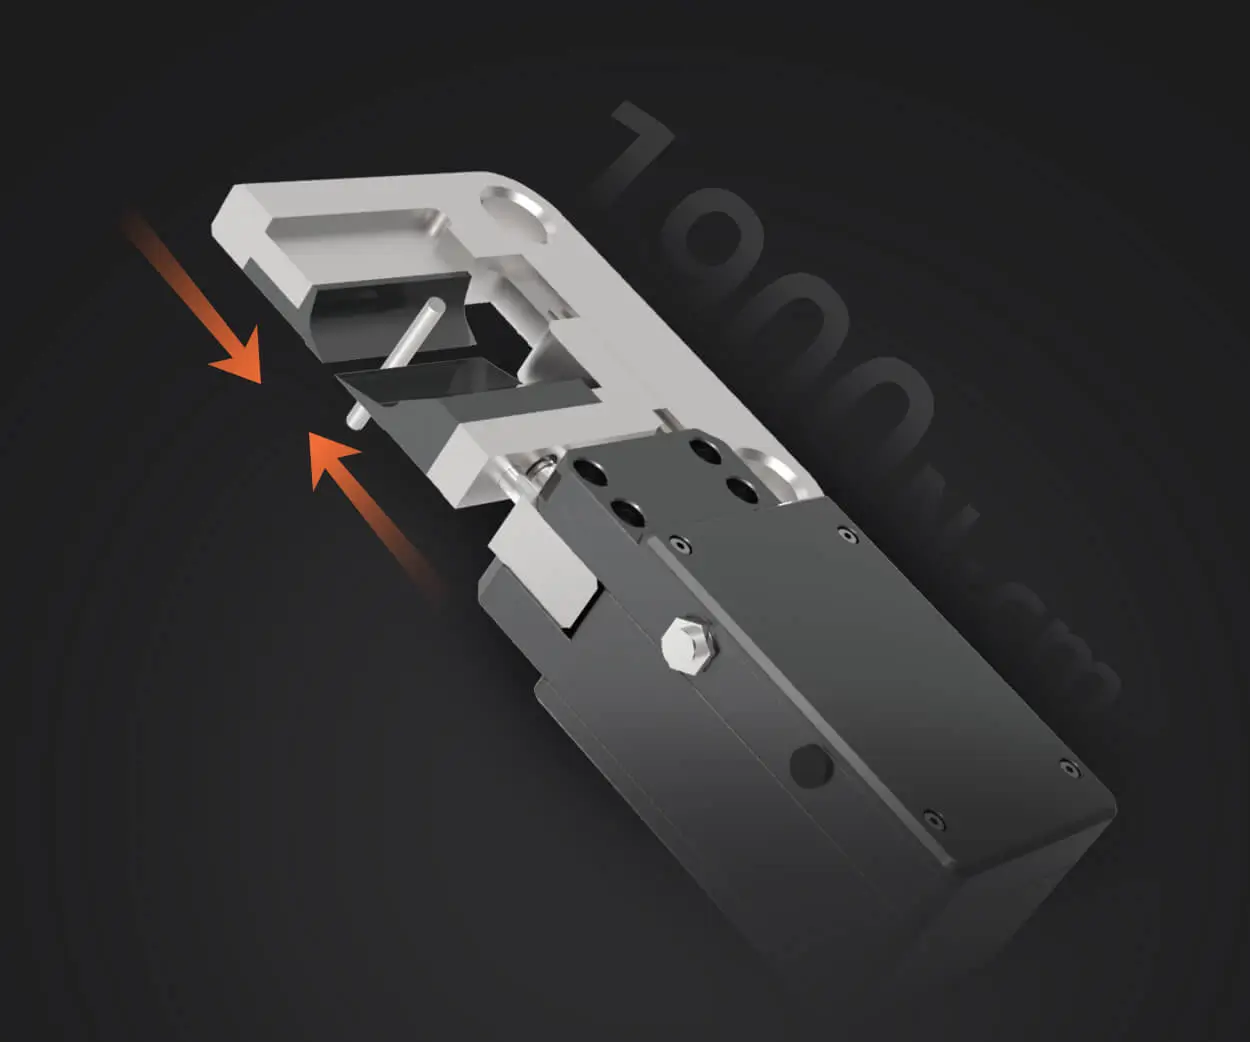
Unleashing Creativity with Arduino and Servo Motors
Imagine a world where your ideas can come alive with a simple click—an art installation moving precisely to your touch, a robot arm mimicking human gestures, or a tiny drone maneuvering gracefully through the air. All these marvels are possible thanks to the synergy between Arduino microcontrollers and servo motors. These compact, versatile actuators enable machines to accomplish fraction-of-a-degree movements, making them invaluable components in both hobbyist and professional projects.

The Magic of the Servo Motor
Servo motors are unlike regular motors; they’re designed not just to spin endlessly but to rotate to a specific angle and hold that position with remarkable accuracy. This attribute transforms simple electronics into sophisticated control systems—robotic limbs, camera gimbals, RC vehicles, and more.
Think of a servo motor as a well-trained pet: it responds precisely to commands, maintaining its position until told otherwise. They’re built with a motor, a gear train, a sensor (potentiometer or encoder), and a controller that constantly adjusts movement based on feedback. This feedback loop ensures high precision, making servo motors ideal for applications where accuracy is paramount.
Why Use Arduino?
Arduino’s popularity stems from its ease of use, versatility, and an active community. It simplifies programming and interfacing with various electronic components, including servo motors. Using Arduino’s straightforward programming environment (the Arduino IDE), hobbyists and professionals can create complex systems without diving deep into low-level electronics or assembly language.
In this guide, we will explore how to control a servo motor with Arduino: from simple commands that turn the motor to specific angles, to more advanced techniques that enable smooth, continuous movement. You’ll learn practical code snippets, troubleshooting tips, and ideas for expanding your projects.
Getting Started: Components and Setup
Before jumping into code, let’s gather what you'll need:
An Arduino board (Uno, Mega, Nano, or others) A servo motor (standard 180-degree rotation servo, like the SG90 or MG996R) A breadboard and jumper wires External power supply (if your servo requires more current) Optional: Potentiometer or sensors for interactive control
Hooking Up Your Servo
Connecting a servo is straightforward:
Power (Vcc): Connect to 5V on Arduino (or external power if high current) Ground (GND): Connect to GND on Arduino Signal: Connect to a PWM-capable digital pin, commonly pin 9 or 10
Basic Arduino Code to Control a Servo
The simplest way to control a servo is by using the built-in Servo library. Here’s a quick example:
#include Servo myServo; // Create Servo object void setup() { myServo.attach(9); // Attach servo signal pin to digital pin 9 } void loop() { myServo.write(0); // Move servo to 0 degrees delay(1000); // Wait for a second myServo.write(90); // Move to 90 degrees delay(1000); myServo.write(180); // Move to 180 degrees delay(1000); }
This code commands the servo to cycle between 0°, 90°, and 180°, pausing one second at each position. It's perfect for beginners and serves as a foundation for more complex control.
Understanding the Code
Servo.h: The Arduino library simplifies servo control. myServo.attach(9): Binds the servo object to pin 9. myServo.write(angle): Sets servo position. delay(): Pauses the code, allowing the servo time to reach the position.
Smoother Movements
While the above code is instructive, moving directly from one position to another may produce jerky motions. To create smooth transitions, you can implement incremental control:
#include Servo myServo; void setup() { myServo.attach(9); } void loop() { for (int pos = 0; pos <= 180; pos += 1) { myServo.write(pos); delay(15); // Slow down movement } for (int pos = 180; pos >= 0; pos -= 1) { myServo.write(pos); delay(15); } }
This code gradually moves the servo back and forth, creating fluid motions suitable for animation, robotics, or artistic installations.
Controlling Servo with Potentiometer
Add interactive control by reading a potentiometer's position:
#include Servo myServo; int potPin = A0; // Analog pin A0 int val; void setup() { myServo.attach(9); Serial.begin(9600); } void loop() { val = analogRead(potPin); // Read potentiometer int angle = map(val, 0, 1023, 0, 180); // Map to 0–180 degrees myServo.write(angle); Serial.println(angle); delay(15); }
Simple, effective, and interactive—this snippet translates real-world input into precise motion.
Part2 to follow…
Established in 2005, Kpower has been dedicated to a professional compact motion unit manufacturer, headquartered in Dongguan, Guangdong Province, China.


