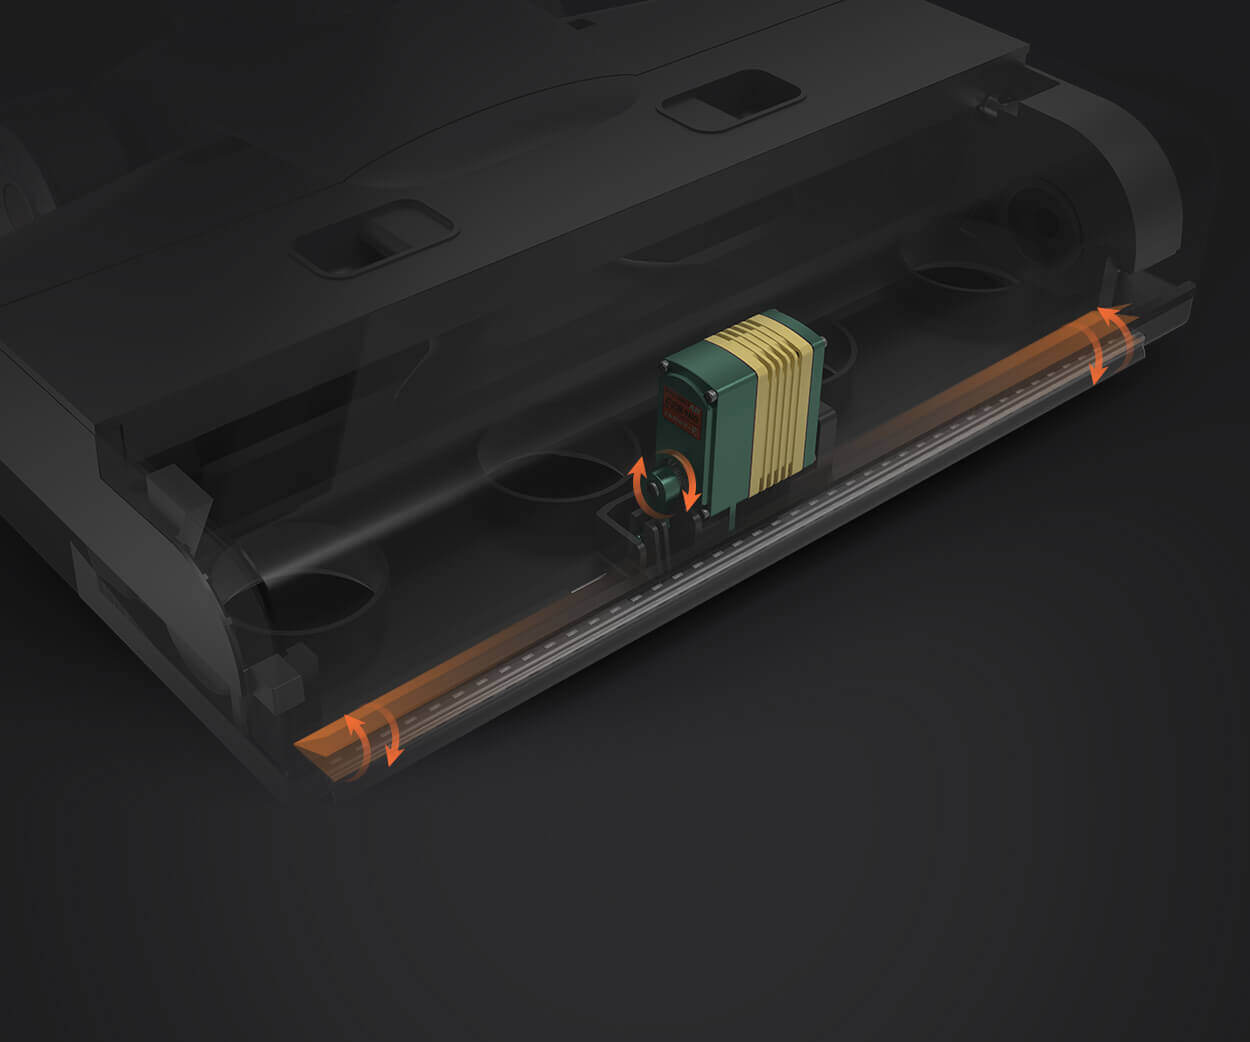
Unleashing the Potential of Arduino and Servo Motors: Your Gateway to Precision Control
Imagine a world where small robots dance with precision, camera gimbals move smoothly, or automated doors respond seamlessly—what do all these have in common? The magic lies in the integration of components like servo motors with microcontrollers such as Arduino. If you’ve ever wanted to step into the realm of robotics or home automation, mastering how to control servo motors with Arduino is your first significant leap.

Understanding the Basics: What is a Servo Motor?
At its core, a servo motor is an actuator that can precisely control angular position, velocity, and acceleration. Unlike standard motors that spin freely in either direction, servo motors are equipped with a built-in feedback system, enabling exact position control. They consist of a motor, gears, and a control circuit, often integrated into a single unit.
Servo motors are available in various sizes and torque ratings. Smaller servos are perfect for lightweight applications like RC planes or small robots, while larger variants can handle more demanding tasks such as moving robotic arms. Their versatility makes them a favorite among hobbyists and engineers alike.
Why Use Arduino for Servo Control?
Arduino, with its straightforward programming environment and extensive community support, provides the perfect platform for controlling servo motors. It simplifies electrical connections and minimizes complexity, making sophisticated movements accessible to beginners.
By connecting a servo to an Arduino, you can command precise angles and movements with simple code snippets. This opens up a universe of possibilities—from automated curtains to robotic arms, or even artistic installations.
Key Components Needed
Before you begin, gather the essentials:
Arduino board (Uno, Mega, or any compatible model) Servo motor (commonly MG996R, SG90, or similar) Power supply (batteries or regulated power source) Jumper wires Breadboard (optional but helpful for prototyping) Resistors or other components for complex circuits (based on project needs)
Wiring the Servo to Arduino
Connecting your servo motor is straightforward:
Power (Vcc): Connect the servo's red wire to 5V on the Arduino or an external power source for larger servos. Ground (GND): Connect the brown or black wire to GND. Signal (PWM Control): Connect the control wire (usually yellow or white) to a digital PWM pin on Arduino (e.g., pin 9).
Note: For large servos drawing significant current, use an external power supply to avoid stressing the Arduino's power regulator. Always connect grounds together to ensure proper reference.
Basic Arduino Code to Control a Servo
Here’s a simple example to get you started:
#include // Create servo object Servo myServo; void setup() { // Attach the servo to pin 9 myServo.attach(9); } void loop() { // Sweep from 0° to 180° for (int angle = 0; angle <= 180; angle += 1) { myServo.write(angle); delay(15); } // Sweep back from 180° to 0° for (int angle = 180; angle >= 0; angle -= 1) { myServo.write(angle); delay(15); } }
This code smoothly moves the servo from 0 to 180 degrees and back, creating a fascinating back-and-forth motion—a perfect demo to observe servo control in action.
Understanding PWM and Servo Control
Servo motors work using Pulse Width Modulation (PWM)—a technique where the width of a pulse signals the position. Typically, a pulse width of 1ms corresponds to 0°, 1.5ms to 90°, and 2ms to 180°. The Arduino’s Servo library abstracts this complexity, allowing users to specify angles directly, simplifying the programming process.
Refining Your Control: Speed, Accuracy, and Stability
While the basic code provides movement, real-world projects demand more finesse:
Speed Control: Adjust the delays or implement acceleration algorithms to make movements smoother. Position Feedback: For advanced robotics, consider servos with feedback or add sensors to verify positions. Power Management: Use appropriate power sources for stability, especially with high-torque servos.
Common Troubleshooting Tips
Ensure your power supply can handle the servo’s current draw. Keep the grounds connected between the servo, Arduino, and power source. Use the correct PWM pin if your servo or code requires it. Avoid abrupt commands that can stress the servo, leading to jitter or wear.
Real-World Applications to Inspire You
Controlling servo motors opens endless doors:
Robotics: Precise arm movement for pick-and-place tasks. Camera Gimbals: Stable video footage with smooth panning. Home Automation: Automated blinds, doors, or ventilation. Educational Projects: Engaging hardware demonstrations for students. Art Installations: Moving sculptures or kinetic art pieces.
Established in 2005, Kpower has been dedicated to a professional compact motion unit manufacturer, headquartered in Dongguan, Guangdong Province, China.


