Certainly! Here’s the first part of your soft article on "Arduino Servo Motor and Code" tailored to be engaging, informative, and attractive. The remainder will follow in the next message.

Imagine a world where your ideas spring to life at the push of a button or the flick of a switch. From simple robotic arms to complex automated systems, the magic behind these creations often hinges on a common hero: the servo motor. These tiny yet powerful devices are the backbone of countless DIY projects, and when paired with an Arduino, they open a universe of possibilities to hobbyists, students, and engineers alike.
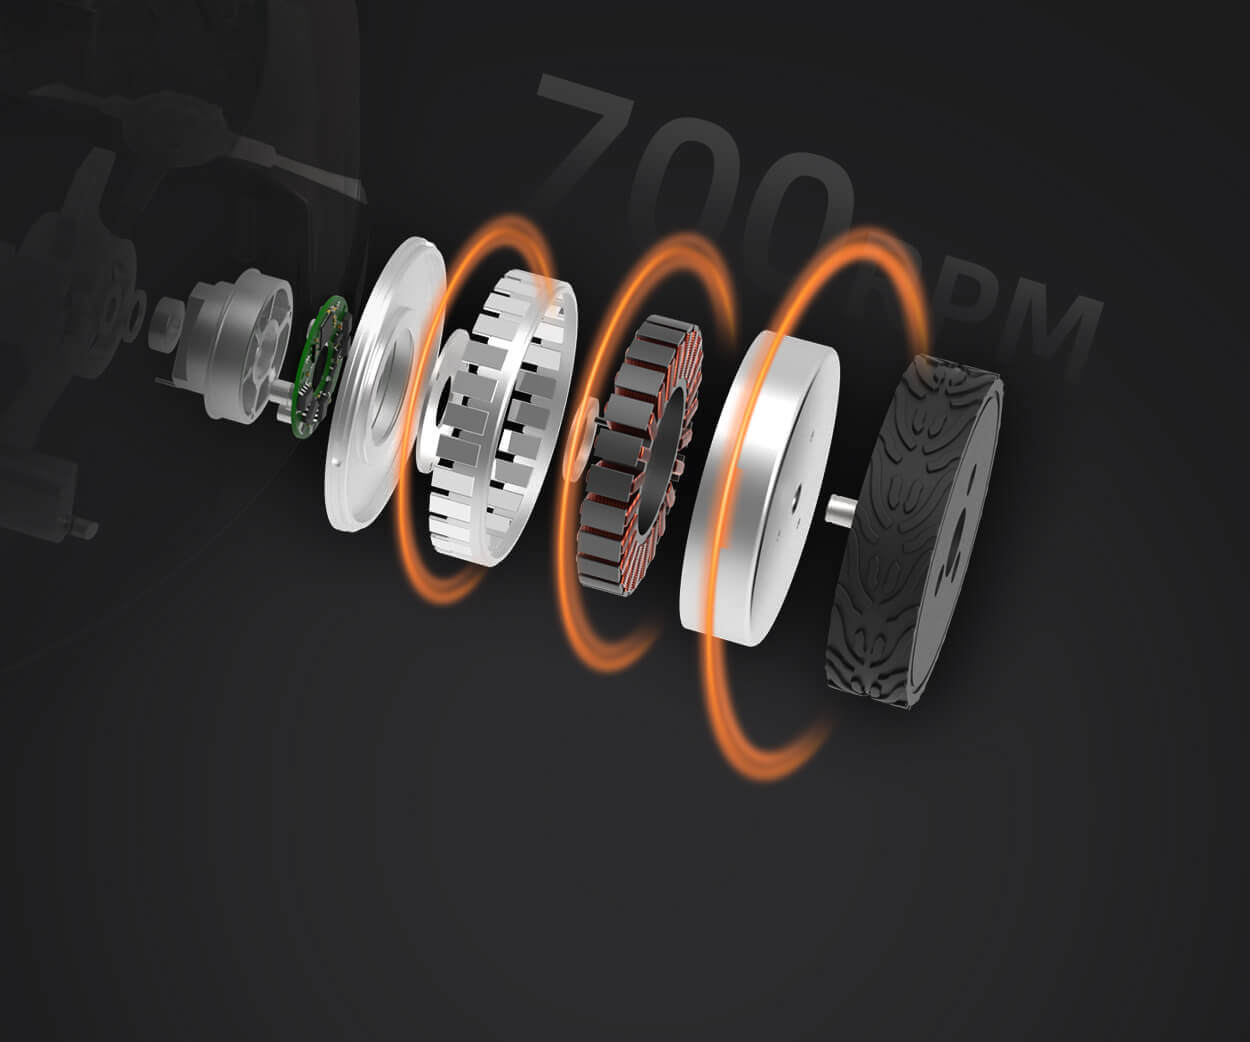
What is an Arduino Servo Motor? At its core, a servo motor is a specialized motor designed for precise control of angular or linear position. Unlike regular motors that just spin continuously, servo motors are built to move to a specified position and hold there with remarkable accuracy. This makes them perfect for robotic arms, camera gimbals, automated valves, and other applications where exact movement is key.
An Arduino servo motor, specifically, is compatible with the popular Arduino microcontroller platform, enabling seamless integration, simple wiring, and straightforward programming. It typically includes a small control board that interprets signals from the Arduino and translates them into movement.
Why Use a Servo with Arduino? The synergy between Arduino and servo motors is powerful because it combines easy-to-use hardware with flexible software. Arduino provides an accessible environment for coding, and servo motors give immediate, tangible feedback to your commands. Whether you're a beginner working on your first project or a seasoned engineer prototyping new ideas, this pairing unlocks a worlds-of-wonder potential.
Getting Started with Basic Components To participate in this exciting journey, you'll need a few essential components beyond the Arduino itself:
Servo Motor: The heart of your project. Popular models include the SG90 (micro servo) and MG995 (larger, more torque). Arduino Board: UNO is a common choice, but any model works as long as you have compatible pins. Breadboard and Jumper Wires: For easy, mess-free wiring setups. Power Supply: Often, the servo might need an external power source if it demands more current.
Once you've gathered these, you're ready to tie everything together and start your hands-on adventure.
Wiring Your Servo to Arduino The typical servo motor has three wires: power (usually red), ground (black or brown), and signal (white, yellow, or orange). Connecting these is straightforward:
Power wire to the 5V pin on Arduino. Ground wire to the GND pin on Arduino. Signal wire to a PWM-capable digital pin (like pin 9).
It's important to check your servo's voltage and current needs and ensure your power supply can handle the load, especially if using multiple servos. Running servos from the Arduino's 5V pin is often fine for small, single servos but can cause reset issues if you're controlling many or high-torque models.
The Key to Control: PWM Signals Servos interpret pulse width modulation (PWM) signals to determine their position. The Arduino uses specific commands like servo.write() to set these signals simply by specifying an angle in degrees (usually between 0° and 180°). Internally, this translates into a pulse width ranging typically from 1ms to 2ms within a 20ms period, opening up a precise window of movement control.
Your First Arduino Servo Program Now, let's jump into some code. Here’s a minimal example to move a servo from 0° to 180° and back:
#include Servo myServo; // create servo object void setup() { myServo.attach(9); // attach servo to digital pin 9 } void loop() { myServo.write(0); // move to 0 degrees delay(1000); // wait for a second myServo.write(180); // move to 180 degrees delay(1000); // wait for a second }
This simple sketch creates and controls a servo. The Servo library simplifies the complexity, making programming accessible even for first-time coders.
Exploring More With this basic foundation, you can start experimenting—adding buttons to control the angles, creating sweeping motions, or integrating sensors for more interactive functionalities. The real excitement begins when your mechanical movements are coordinated with sensors, timers, or even Bluetooth and Wi-Fi modules.
As you gain confidence, you’ll find that servo motors are not just simple movement components but also gateways to innovation—turning your ideas into reality one precise tilt or turn at a time.
Part 2 will continue from here, diving deeper into advanced control techniques, adding multiple servos, and inspiring creative project ideas.
Kpower has delivered professional drive system solutions to over 500 enterprise clients globally with products covering various fields such as Smart Home Systems, Automatic Electronics, Robotics, Precision Agriculture, Drones, and Industrial Automation.


