


Looking for a suitable motor?


小编
Published2025-10-15
Introduction to Servo Motors and the ESP32
In the world of robotics and automation, the need for precise motor control is paramount. One of the most common types of motors used for this purpose is the servo motor. It offers high precision, is easy to control, and is widely used in various applications such as robotics, camera gimbals, remote-controlled models, and even automation systems. If you’re looking to integrate servo motors into your projects, the ESP32 microcontroller can be a fantastic choice. In this guide, we’ll explore how to connect and control servo motors with the ESP32, taking you through both the hardware setup and the coding process.
Understanding the Servo Motor
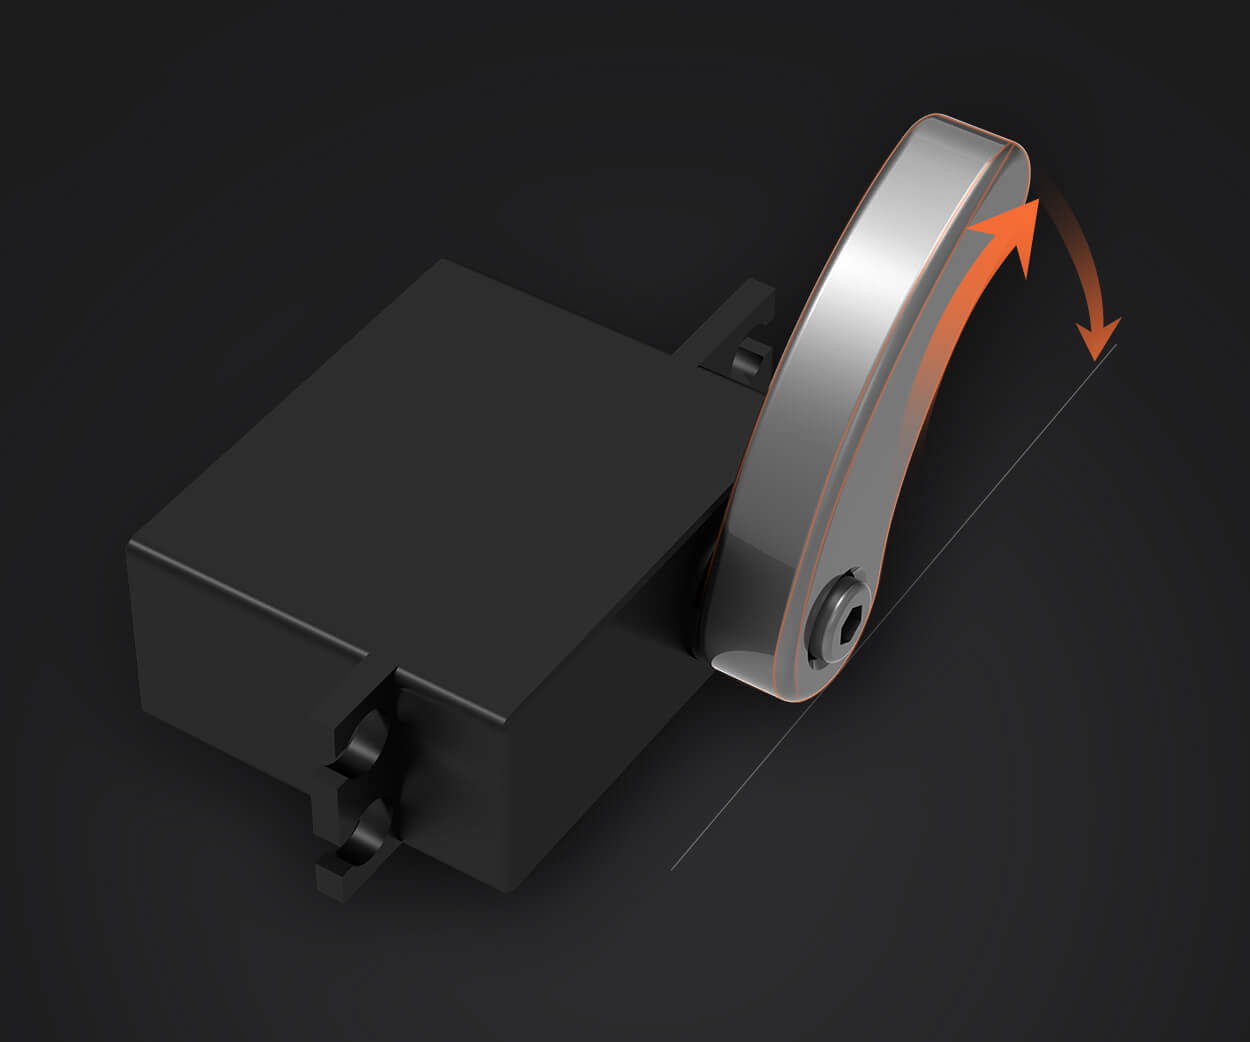
Before diving into the connection details, let's quickly review what a servo motor is and why it’s so popular for precise motion control. A servo motor consists of a small DC motor, a gear train, and a feedback mechanism that reports the position of the motor shaft. The motor’s position is typically controlled by sending Pulse Width Modulation (PWM) signals, which define the angle the motor shaft should rotate to.
There are two main types of servo motors:
Standard Servo Motors: These usually have a rotation range of 0 to 180 degrees.
Continuous Rotation Servo Motors: These can rotate indefinitely in both directions and are typically used in wheels or car models.
For this guide, we’ll focus on the standard servo motor, as it’s the most common for precise angle control.
Why Use the ESP32 for Servo Control?
The ESP32 is a highly capable microcontroller with built-in Wi-Fi and Bluetooth capabilities, making it a versatile option for many projects. It’s also powerful enough to handle tasks such as real-time servo motor control, making it an excellent choice for automation, robotics, and even Internet of Things (IoT) applications. One of the best features of the ESP32 is its ability to handle PWM signals, which are essential for controlling servo motors.
In comparison to other microcontrollers, the ESP32 offers:
Dual-core processing, which allows for better multitasking.
A variety of PWM output pins, giving you flexibility when connecting multiple servo motors.
Low power consumption and excellent connectivity options, making it suitable for long-term, battery-powered applications.
With that said, let’s look at how to wire a servo motor to the ESP32 and start controlling it.
Wiring the Servo Motor to the ESP32
To get started with the servo motor and ESP32, you’ll need a few basic components:
ESP32 Board (such as the ESP32 DevKit v1)
Servo Motor (standard 9g servo or any other type)
External Power Source (depending on your servo motor’s voltage requirements)
Breadboard (optional for organization)
Connecting the Servo Motor to the ESP32
Power Supply for the Servo: Servo motors typically require more power than what the ESP32 can provide through its pins, especially under load. For example, a standard servo motor usually operates at 5V, while the ESP32 uses a 3.3V logic level for control. Therefore, it's important to use an external 5V power supply for the servo motor.
VCC Pin (Servo): Connect the servo's VCC pin to the 5V power rail (either directly or via an external power supply).
GND Pin (Servo): Connect the servo's GND pin to the ground (GND) of the ESP32 and the external power supply. This ensures that both the ESP32 and the servo share a common ground.
Signal Pin (Servo): Connect the servo's signal pin to a PWM-capable GPIO pin on the ESP32, for example, GPIO 13.
Powering the ESP32: The ESP32 should be powered via the USB connection or an external 3.3V power source. Ensure that the servo motor’s power source is separate from the ESP32 power source to avoid drawing too much current from the ESP32 board.
With the wiring complete, we’re now ready to control the servo motor using the ESP32.
Controlling the Servo with the ESP32
To control the servo motor, we’ll need to send PWM signals from the ESP32. The signal determines the angle to which the servo motor should rotate. By adjusting the pulse width (duration of the signal), you control the position of the servo.
Setting Up the Arduino IDE for ESP32
To program the ESP32, we’ll be using the Arduino IDE. If you haven’t already installed the ESP32 board support for Arduino, follow these steps:
Open the Arduino IDE and go to File > Preferences.
In the Additional Boards Manager URLs field, add the following URL: https://dl.espressif.com/dl/package_esp32_index.json.
Go to Tools > Board > Boards Manager, search for ESP32, and install the package.
Once the board support is installed, select your ESP32 model under Tools > Board.
In this simple example, we will use the Servo library in the Arduino IDE to control the servo motor.
// Attach the servo motor to the PWM pin
myServo.attach(servoPin);
// Sweep the servo motor from 0 to 180 degrees
for (int pos = 0; pos <= 180; pos++) {
myServo.write(pos); // Set the servo to the current position
delay(15); // Wait for the servo to reach the position
// Sweep the servo motor back from 180 to 0 degrees
for (int pos = 180; pos >= 0; pos--) {
Fine-Tuning Servo Control and Advanced Techniques
Now that you've successfully set up basic servo control, let’s dive deeper into advanced techniques that allow you to fine-tune and extend the capabilities of your servo motor and ESP32.
Improving Servo Control Accuracy
The basic code we wrote above is enough for general use, but sometimes more precision is needed, especially when dealing with multiple servos or complex movements. To improve the accuracy of your servo control:
Use a More Stable Power Source: As mentioned earlier, servo motors can draw significant current, especially under load. Using a dedicated power supply for the servos (separate from the ESP32) can prevent voltage dips and ensure smooth operation.
Add a Capacitor: Place a 100uF capacitor across the servo’s power supply terminals (VCC and GND) to help stabilize the power and reduce noise in the signal.
Use a Servo Tester: For fine-tuning, you might want to use a servo tester tool. This allows you to manually set the position of the servo and test it for responsiveness before embedding it into a larger project.
Controlling Multiple Servos with ESP32
If you want to control more than one servo motor, the ESP32 is perfect for the job. Since the ESP32 offers multiple PWM pins, you can easily control multiple servos at once.
For instance, you can connect multiple servos to different GPIO pins (say, GPIO 12, GPIO 14, and GPIO 27), and modify the code as follows:
Servo servo1, servo2, servo3;
for (int pos = 0; pos <= 180; pos++) {
for (int pos = 180; pos >= 0; pos--) {
This code allows you to control multiple servos with the same sweep motion. By adjusting the delays, you can create more complex motions like synchronized movement or staggered timing.
Using PWM for Fine Control
You can also use the ESP32’s hardware PWM capabilities to achieve more precise control over the servo motor. The ESP32 allows you to configure PWM frequencies, resolution, and duty cycles, which can give you finer control over the servo's position.
For example, you can set the frequency to 50Hz (the standard frequency for servos) and adjust the resolution for finer control:
ledcSetup(0, 50, 8); // PWM frequency = 50 Hz, 8-bit resolution
ledcAttachPin(13, 0); // Attach PWM to GPIO 13
int pwmValue = map(angle, 0, 180, 0, 255);
Leveraging innovations in modular drive technology, Kpower integrates high-performance motors, precision reducers, and multi-protocol control systems to provide efficient and customized smart drive system solutions.
Update:2025-10-15
Contact Kpower's product specialist to recommend suitable motor or gearbox for your product.


