


Looking for a suitable motor?


小编
Published2025-10-15
Imagine a sleek robotic arm gracefully performing tasks, whether it's picking up objects, assembling small parts, or simply demonstrating the marvels of automation. Now imagine building such a marvel yourself, with just four servo motors and an Arduino microcontroller. Sounds exciting, right? That’s precisely what a 4-servo motor robotic arm can offer—an accessible entry point into the fascinating world of robotics, blend of engineering and creativity, all in a compact package.
The Charm of a 4-Servo Motor Robotic Arm
A robotic arm with four servo motors isn't just a pretty gadget; it’s a smart, versatile tool that showcases core principles of robotics and mechatronics. It embodies the elegance of simplicity—using a handful of servo motors to mimic complex human movements or to execute precise puppet-like actions. These servo-driven arms are especially popular among hobbyists, students, and budding engineers because they strike a perfect balance between functionality and affordability.
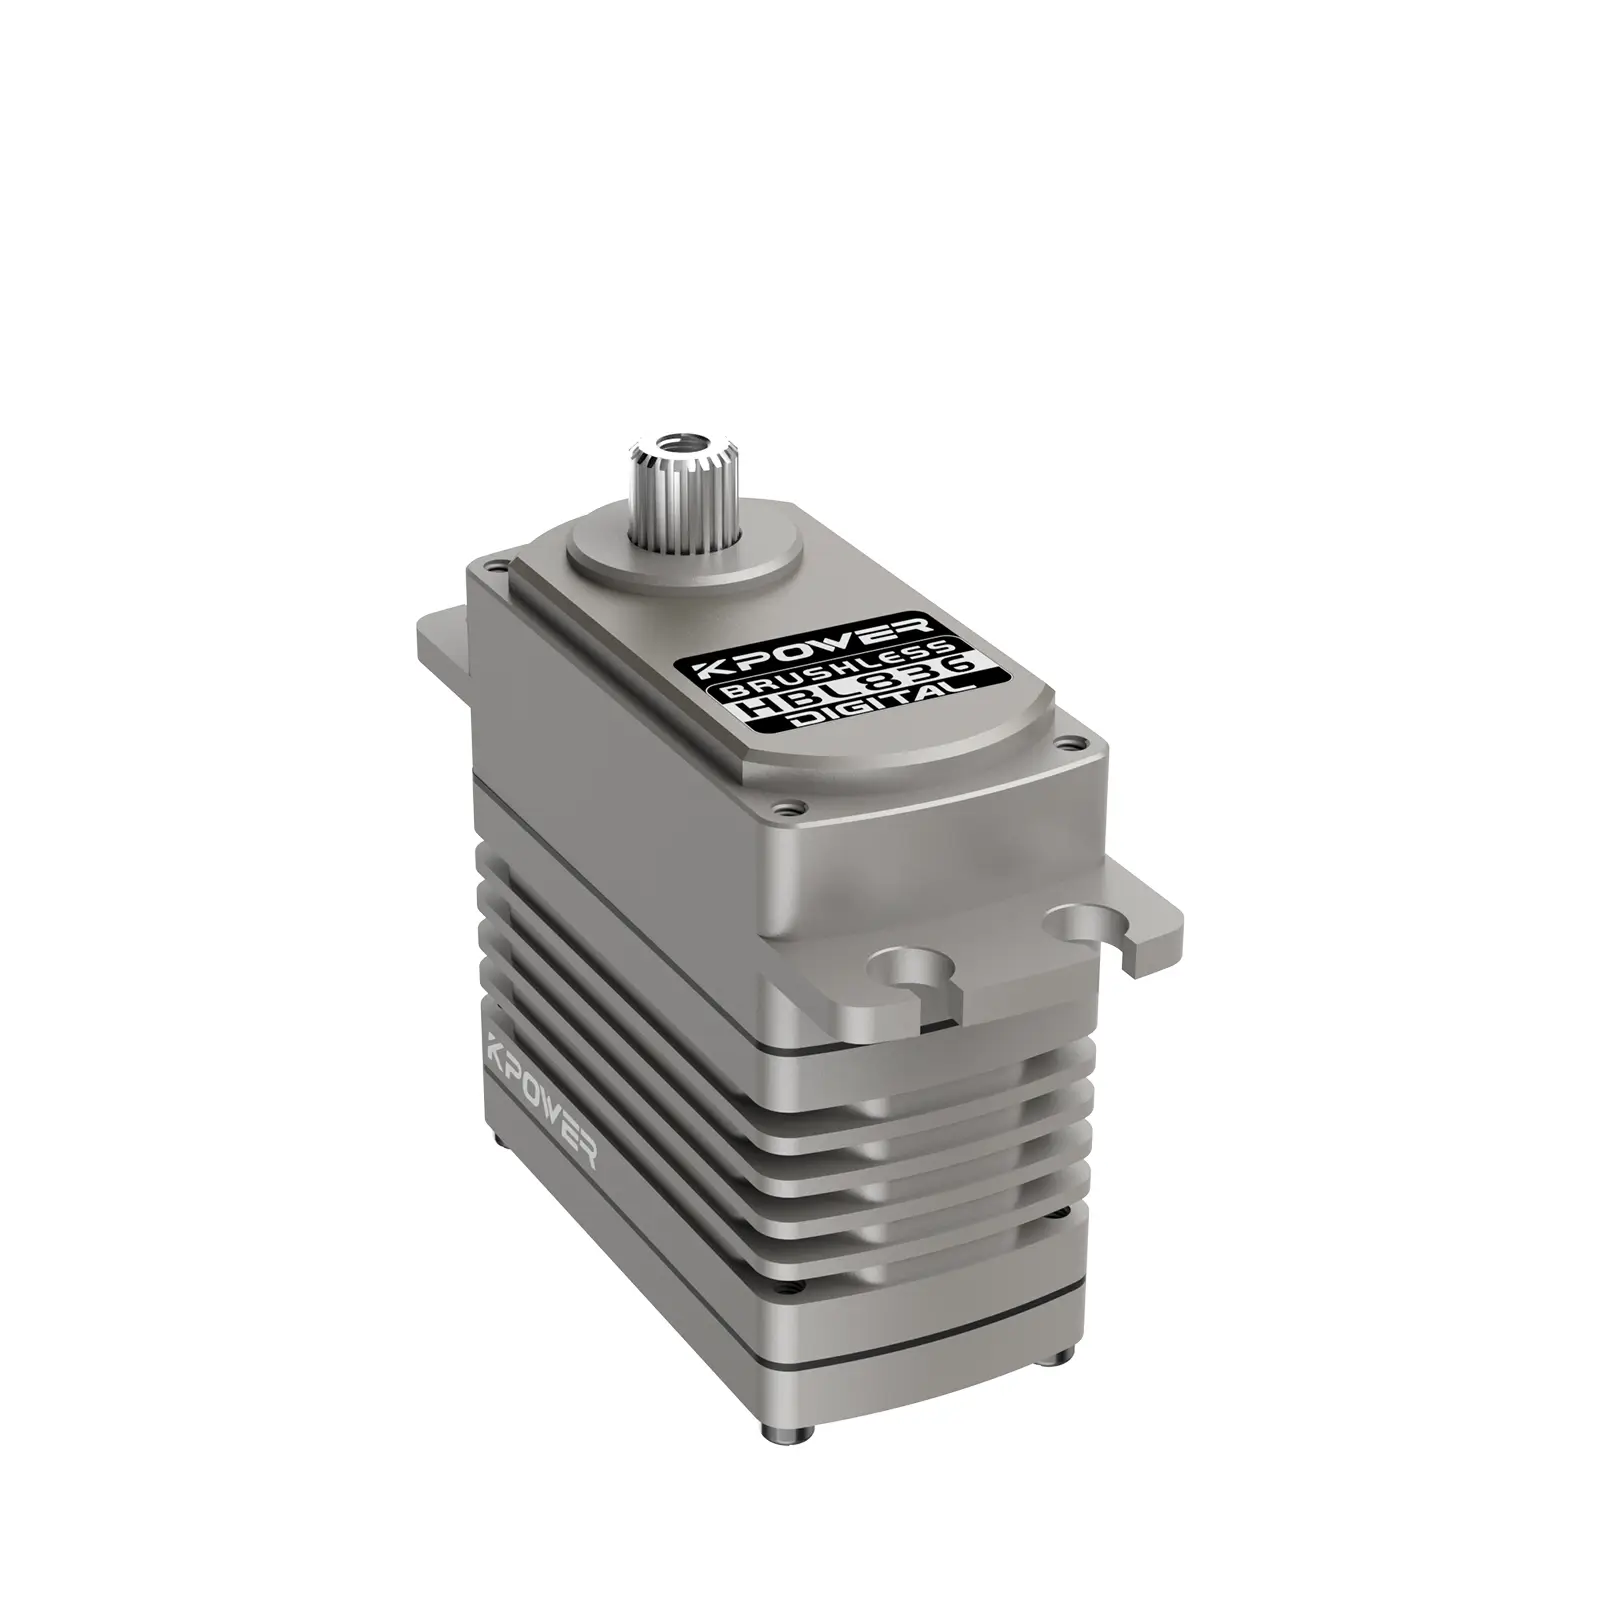
Servos are core components that allow the arm to move, rotate, and position objects with high accuracy. Each servo usually controls a joint or a specific degree of freedom—like the shoulder, elbow, or wrist. The magic of these tiny motors is in their ability to rotate to a specific angle, based on signals from the Arduino, which acts as the brain of the operation. When you combine multiple servos, the arm transforms into a programmable platform capable of repeating complex sequences or adapting to new tasks.
Building a robotic arm begins with understanding its basic structure. Most 4-servo robotic arms have a design similar to a human arm—comprising a base, shoulder joint, elbow joint, and wrist or gripper. Each section is connected via joints driven by an individual servo motor. For instance, the first servo often controls the rotation of the entire arm (the base). The second manages the movement of the shoulder joint, the third for the elbow, and the fourth for wrist articulation or gripping.
Crafting this design requires careful consideration of material choice, joint angles, and power supply. Lightweight yet sturdy materials like acrylic or 3D-printed plastics are popular choices for builders.
Getting Started with Arduino
Arduino projects are rooted in simplicity and versatility, making them ideal for controlling robotic arms. An Arduino Uno or Mega microcontroller provides the interface to connect multiple servo motors, sensors, and power sources. For controlling four servos, you'll typically need to connect each to a PWM (pulse-width modulation) capable pin on the Arduino.
The Arduino platform also boasts a vast community, countless tutorials, and readily available libraries—like the Servo library—that simplify coding. This allows you to focus more on creating impressive movements, sequences, and even integrating sensors or cameras down the line.
Programming Your Robotic Arm
Programming the arm involves defining the positions each servo should move to—called angles—and developing sequences for when and how to move. Common functions include:
Moving to a specific position Performing repetitive tasks (pick-and-place operations) Smooth motion transitions Responding to sensor input.
A typical workflow involves:
Calibration: Define the neutral and extreme positions of each servo. Basic movements: Write simple scripts to move each joint through various angles. Sequence programming: Combine basic movements into repeatable routines. Feedback (advanced): Incorporate sensors for precision and adaptive control.
Servos demand a stable power supply, especially when multiple units operate simultaneously. Many hobbyist setups use a separate power source (like a 5V DC power supply) rather than drawing all power from the Arduino itself. Ensuring enough current and avoiding voltage drops is key—using thick wires and good-quality power adapters can prevent stuttering or servo failures.
Initial Testing and Troubleshooting
Once assembled and wired, testing the robotic arm begins. Start with simple commands: move each servo to a default position, then gradually increase complexity by linking movements into sequences. Keep an eye out for jittery moves or stalls, which often indicate power issues or incorrect signal connections.
The Potential of Your DIY Robotic Arm
Beyond the satisfaction of building your own robotic assistant, the 4-servo arm can become a cornerstone project for advanced experimentation. Add sensors like ultrasonic distance detectors, infrared sensors, or cameras, and suddenly, your robotic arm can navigate, recognize objects, or even respond to voice commands.
In education, these robotic arms are used to illustrate fundamental principles of motion, control systems, and programming logic. Hobbyists enjoy creating unique automation solutions—automatic drawer openers, art installations, or even simple robotic pets.
In industry, while more complex robotic arms are prevalent, many ideas start simple. For instance, small manufacturing prototypes or pick-and-place systems often utilize robotic designs with a few servos for simplicity and rapid iteration.
Why Start with a 4-Servo Robot?
Because it hits the sweet spot between complexity and functionality, a 4-servo robotic arm is perfect for those new to robotics as well as seasoned tinkerers. It’s manageable to assemble, affordable to build, and scalable to more sophisticated projects.
This is just the beginning of a journey into robotics that is as rewarding as it is fun. The next part will delve into detailed step-by-step instructions for assembling, programming, and customizing your 4-servo robotic arm, plus some creative ideas to take it beyond the basics.
Leveraging innovations in modular drive technology, Kpower integrates high-performance motors, precision reducers, and multi-protocol control systems to provide efficient and customized smart drive system solutions.
Update:2025-10-15
Contact Kpower's product specialist to recommend suitable motor or gearbox for your product.


