


Looking for a suitable motor?


小编
Published2025-10-15
The Basics of Servo Motors and Their Circuit Design
Servo motors are vital components in various modern technologies, from robotics to automation systems. Their ability to control angular positions precisely makes them indispensable in applications that require accuracy, such as robotic arms, camera controls, and even in the steering mechanisms of model cars. However, to utilize these devices effectively, a clear understanding of their working principle and the circuit diagram that powers them is necessary.
A servo motor is an electric motor that is equipped with a feedback sensor to provide precise control over its angular position, speed, and acceleration. Unlike standard DC motors, which only rotate continuously, servo motors can stop at specific angles, making them ideal for tasks that require precision. The motor typically consists of a small DC motor, a gear mechanism, and an encoder to provide feedback.
A servo motor is usually controlled by Pulse Width Modulation (PWM), a method where the motor's position is determined by the width of the pulses sent to the motor. The circuit diagram for a typical servo motor involves understanding how the PWM signal interfaces with the motor driver and the servo itself.
Servo Motor Circuit Diagram: Key Components
A servo motor circuit diagram consists of several key components, each playing a crucial role in the functioning of the system. The main elements include:
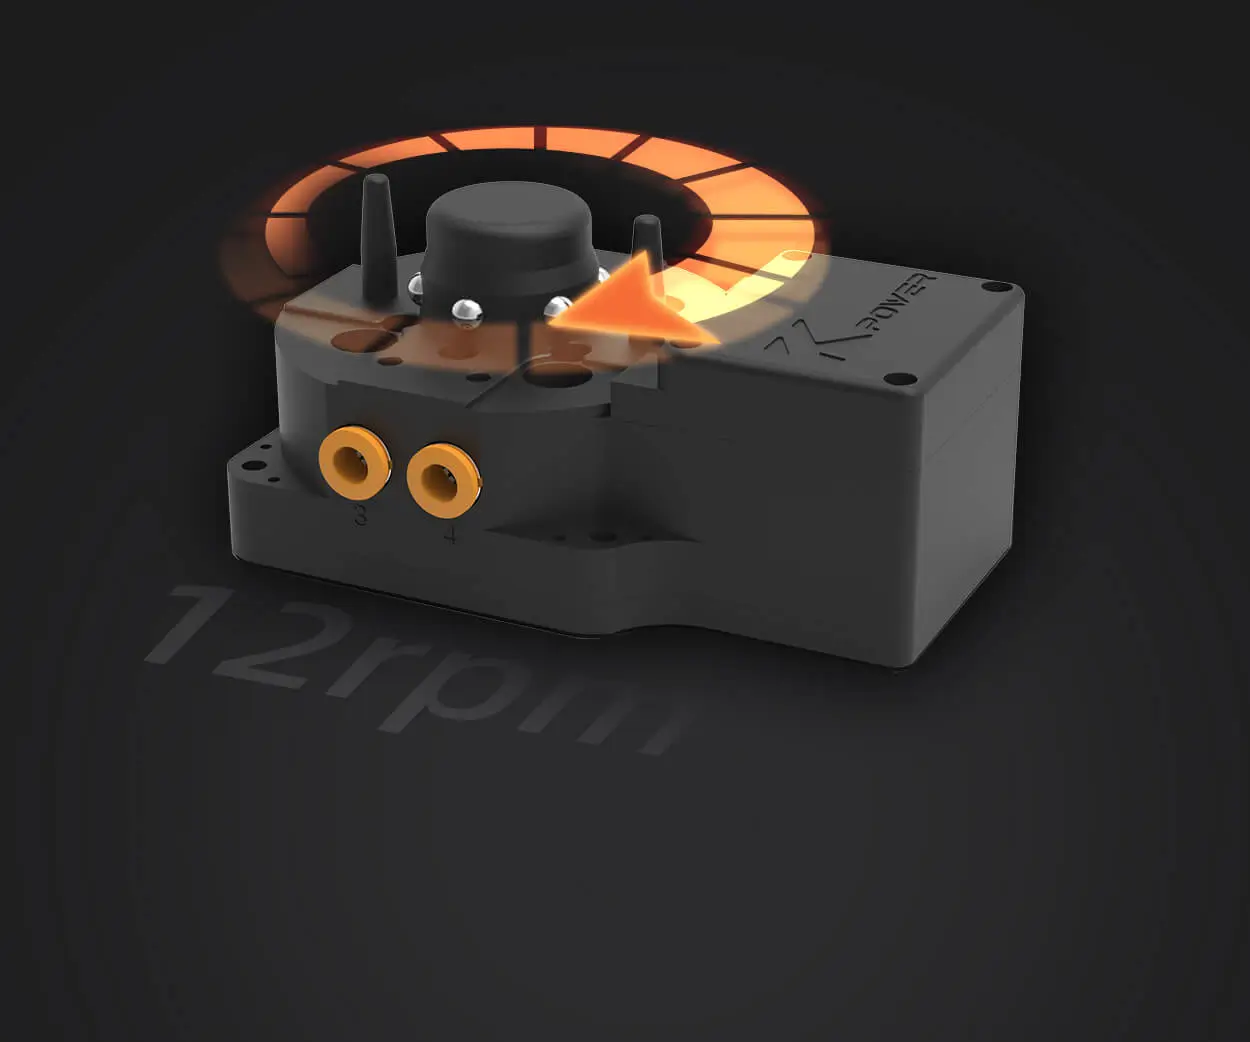
Servo Motor: The central component in the circuit, responsible for converting electrical signals into mechanical movement.
Microcontroller (e.g., Arduino): This is the brain of the circuit, responsible for generating the PWM signal. It controls the motor's position based on the pulse width sent to the servo.
Motor Driver: The motor driver acts as an intermediary between the microcontroller and the servo. It amplifies the signal from the microcontroller to a level sufficient to drive the servo motor.
Power Supply: Servo motors require a reliable power supply to operate, typically ranging from 4.8V to 6V, depending on the specific motor model.
Potentiometer (Optional): In some servo motor circuits, a potentiometer can be used for manual control of the motor's position.
The diagram usually shows how the microcontroller connects to the motor driver, which then powers the servo motor. The PWM signal generated by the microcontroller dictates the position the servo should move to. In the case of an analog servo motor, feedback from an internal potentiometer allows the motor to precisely adjust its position based on the input signal.
How to Create a Simple Servo Motor Circuit
Building a simple servo motor circuit is an excellent way to understand the inner workings of servo control systems. Here’s a step-by-step process on how to set up a basic servo motor circuit using an Arduino:
Connect the Servo Motor to the Arduino:
The servo has three pins: one for ground, one for power, and one for the signal.
Connect the power pin of the servo to the 5V pin on the Arduino.
Connect the ground pin of the servo to one of the GND pins on the Arduino.
Finally, connect the signal pin to one of the PWM-capable pins (usually marked with a tilde "~") on the Arduino board.
Power the Arduino and Servo Motor:
Ensure the Arduino is powered by a USB cable or an external power supply. The servo motor should also receive its power from the same source, but make sure the power supply provides enough current for both the Arduino and the servo.
Use Arduino IDE to write a simple program that generates a PWM signal to control the servo. The Servo library in Arduino simplifies this task. A typical program would include defining the servo object, attaching it to a specific pin, and setting its angle with the write() function.
myServo.attach(9); // Attach the servo to pin 9
myServo.write(0); // Rotate servo to 0 degrees
myServo.write(90); // Rotate servo to 90 degrees
myServo.write(180); // Rotate servo to 180 degrees
After writing the code, upload it to the Arduino. The servo should start moving between 0, 90, and 180 degrees as programmed.
Why PWM is Crucial in Servo Motor Circuits
Pulse Width Modulation (PWM) is the fundamental principle behind controlling a servo motor's position. By sending a series of electrical pulses to the servo, the motor’s position is determined by the length of each pulse. A shorter pulse will position the motor at one angle, while a longer pulse will move it to another.
PWM allows for fine control of the motor’s movement by adjusting the duty cycle (the ratio of the pulse width to the total period). In typical applications, the servo expects a pulse every 20 milliseconds, with the pulse width ranging from 1 to 2 milliseconds to set the motor’s angle from 0 to 180 degrees.
Real-World Applications of Servo Motor Circuits
Servo motor circuits have numerous applications in fields such as robotics, automation, and even consumer electronics. Here are some common examples:
Robotic Arms: Servo motors are used to control the joints of robotic arms, allowing for precise movement and positioning.
RC Vehicles: Servo motors are employed to steer and control various components in remote-controlled cars, airplanes, and boats.
Camera Gimbals: In professional cameras and drones, servo motors stabilize the camera’s orientation, ensuring smooth video recording.
Automation Systems: In industries like manufacturing and packaging, servo motors are used for precise position control in assembly lines.
In the next part of this article, we will delve deeper into advanced circuit designs, troubleshooting common issues, and integrating servo motor circuits with other systems for more complex applications.
Advanced Servo Motor Circuit Design and Troubleshooting
Complex Circuit Designs for Servo Motor Control
While the basic servo motor circuit we discussed earlier is simple and suitable for many basic applications, more advanced designs are often required in industrial and commercial systems. These systems need to manage multiple servos, incorporate sensors for feedback, or ensure higher reliability and efficiency.
One common advanced design involves using multiple servos in a single project. In this case, a multiplexer or a more powerful motor driver is used to manage the signals going to multiple servos. The microcontroller will send PWM signals to the driver, which then distributes the control signals to the servos. This design is typically used in robotic arms that need more than one servo to control different parts of the system.
Another important upgrade in advanced designs is closed-loop feedback systems. Instead of relying on an open-loop system, where the servo moves to a position based purely on the PWM input, the system uses encoders or potentiometers to constantly monitor the motor's position. This ensures that the motor's actual position always matches the desired position, compensating for any mechanical error or drift.
Integrating Sensors with Servo Motors
In many cases, servo motor circuits need to interface with sensors for enhanced functionality. For instance, in robotics, force sensors can be added to measure the amount of pressure applied by the motor. The feedback from the sensor can be used to adjust the servo's movement in real time, ensuring smooth operations.
Sensors like ultrasonic sensors are also commonly used in servo motor applications, particularly in autonomous robots. These sensors allow the robot to detect objects and navigate by adjusting the position of the servos in response to the sensor input.
Troubleshooting Servo Motor Circuits
Despite their simplicity, servo motor circuits can sometimes face issues. Here are a few common problems and solutions:
Motor Not Moving: If the servo is not moving at all, first check the power supply. Ensure that the voltage and current ratings match the servo’s requirements. Also, verify that the PWM signal is being sent correctly.
Motor Jittering or Shaking: If the servo motor shakes or jitteres, it could be due to a low PWM signal, insufficient power, or an unstable connection. Ensuring stable connections and correct PWM signal timing can solve this.
Servo Overshooting or Not Reaching Desired Position: This issue can arise from poor signal timing or a lack of feedback in the system. Adding feedback mechanisms or fine-tuning the PWM signal can help resolve this.
Future of Servo Motors in Electronics
As technology advances, servo motors are expected to become even more efficient and versatile. New materials and better manufacturing techniques are making servos more compact, durable, and energy-efficient, while advancements in digital control systems are allowing for even more precise and responsive servo motor applications.
In conclusion, understanding servo motor circuit diagrams and their functionality is key to unlocking the potential of these powerful components. Whether for a hobby project or a complex industrial application, servo motors continue to be an essential part of modern engineering solutions.
Established in 2005, Kpower has been dedicated to a professional compact motion unit manufacturer, headquartered in Dongguan, Guangdong Province, China.
Update:2025-10-15
Contact Kpower's product specialist to recommend suitable motor or gearbox for your product.


