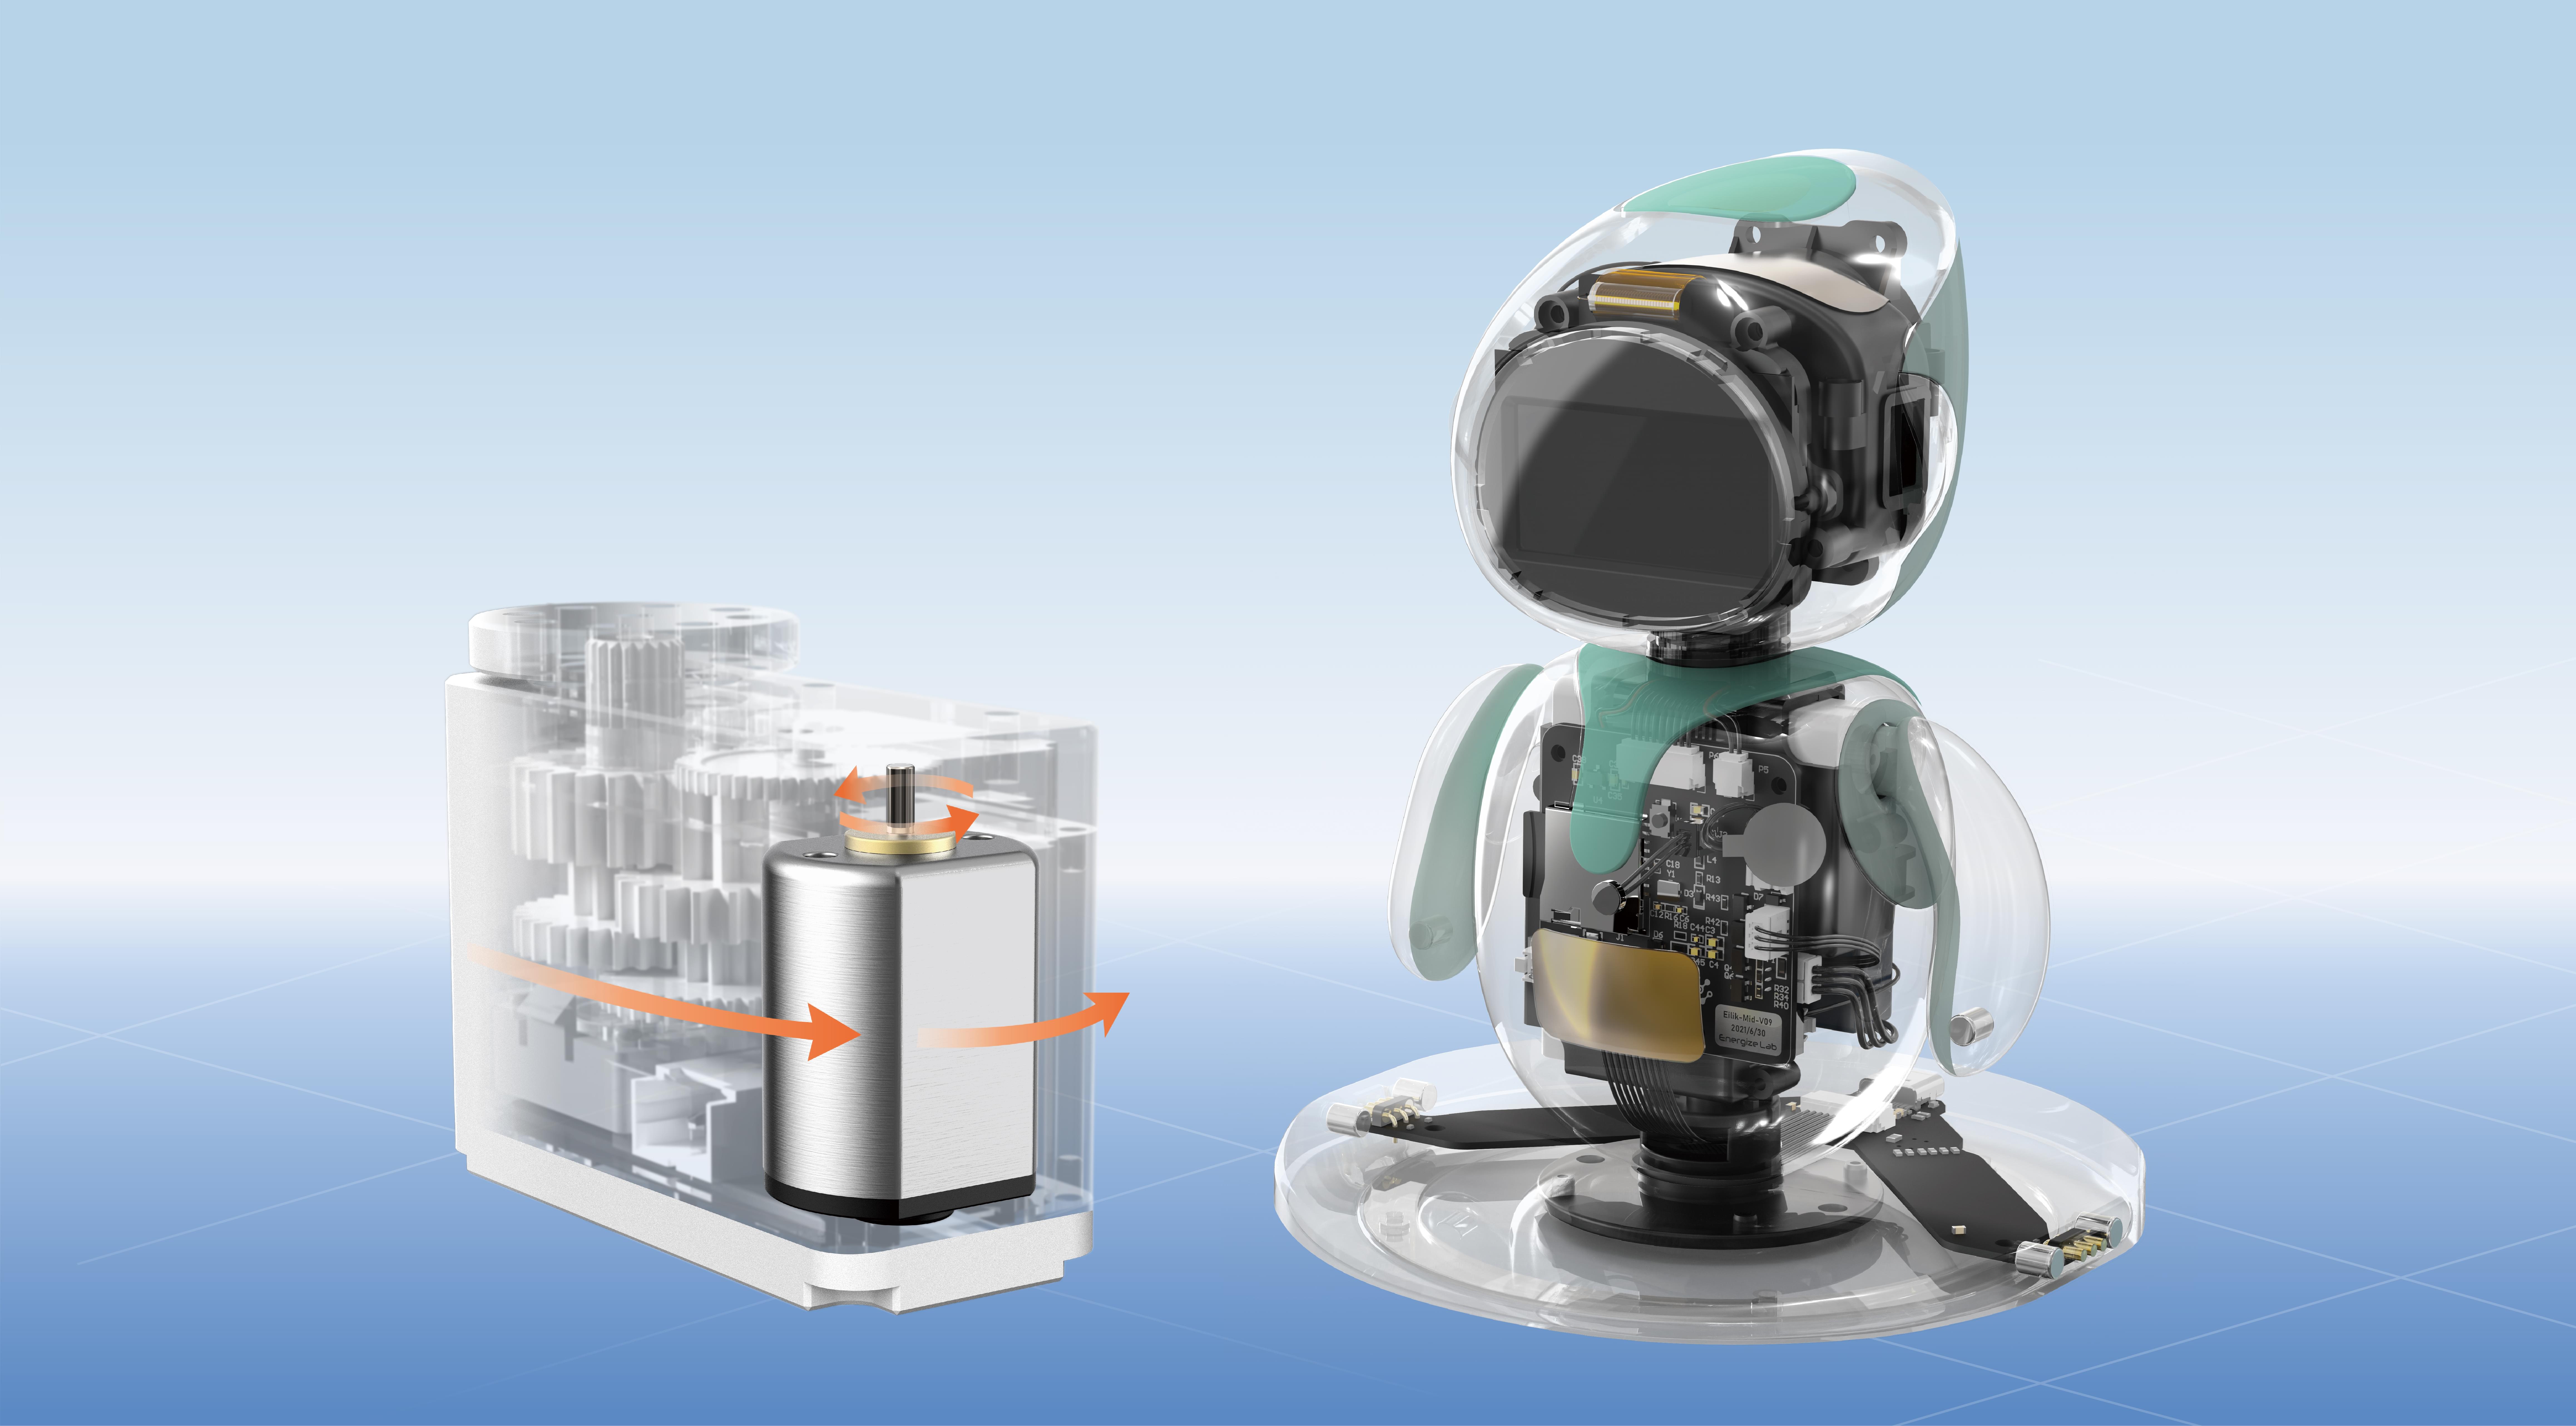
Imagine building a robot that can wave hello, an automated camera that pans smoothly to capture perfect shots, or a home automation system that opens and closes drapes with a gentle touch. At the core of many of these innovations lies a humble yet incredibly versatile component: the servo motor.

Servo motors are the unsung heroes behind precise movement in countless projects, from hobbyist creations to professional automation systems. When combined with the popular microcontroller platform Arduino, these miniature powerhouses become a gateway to endless creative possibilities.
What Is a Servo Motor?
At its simplest, a servo motor is a rotary actuator that allows for precise control of angular position, velocity, and acceleration. Unlike standard motors that spin continuously, servo motors are designed to move to a specific position and hold that position with accuracy. This is achieved through integrated control circuitry—most notably, a built-in position sensor called a potentiometer—that feeds real-time data back to the controller.
Think of it like a smart arm that not only moves to a set angle but also knows exactly where it is at all times. This feedback mechanism makes servo motors ideal for applications requiring exact movement, such as robotic arms, remote-controlled cars, or delicate camera pans.
Different Types of Servo Motors
Though the term "servo motor" often refers broadly to various electromechanical devices, in hobbyist and Arduino circles, it commonly refers to "hobby servos." These are small, affordable, and easy to use, designed specifically for control by pulse-width modulation (PWM) signals.
However, there are other types, such as:
AC Servo Motors: Used in industrial automation, these are larger, more complex, and capable of handling high loads. Brushless DC (BLDC) Servos: Known for high efficiency and long lifespan, often used in drones and high-performance robotics. Linear Servos: Convert rotational motion into linear motion, perfect for sliding mechanisms.
For most Arduino enthusiasts, hobby servos are the go-to choice because of their simplicity, affordability, and extensive support.
Why Use a Servo Motor with Arduino?
The synergy between Arduino and servo motors is a match made in tech heaven. Arduino provides an easy-to-program, versatile platform that can send precise signals to control servos, enabling complex movements with just a few lines of code.
Some compelling reasons include:
Ease of Use: Dedicated libraries like the standard Servo library simplify communication and control. Cost-Effectiveness: Hobby servos are budget-friendly and widely available. Wide Range of Applications: From robotics to art installations, the potential uses are virtually limitless. Educational Value: Servos introduce beginners to concepts like feedback systems, control theory, and embedded programming.
Getting Started: Choosing Your Servo
Before diving into code and circuits, selecting the right servo is essential. Consider these factors:
Torque: How much rotational force it can exert; matches the size and weight of your project components. Speed: How fast it can move from one position to another—important for time-sensitive applications. Size: Make sure it fits within your project’s physical constraints. Voltage Compatibility: Standard hobby servos operate on 4.8V to 6V, compatible with most Arduino setups.
Popular beginner-friendly options include the SG90 micro servo and MG995 standard servo—both affordable, reliable, and easy to interface with.
Basic Components Needed
To kickstart your servo-driven project, you'll need:
Arduino board (Uno, Nano, or similar) Servo motor (choose based on your project needs) Jumper wires Power supply (if your servo demands more current) Breadboard (for prototyping) Optional: sensors, actuators, structural parts (for more complex builds)
First Steps: Connecting Your Servo to Arduino
Connecting a hobby servo to an Arduino is straightforward:
Power and Ground: Connect the servo’s power pin (+) to the 5V pin on the Arduino, and the ground pin (−) to GND. Control Signal: Connect the signal (data) pin to a PWM-capable digital pin, like D9. Power Considerations: If you’re powering multiple servos or large models, consider an external power source to avoid overloading the Arduino’s regulator.
Once connected, you’re ready to code. The Arduino Servo library simplifies control through its built-in functions.
Sample Code Snippet: Moving the Servo to Different Positions
Below is a simple example to demonstrate basic control:
#include Servo myServo; void setup() { myServo.attach(9); // Attach the servo signal to pin 9 } void loop() { myServo.write(0); // Move to 0 degrees delay(1000); myServo.write(90); // Move to 90 degrees delay(1000); myServo.write(180); // Move to 180 degrees delay(1000); }
Uploading this code will make your servo sweep through the full range of motion, showcasing the smooth control that makes servo motors so appealing.
Kpower has delivered professional drive system solutions to over 500 enterprise clients globally with products covering various fields such as Smart Home Systems, Automatic Electronics, Robotics, Precision Agriculture, Drones, and Industrial Automation.


