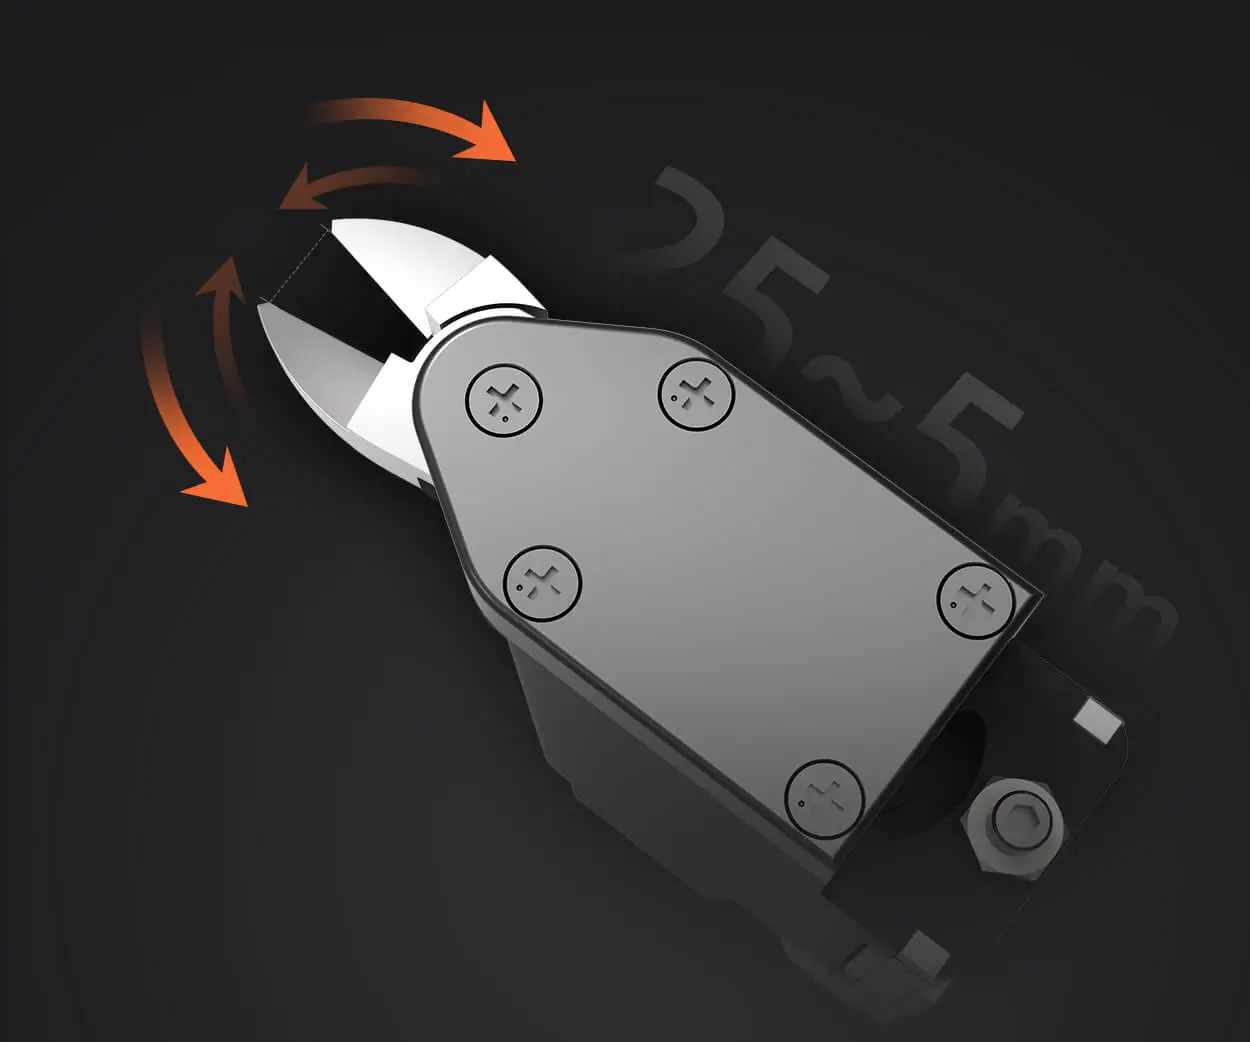
Imagine a world where your creations move with impeccable precision, seamlessly responding to your commands—whether it's a robotic arm grabbing objects, a camera adjusting angles, or an automated door opening with finesse. This is the magic of servo motors, compact yet powerful actuators at the heart of countless automation and robotics projects. And with the advent of accessible technology like Arduino, controlling these devices has become both straightforward and deeply rewarding.

What is a servo motor?
At its core, a servo motor is a rotary actuator capable of precise angular movement. Unlike simple motors that spin freely, servo motors are outfitted with a built-in control circuit and a feedback system (typically a potentiometer). This setup allows the motor to turn to a specific position within a range—commonly 0 to 180 degrees—and hold that position accurately under varying loads.
Think of a servo motor as the muscles of a robot arm or the tilt mechanism of a camera—delivering precise, controlled movement that can be finely tuned via signals. Their compact size and capability to produce high torque make them ideal for many DIY and professional applications.
Why use Arduino for servo control?
Arduino, an open-source microcontroller platform, has democratized electronics and robotics. Its user-friendly environment, vast community support, and affordability make it a perfect partner for controlling servo motors.
With Arduino, controlling a servo involves just a few lines of code. The platform handles pulse-width modulation (PWM), which is the foundation of servo positioning. PWM signals tell the servo exactly how many degrees to rotate, translating digital commands into physical motion smoothly and accurately.
Getting started with basics
Before diving into the wiring and coding, it's worthwhile to understand the essentials of how servo motors respond to signals:
Signal pulse duration: The position of a servo is determined by the width of the PWM pulse sent to it. Typically, a 1ms pulse corresponds to 0°, 1.5ms to 90°, and 2ms to 180°.
Continuous rotation vs. standard servos: Standard servos rotate within a limited range and are used for position control. Continuous rotation servos can turn endlessly, functioning like regular motors, but require different control techniques.
Components you'll need:
Arduino board (Uno, Mega, Nano, etc.) Servo motor (commonly SG90, MG996R, etc.) Power supply (battery or wall adapter) Jumper wires Breadboard (optional for testing) Resistors (if needed for safety or specific circuits)
Wiring your servo motor
Connecting a servo to Arduino is simple:
Power line: Connect the servo's positive lead (usually red) to Arduino's 5V pin or an external power source if your servo demands more current. Ground line: Connect the servo's ground (black or brown) to the Arduino GND. Signal line: Connect the control wire (yellow, orange, or white) to a digital PWM pin on Arduino (e.g., pin 9).
Note: Larger servos or multiple servos may require an external power supply to prevent drawing too much current from the Arduino's 5V line.
Basic Arduino code for servo control
Here's a simple sketch to get your servo moving:
#include Servo myServo; void setup() { myServo.attach(9); // attach servo to digital pin 9 } void loop() { myServo.write(0); // move to 0 degrees delay(1000); // wait 1 second myServo.write(90); // move to 90 degrees delay(1000); // wait 1 second myServo.write(180); // move to 180 degrees delay(1000); // wait 1 second }
Uploading this to your Arduino will cycle your servo through its full range, demonstrating basic control. As you get more comfortable, you can play around with dynamic positions, feedback, and automated responses.
Controlling multiple servo motors
In larger projects, you'll often control several servos simultaneously—for example, in a robotic arm with multiple joints. Arduino's Servo library can handle multiple instances, but you'll need to ensure your power supply and pin assignments are appropriate.
This first part sets the stage by explaining what servo motors are, why they are significant in robotics, and how Arduino simplifies controlling them with practical examples. Next, we'll dive deeper into advanced control methods, programming techniques, and troubleshooting tips to make your projects robust and professional.
Kpower has delivered professional drive system solutions to over 500 enterprise clients globally with products covering various fields such as Smart Home Systems, Automatic Electronics, Robotics, Precision Agriculture, Drones, and Industrial Automation.


