


Looking for a suitable motor?


小编
Published2025-10-15
Introduction to Arduino and Servo Motors
Building a robotic arm using Arduino and servo motors is a fascinating project for anyone interested in robotics, electronics, or automation. Whether you're an aspiring engineer, hobbyist, or simply someone looking to dive into the world of robotics, creating your own robotic arm is a highly rewarding experience. With Arduino's open-source platform and the precision of servo motors, you'll learn how to bring your own robotic arm to life, all while developing valuable skills in electronics, coding, and mechanical design.
Understanding Arduino and Its Capabilities
Arduino is an open-source electronics platform that allows users to build interactive projects. It consists of both hardware (the physical board) and software (the Arduino IDE), and it's perfect for beginners as it’s user-friendly yet versatile enough for complex projects. The Arduino board serves as the "brain" of your robotic arm, allowing you to program it to perform specific tasks, such as moving and gripping objects.
Arduino is incredibly popular in the maker community due to its simplicity and flexibility. It supports a variety of sensors and actuators, including the servo motors that you'll use to control the joints of your robotic arm. These motors will give your arm the ability to move precisely, mimicking the actions of a human arm.
The Role of Servo Motors in the Robotic Arm
Servo motors are an essential component of the robotic arm because they allow for precise control over the arm’s movements. Unlike regular motors, which only spin in a continuous loop, servo motors can rotate to a specific angle and hold that position. This is critical for the accurate and controlled movements needed in a robotic arm.
Each joint in your robotic arm will be powered by a separate servo motor, allowing you to move the arm’s individual segments with high precision. For example, the base of the arm will have a servo motor that allows it to rotate 360 degrees, while the shoulder, elbow, and wrist joints will each have their own motors to allow for flexible movement. This setup ensures that your robotic arm can replicate the complex movements of a human arm.
Key Components Needed for the Project
To build your own robotic arm, you'll need several key components. These are:
Arduino Board: The Arduino Uno is the most common board used for this kind of project. It has enough input and output pins to control multiple servo motors.
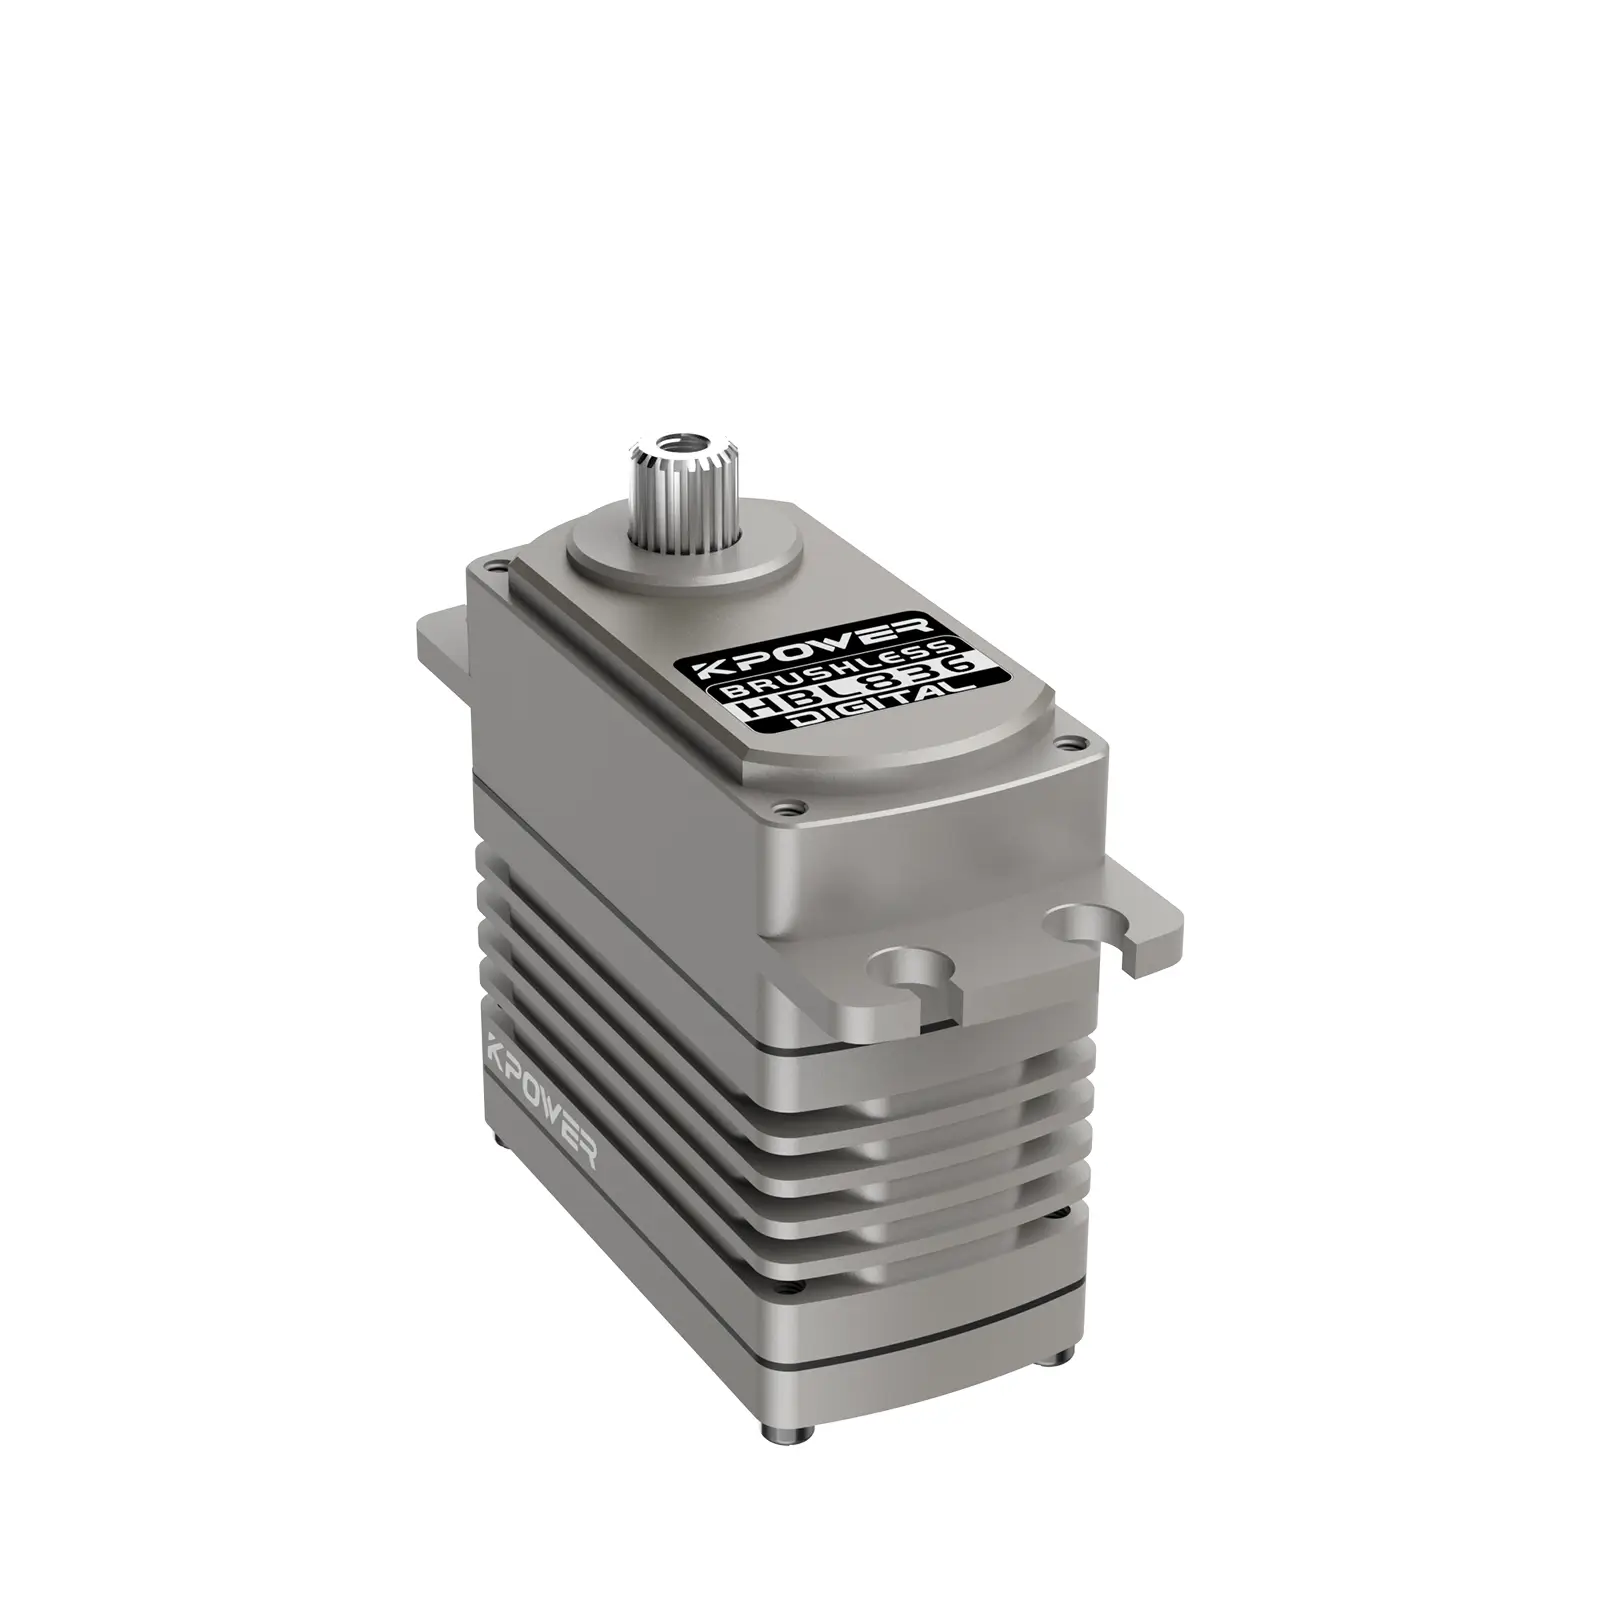
Servo Motors: You'll need at least 4-6 servos for the arm’s joints. Popular choices include the MG996R and SG90, both of which offer good performance for this type of project.
Joints and Structure: You’ll need parts to create the structure of the arm. This could be anything from plastic sheets, metal rods, or 3D printed parts. The frame needs to support the servo motors and allow them to move freely.
Wires and Connectors: These are essential for connecting your Arduino board to the servo motors. You’ll need jumper wires to create the necessary circuits.
Power Supply: Servo motors require more power than what the Arduino can provide via USB. A separate power supply, typically 5V or 6V, will be necessary to power the motors.
Breadboard (Optional): If you want to prototype or make connections more easily, a breadboard is useful for wiring.
Potentiometers (Optional): These can be used if you want to manually control the position of each joint.
Planning Your Robotic Arm Design
Before you begin the assembly, it’s important to plan your robotic arm design. The number of joints and the overall size of the arm will determine how many servos you need. A typical robotic arm will have a base rotation, shoulder, elbow, and wrist joints. If you're aiming for a more advanced design, you can add a gripper or even fingers for additional movement.
Sketching the design first is essential. Think of how each segment connects to the next, and how the motors will power each joint. A good design will ensure that your arm is both functional and structurally stable.
Building and Programming the Robotic Arm
Assembling the Robotic Arm
Now that you understand the components and design, it’s time to start assembling the robotic arm. Here’s a step-by-step breakdown of the process:
Start by building the frame of the robotic arm. If you’re using 3D printed parts, you can simply assemble them according to your design. Otherwise, you’ll need to cut and assemble parts to form the base and arms. The frame should be sturdy enough to support the servo motors without flexing or wobbling.
Once the frame is built, attach the servo motors to the appropriate joints. Each motor should be securely mounted, as it will be responsible for moving a segment of the arm. Ensure that the motors are positioned so they can rotate freely and provide the needed range of motion.
Connecting the Servos to Arduino:
The servo motors need to be connected to the Arduino board via jumper wires. Each motor will be plugged into one of the digital I/O pins on the Arduino. Most Arduino boards can handle up to 12 servo motors, so you won’t run into limitations unless you're using multiple servos for each joint.
Since the servos require more power than the Arduino board can provide, you’ll need an external power source. Connect the power supply to the servos, making sure to connect the ground of the power supply to the ground pin on the Arduino.
Double-check Connections:
Before moving forward, double-check that all connections are secure and that the motors are in the correct positions. Misplaced connections can result in the motors not working properly or potentially damaging your components.
Programming the Robotic Arm
The next step is to write the code that will control the movements of the robotic arm. Arduino uses its own programming language, which is based on C/C++, and it’s simple to learn for beginners.
Start by installing the Servo library in the Arduino IDE. This library makes it easy to control the position of your servo motors. Here’s a basic example of how you can move one servo motor:
myservo.attach(9); // Pin 9 connected to the servo
myservo.write(90); // Move the servo to the 90-degree position
delay(1000); // Wait for 1 second
myservo.write(0); // Move the servo to 0 degrees
delay(1000); // Wait for 1 second
This simple code makes the servo rotate back and forth between 0 and 90 degrees. You can adjust the angles and delay times to fine-tune the movement.
Programming Multiple Servos:
Once you have one motor moving, you can extend the code to control multiple servos. Assign each motor to a specific pin on the Arduino and use the write() function to control their movement. For example:
Servo base, shoulder, elbow;
shoulder.attach(10);
base.write(90); // Move base to 90 degrees
shoulder.write(45); // Move shoulder to 45 degrees
elbow.write(60); // Move elbow to 60 degrees
delay(1000); // Wait for 1 second
base.write(0); // Move base to 0 degrees
shoulder.write(0); // Move shoulder to 0 degrees
elbow.write(0); // Move elbow to 0 degrees
delay(1000); // Wait for 1 second
Adding Control with Potentiometers:
For more advanced control, you can add potentiometers to manually adjust the position of each joint. A potentiometer is a variable resistor that can be used to control the voltage input, which in turn adjusts the angle of the servo. You can connect each potentiometer to an analog input pin on the Arduino and read the values to control the servo angles.
Testing and Troubleshooting:
Once everything is connected and the code is written, it’s time to test your robotic arm. Carefully observe the movements and make sure each joint is functioning as expected. If something isn’t working, check the wiring and code for errors. Servo motors can sometimes jitter if they’re not getting a stable power supply, so ensure your power source is adequate.
Creating a robotic arm using Arduino and servo motors is a fantastic project that combines both hardware and software skills. By following these steps, you’ll not only gain hands-on experience with robotics but also learn the essential principles behind automation, motion control, and microcontroller programming. The journey from conceptualizing your robotic arm to seeing it in action is incredibly rewarding, and as you fine-tune your design, you'll gain a deeper understanding of the fascinating world of robotics.
Established in 2005, Kpower has been dedicated to a professional compact motion unit manufacturer, headquartered in Dongguan, Guangdong Province, China.
Update:2025-10-15
Contact Kpower's product specialist to recommend suitable motor or gearbox for your product.


