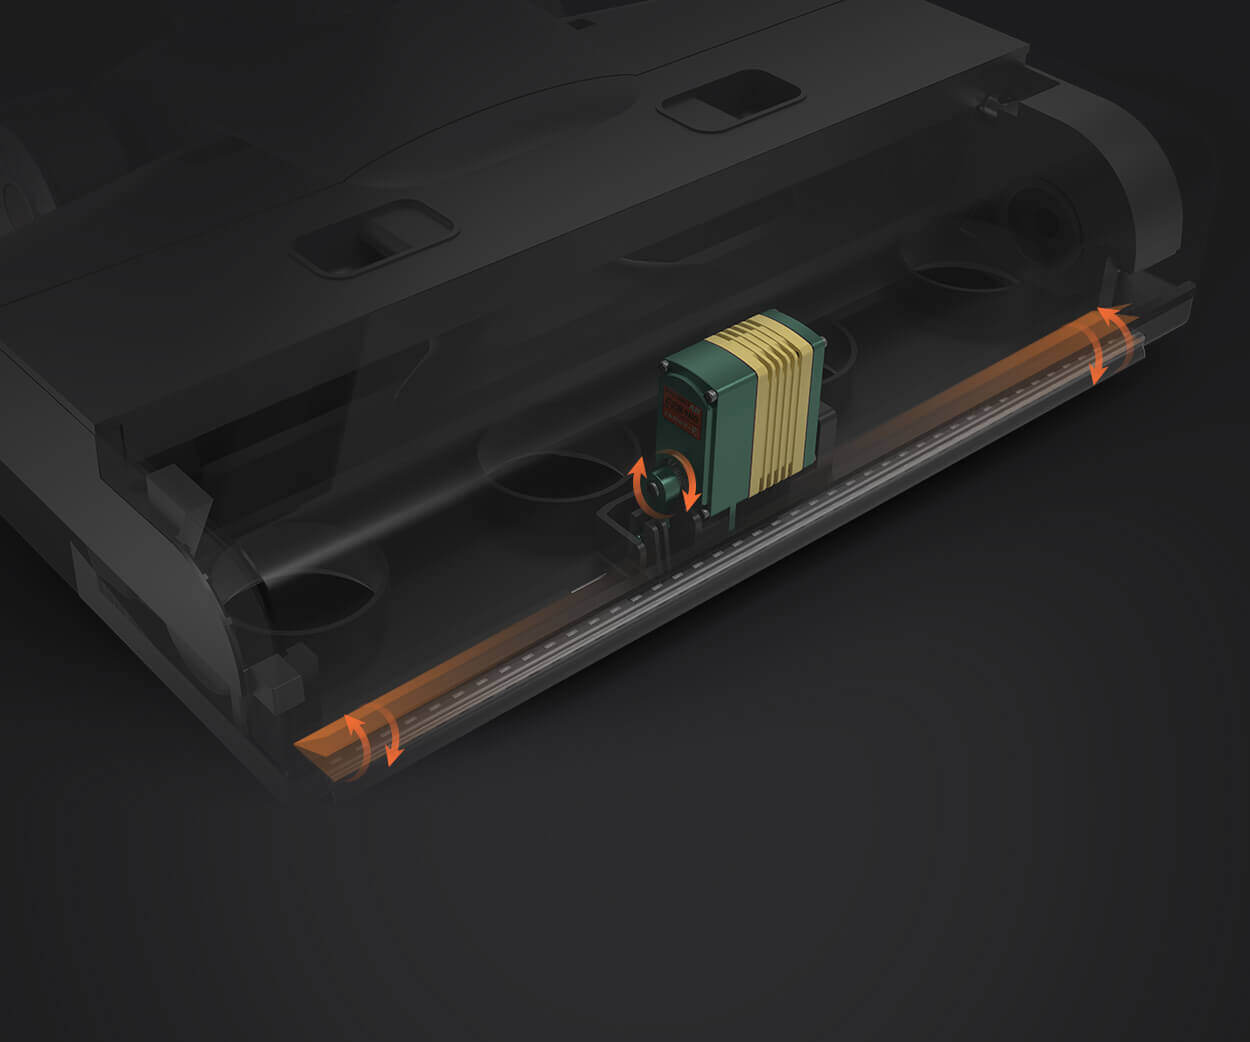
Igniting Innovation with Arduino and Servo Motors
Imagine a world where you can breathe life into your ideas—robots that dance, camera mounts that track moving objects, automated doors that respond to your presence. At the heart of many modern DIY projects and sophisticated automation systems lies a small yet mighty component: the servo motor. When paired with the versatile Arduino microcontroller, servo motors become the brains behind countless creative endeavors.

What is an Arduino Drive Servo Motor? A servo motor is more than just a simple motor; it is a specialized actuator designed for precise control of angular position, speed, and acceleration. Unlike traditional motors that spin continuously, servos rotate only within a specified range—usually 0 to 180 degrees—making them ideal for applications requiring accuracy. When integrated with an Arduino, these components form a seamless duo that allows users to code and command physical movements with remarkable ease.
Why Use Arduino with Servo Motors? The Arduino platform is renowned for its beginner-friendly interface, vast community, and extensive library support. It simplifies the process of controlling servo motors, providing developers with a platform to harness complex movements without deep diving into electronics. Whether you’re a novice exploring robotics or an engineer prototyping automation solutions, Arduino’s compatibility with servo motors enables rapid development, testing, and deployment of projects.
How Do Arduino and Servo Motors Interact? Controlling a servo motor using Arduino typically involves sending PWM (Pulse Width Modulation) signals. These signals determine the position of the servo’s shaft by adjusting the width of the pulse—usually between 1 and 2 milliseconds. Arduino’s built-in Servo library abstracts much of this complexity, allowing users to specify desired angles directly. This intuitive approach opens the door to a multitude of applications:
Robotics arms Pan-tilt camera systems Automated valve controls Light and sound installations
Getting Started: Basic Components and Setup To embark on your Arduino servo motor journey, gather the essentials:
An Arduino board (Uno, Mega, Nano, etc.) A standard servo motor (such as SG90 or MG90S) Power supply compatible with your servo Connecting wires (jumper cables) Breadboard (optional for prototyping)
Begin by connecting the servo’s power (usually red), ground (black or brown), and signal wire (orange or yellow) to your Arduino. Power and ground go to the Arduino’s respective pins, while the signal connects to one of the PWM-capable pins, typically pin 9 or 10. With your hardware setup complete, code becomes the next step.
Programming Your First Servo Move Once assembled, open the Arduino IDE and include the Servo library:
#include Servo myServo; void setup() { myServo.attach(9); // Attaches the servo on pin 9 } void loop() { myServo.write(0); // Move to 0 degrees delay(1000); // Wait for 1 second myServo.write(90); // Move to 90 degrees delay(1000); // Wait for 1 second myServo.write(180); // Move to 180 degrees delay(1000); // Wait for 1 second }
This simple sketch rotates the servo between three positions every second. With small modifications, you can make the movement continuous, responsive, or synchronized with sensors.
The remarkable thing about working with Arduino and servo motors is the immediate feedback loop—you control, observe, and tweak in real-time. This interactive process fosters a deeper understanding of mechanical and electronic systems, sparking curiosity and innovation alike.
Diving Deeper: Types of Servo Motors Not all servos are created equal. There are various types, each tailored for specific needs:
Standard Servos: Suitable for most hobby projects; offer 0-180 degrees rotation. Continuous Rotation Servos: Can rotate fully in either direction, perfect for wheels. Digital Servos: Use digital signal processing for higher precision and torque. High-Torque Servos: Designed for demanding applications like robotic limbs and heavy loads.
Choosing the right servo depends on your application's requirements for speed, torque, and precision.
In the next segment, we’ll explore advanced control techniques, integrating sensors, and creating complex, multi-servo systems that mimic real-world behaviors, transforming your basic setup into a sophisticated automation device.
Kpower has delivered professional drive system solutions to over 500 enterprise clients globally with products covering various fields such as Smart Home Systems, Automatic Electronics, Robotics, Precision Agriculture, Drones, and Industrial Automation.


