


Looking for a suitable motor?


小编
Published2025-10-15
Certainly! Let's dive into crafting this engaging, informative article on controlling the speed of a servo motor with Arduino, with a focus on making it both educational and reader-friendly.
Getting Started with Servo Motor Speed Control Using Arduino
Imagine a world where machines perfectly mimic natural movements—robots that open a door smoothly, cameras that track moving objects seamlessly, or drones that adjust their flight paths gracefully. A key element in achieving such fluid motion is mastering the control of servo motors, especially when it comes to adjusting their speed precisely.
In this guide, we'll explore how to control the speed of a servo motor using an Arduino microcontroller—a versatile and accessible platform for electronics enthusiasts and professionals alike. Whether you're a beginner or looking to refine your skills, this tutorial offers step-by-step insights to elevate your projects.
Understanding Servo Motors
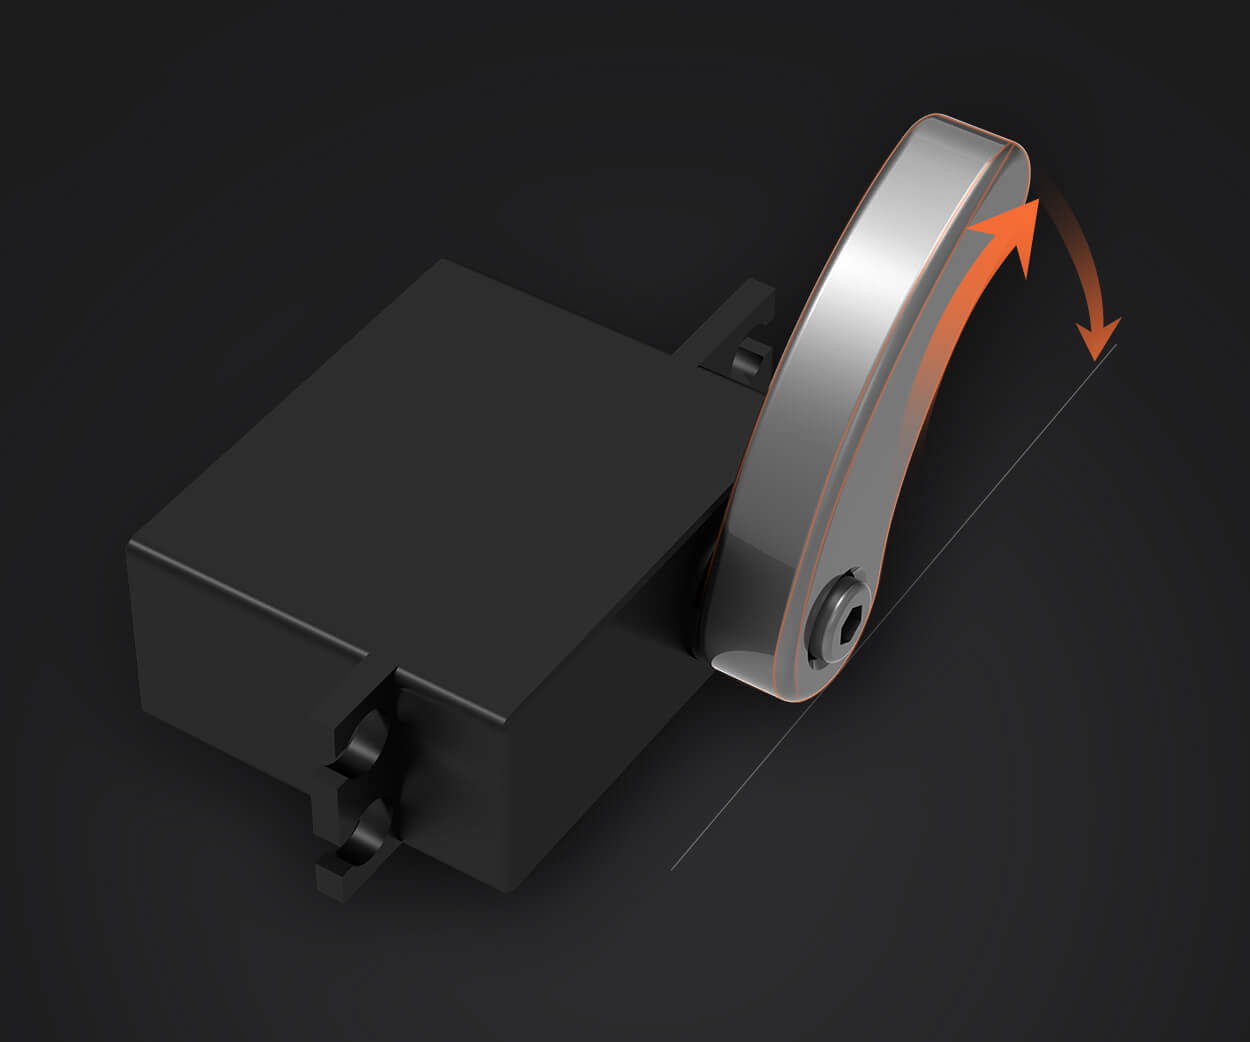
Servo motors are specialized actuators designed for precision control of angular or linear position, velocity, and acceleration. They consist of a motor coupled with a feedback system (encoder or potentiometer) and a control circuit, enabling closed-loop control.
Unlike simple DC motors, standard servos are engineered for precise angle positioning—typical models accept position commands via PWM signals. While many attribute "servo" to position control, you can also manipulate how quickly or slowly the servo reaches its target, effectively controlling its speed.
The Role of Arduino in Servo Control
Arduino, with its straightforward programming environment and broad community support, facilitates servo control effortlessly. The Arduino Servo Library simplifies sending PWM signals to manage servo position, but it doesn't natively support speed adjustments—a feature most users desire for smoother movements or more complex automation.
Key Concepts for Speed Control
Controlling servo speed isn't about changing the speed directly via the standard servo library. Instead, it involves timing how quickly the servo reaches its target position or controlling the PWM signal's timing within the servo's movement commands. Two main approaches are common:
Software-based incremental movement: Moving the servo in small steps with delays to simulate slow movement. External control signals: Using custom PWM signals or motor drivers that offer finer control over the servo's velocity.
In this part, we'll focus on the first approach — incremental movement — which is simple, effective, and ideal for many DIY projects.
Hardware Components Needed
Arduino Uno or compatible microcontroller Standard servo motor (e.g., SG90 or MG996R) Breadboard and jumper wires Power supply (if using multiple or large servo motors)
Connect the servo's power line (usually red) to the Arduino's 5V (or external power supply if necessary) Connect the ground line (black or brown) to the Arduino GND Connect the control wire (yellow/orange/white) to one of Arduino's PWM pins (e.g., pin 9)
Sample Arduino Code for Incremental Movement
#include Servo myServo; int targetPosition = 0; int currentPosition = 0; int stepSize = 1; // Adjust for speed control int delayTime = 15; // Delay in milliseconds void setup() { myServo.attach(9); // Attach servo to digital pin 9 myServo.write(currentPosition); // Start at initial position } void loop() { // Move servo from 0 to 180 slowly for (targetPosition = 0; targetPosition <= 180; targetPosition += stepSize) { // Move gradually towards target while (currentPosition != targetPosition) { if (currentPosition < targetPosition) { currentPosition++; } else { currentPosition--; } myServo.write(currentPosition); delay(delayTime); } } // Pause briefly delay(1000); // Move servo back from 180 to 0 slowly for (targetPosition = 180; targetPosition >= 0; targetPosition -= stepSize) { while (currentPosition != targetPosition) { if (currentPosition < targetPosition) { currentPosition++; } else { currentPosition--; } myServo.write(currentPosition); delay(delayTime); } } // Pause briefly delay(1000); }
This code demonstrates how moving the servo in small steps with configurable delays creates the effect of slow, controlled motion. By fine-tuning stepSize and delayTime, you can control the speed precisely: smaller steps and longer delays result in slower movement, while larger steps and shorter delays make it faster.
Limitations of Software-Based Speed Control
While this approach is straightforward, it has its constraints:
It depends heavily on delays, which can block other essential tasks in more complex programs. It may not offer the smoothest acceleration or deceleration profiles.
To achieve more advanced or realistic motion, you might consider hardware-based solutions or more sophisticated algorithms, which we'll explore in the next part.
Why Control Servo Speed?
Controlling the speed of servo motors enhances the realism in robotics, improves safety in automation, and allows for more precise interaction with the environment. For example:
Smooth opening/closing of robotic grippers Gradual camera pans and tilts Motion profiles in CNC machines and 3D printers
Understanding and implementing speed control unlocks these capabilities and opens doors to creative robotics applications.
In Part 2, we'll delve into hardware solutions for speed control, such as using motor drivers with PWM capability, and explore PID controllers for refined movement profiles. Additionally, we'll examine sensor feedback integration to develop adaptive, smart control systems that respond dynamically to environmental cues.
Stay tuned to turn your simple servo into an intelligent, smoothly operating component that elevates your projects to new heights.
Leveraging innovations in modular drive technology, Kpower integrates high-performance motors, precision reducers, and multi-protocol control systems to provide efficient and customized smart drive system solutions.
Update:2025-10-15
Contact Kpower's product specialist to recommend suitable motor or gearbox for your product.


