


Looking for a suitable motor?


小编
Published2025-10-15
Introduction: Bridging the Gap Between Imagination and Reality
Imagine building a tiny robotic arm that can pick up objects, a miniature camera that moves with precision, or a small-scale automated system that responds to your commands. These ideas are entirely within reach thanks to the combination of Arduino — the darling of DIY electronics — and micro servos, tiny yet powerful motors capable of precise movement.
In this guide, we’ll explore how to connect a micro servo to an Arduino, transforming concepts into tangible creations. Whether you’re a hobbyist stepping into the world of robotics for the first time or a seasoned coder refining your craft, understanding how to properly connect and control a micro servo is an invaluable skill.
What is a Micro Servo, and Why Use One?
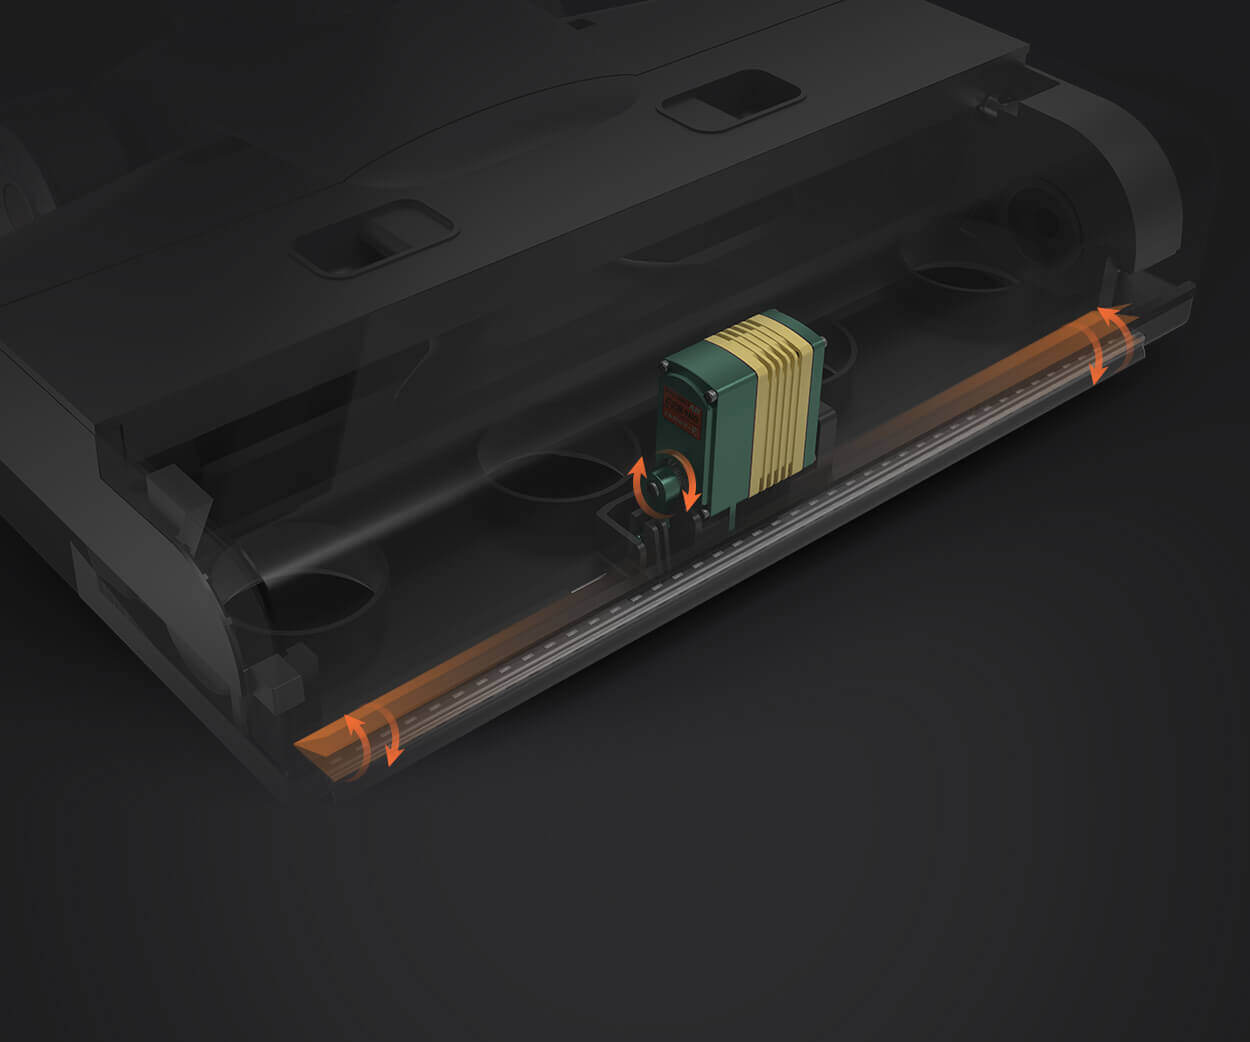
A micro servo is a small, compact motor that includes a built-in gear train and a control circuit, allowing it to rotate to specific angles based on electrical input. Unlike continuous rotation servos, micro servos typically have a limited range — often 0 to 180 degrees — but excel in precision applications.
The appeal of micro servos lies in their size and versatility. They can be integrated into miniature robots, drone gimbals, or any application where space is limited but precise movement is required. Their ease of control via Pulse Width Modulation (PWM) signals makes them especially compatible with Arduino, a platform renowned for its beginner-friendliness and widespread community support.
Before diving into the wiring and coding, gather your components:
Arduino board (Uno, Nano, Mega, etc.) Micro servo motor (SG90, MG90S, or similar) Jumper wires (male-to-male) Breadboard (optional but recommended) Power supply (if needed for multiple servos) USB cable for programming Computer with Arduino IDE installed
Understanding the Micro Servo Pins
Most micro servos have three pins:
Power (usually red) – Connects to +5V (or appropriate voltage) Ground (usually black or brown) – Connects to GND Control Signal (usually yellow or orange) – Receives the PWM signal for positioning
It’s essential to identify these pins correctly to avoid damaging the servo or the Arduino. Check the datasheet or manufacturer documentation when in doubt.
Wiring the Micro Servo to Arduino
Proper wiring ensures your servo works reliably and avoids power issues. Here are general steps:
Connect Power and Ground Attach the servo’s power pin to the Arduino's 5V pin or an external 5V power source if you're powering multiple servos or a high-current setup. Connect the servo’s ground pin to the Arduino GND. Note: For more stable operation, especially with multiple servos, use an external power supply and connect all grounds together. Connect Control Signal Connect the control pin to a digital PWM-capable pin on Arduino (commonly pin 9 or 10). Optional: Power Considerations Servos can draw significant current, which may cause voltage drops or reset your Arduino. Using separate power supplies for servos and Arduino can circumvent this. Check Connections Ensure all connections are firm and correct before powering up your Arduino.
Micro servo’s red wire to Arduino 5V or external 5V power supply. Micro servo’s black/brown wire to GND. Micro servo’s yellow/orange wire to Arduino digital pin 9.
Visual diagrams can be highly beneficial here, but the key is consistency and careful check.
Once wired, upload a simple program to verify your servo functions as expected:
#include Servo myServo; void setup() { myServo.attach(9); // Attach servo control to pin 9 } void loop() { myServo.write(0); // Move to 0 degrees delay(1000); myServo.write(90); // Move to 90 degrees delay(1000); myServo.write(180); // Move to 180 degrees delay(1000); }
This sketch moves the servo to 0°, 90°, and 180° sequentially, pausing at each position. If connected and programmed correctly, you should see your micro servo responding with smooth movements.
Established in 2005, Kpower has been dedicated to a professional compact motion unit manufacturer, headquartered in Dongguan, Guangdong Province, China.
Update:2025-10-15
Contact Kpower's product specialist to recommend suitable motor or gearbox for your product.


