


Looking for a suitable motor?


小编
Published2025-10-15
Unleashing the Power of Robotics: Connecting a Servo Motor Like Spiderman Spins His Web
In the vast universe of robotics and mechanical innovation, few characters inspire as much admiration and creative energy as Spiderman. With his incredible agility, web-slinging prowess, and daring acrobatics, Spiderman embodies the essence of motion and control. Now, imagine harnessing that same sense of dynamic movement in the world of DIY robotics—where connecting a servo motor becomes a stepping stone in designing machines capable of mimicking web-slinging action, swift movements, and precise positioning.
Understanding Servo Motors and Their Role
Before diving into the intricate process of connection and control, it's essential to understand what a servo motor truly is. At its core, a servo motor is a rotary actuator that allows for precise control of angular position. Unlike typical motors, servos are equipped with a built-in feedback mechanism—typically a potentiometer—that constantly reports the motor's position back to the controller. This closed-loop system enables servo motors to achieve high degrees of accuracy, making them perfect for applications requiring detailed movement, like robotic arms, remote-controlled vehicles, or even prosthetics.
In the context of developing your own Spiderman-inspired robot, servo motors can facilitate movements such as arm articulation, web shooter angles, or even swinging motions. Their small size, ease of control, and versatility make them a go-to component for both hobbyists and professionals alike.
Choosing the Right Servo Motor for Your Web-Slinging Robot
Selecting an appropriate servo motor depends on the specific movements and forces involved in your project. For lightweight, delicate web-slinging motions, micro or mini servos might suffice. But if you envision a more robust, powerful robot capable of heavier loads or broader swings, then standard or high-torque servos become necessary.
Key factors to consider include:
Torque: How much rotational force the servo can deliver. Heavy web-shooters or swinging arms require higher torque servos. Speed: The speed at which the servo can move between positions. Quicker response times help imitate Spiderman’s agility. Size: Compactness affects the design flexibility—micro servos bring a small footprint. Voltage and Power Requirements: Make sure your power supply matches the servo specifications to avoid damage and ensure stability.
Connecting a Servo Motor: Step-by-Step Guide
Now, let's get hands-on. Connecting a servo motor might seem straightforward, but a mindful approach ensures reliability and precision.
Servo motor (standard or micro, depending on your design) Microcontroller (Arduino, Raspberry Pi, etc.) Power supply (appropriate voltage for the servo) Connecting wires/Cables Breadboard or mounting platform Optional: potentiometer or control interface for manual testing
Most servos have three wires:
Brown/Black: Ground (GND) Red: Power (+V) Orange/Yellow: Signal (PWM control)
Connect the GND wire to the GND pin on your microcontroller or power source.
Connect the Power wire to a suitable voltage source. Many small servos operate at 5V, but always verify your servo’s datasheet.
Connect the Signal wire to a PWM enabled pin on your microcontroller (e.g., digital pin 9 on Arduino).
Ensure your power supply can provide sufficient current for the servo operation—servos can draw significant current, especially under load. It’s advisable to use a separate power source for the servo to prevent voltage dips affecting your microcontroller.
Step 3: Programming the Microcontroller
Using Arduino as an example, load the Servo library and write code to command the servo to specific angles. For example:
#include Servo webServo; void setup() { webServo.attach(9); } void loop() { webServo.write(0); delay(1000); webServo.write(90); delay(1000); webServo.write(180); delay(1000); }
This simple script moves the servo back and forth, mimicking web-shooting or swinging actions.
Once connected and programmed, test the servo’s range of motion. Adjust commands and power accordingly. If movement is jittery or unresponsive, check wiring, power supply, and code.
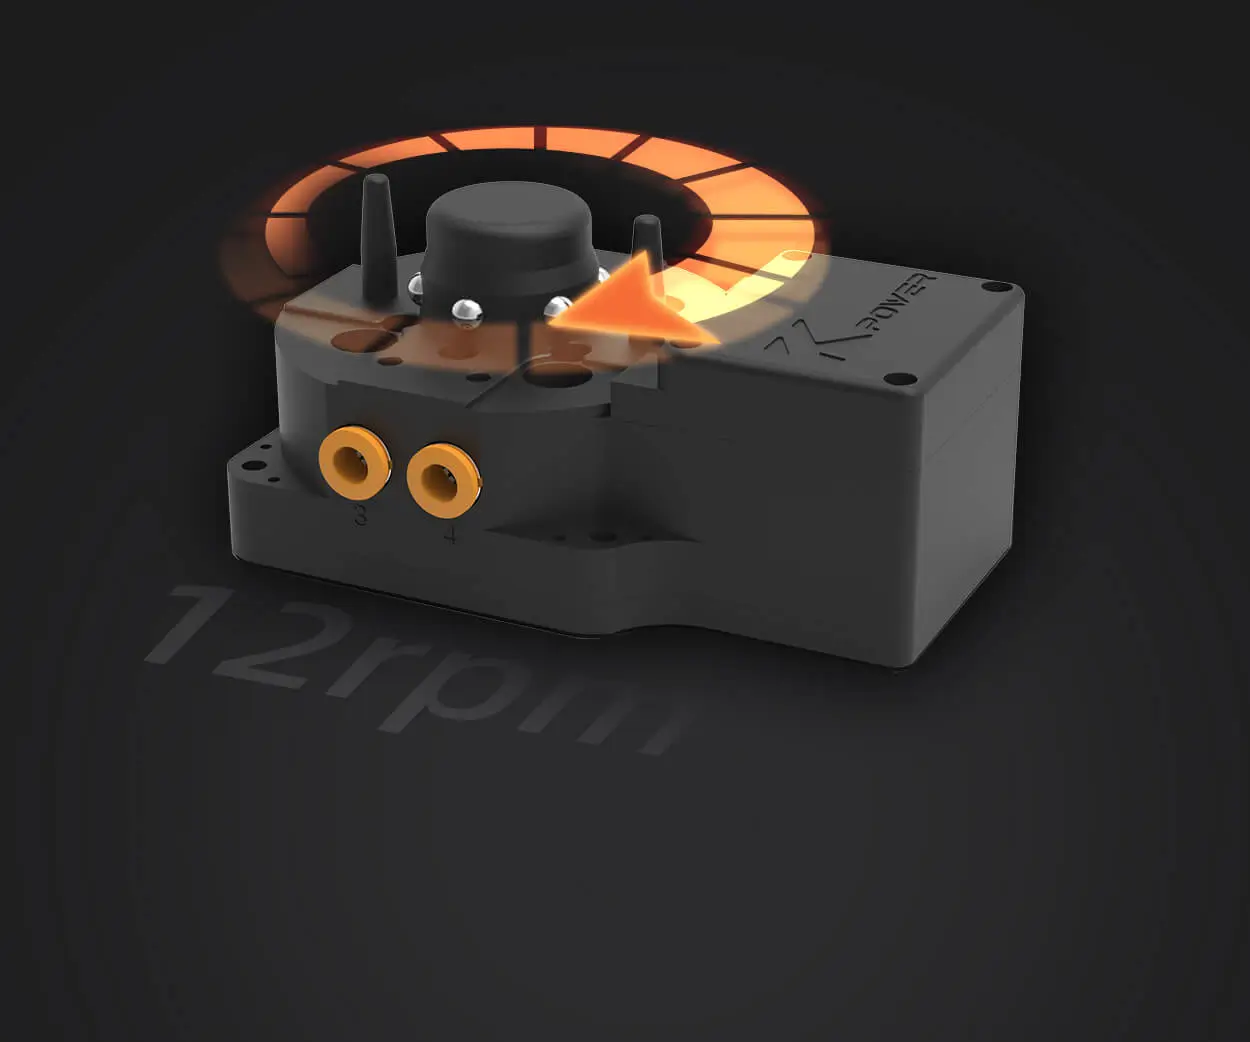
Leveraging innovations in modular drive technology, Kpower integrates high-performance motors, precision reducers, and multi-protocol control systems to provide efficient and customized smart drive system solutions.
Update:2025-10-15
Contact Kpower's product specialist to recommend suitable motor or gearbox for your product.


