Certainly! Here’s a captivating, in-depth, two-part soft article on the theme "servo motor code Arduino," designed to be engaging and informative:

Unlocking Robotics Potential: Mastering Servo Motor Code with Arduino
When you first peek into the world of robotics, one of the most fascinating components you’ll encounter is the servo motor. These little powerhouses make everything from robotic arms to remote-controlled cars move with remarkable precision. Thanks to affordable microcontrollers like Arduino, you no longer need a professional engineering degree to harness their capabilities. With a dash of code and a pinch of electronics, you can set your robotic projects into motion — literally.
The Magic of Servo Motors
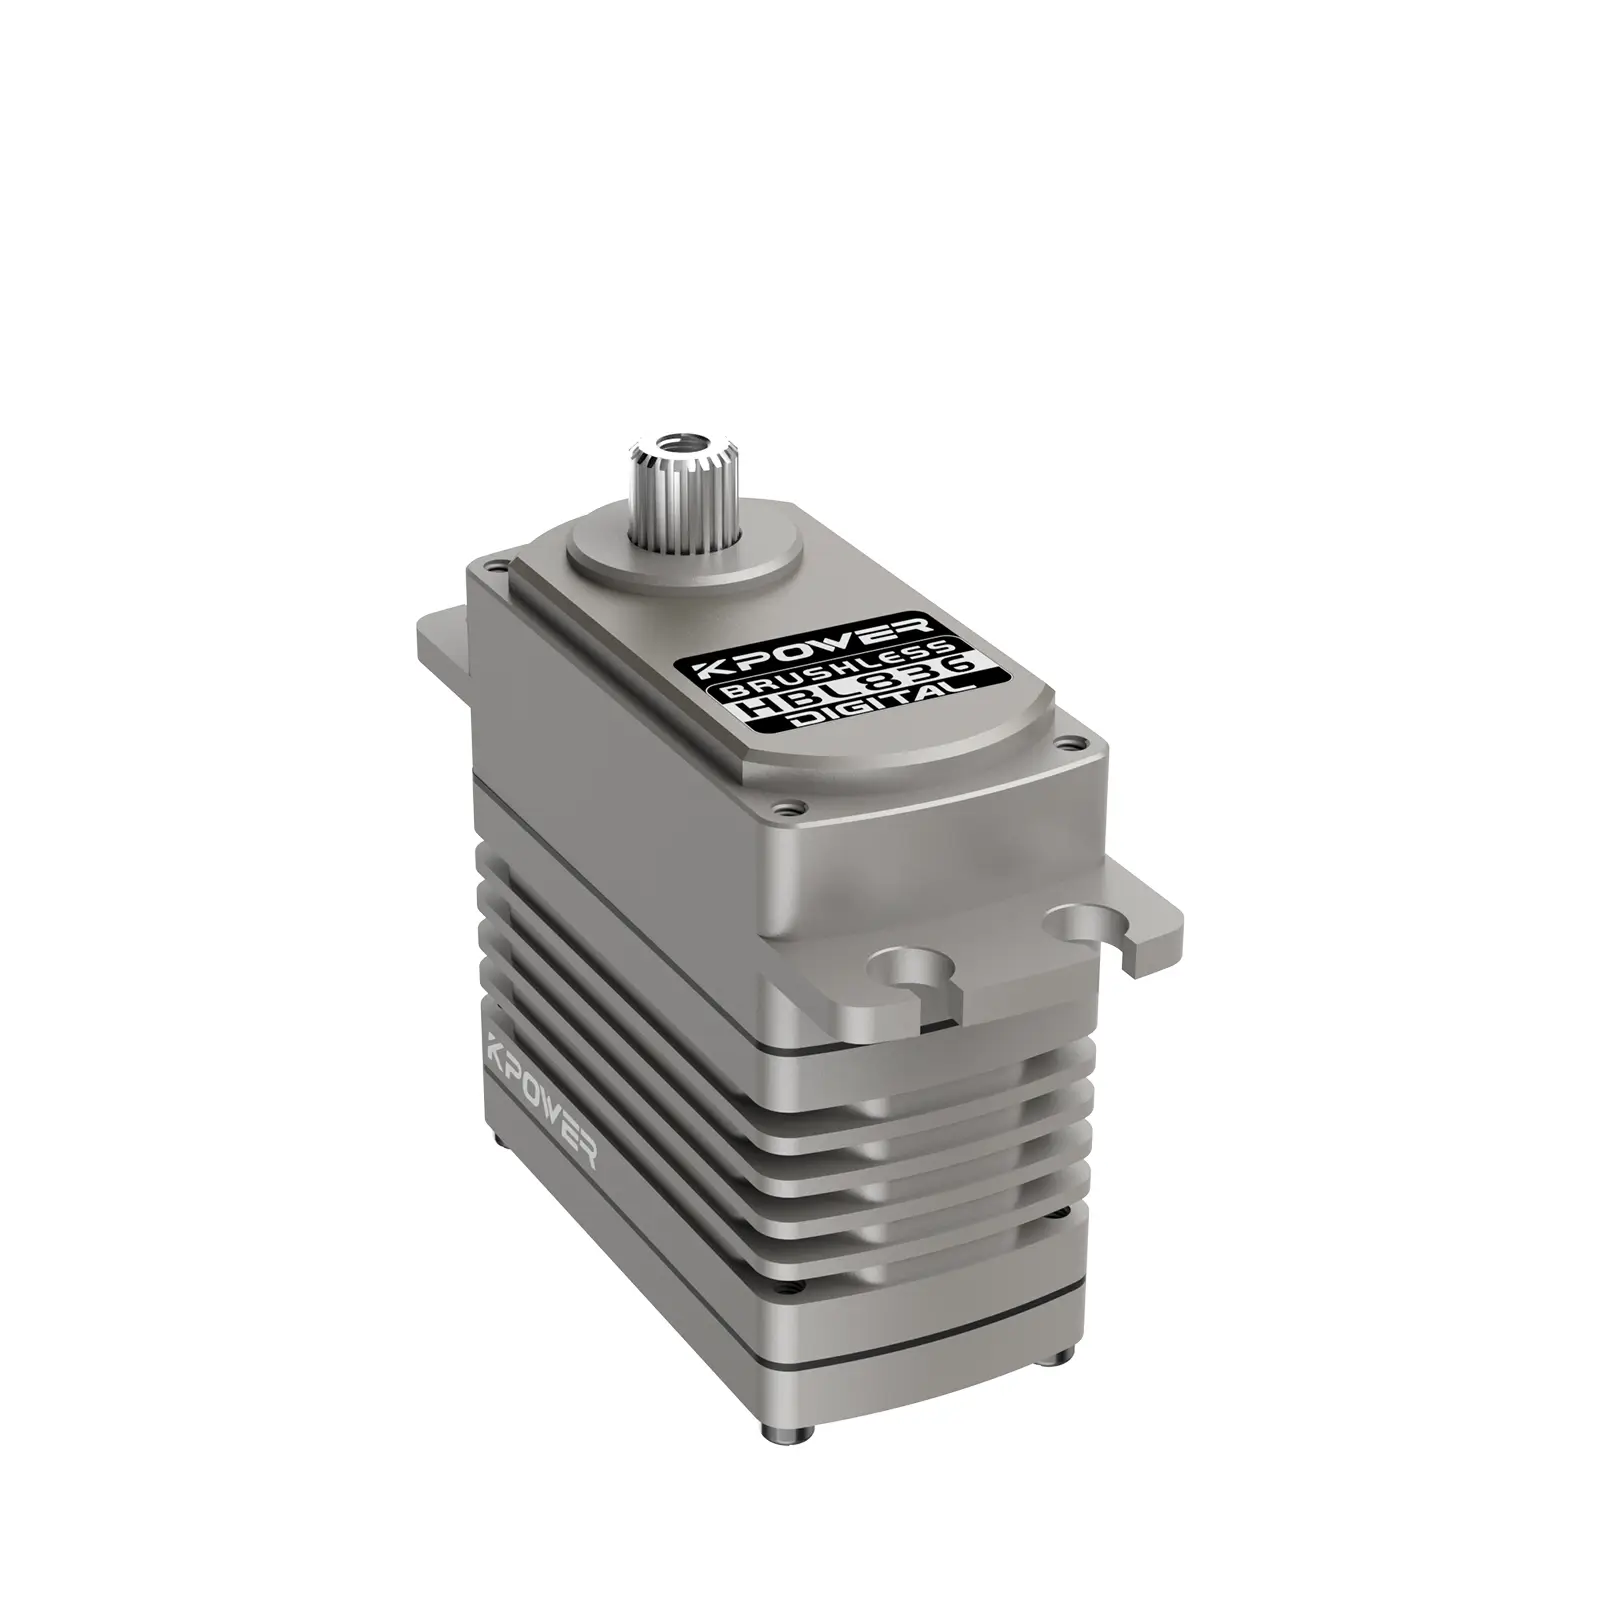
Servo motors are specialized rotary or linear actuators that allow for precise control of angular or linear position, velocity, and acceleration. Unlike regular DC motors, which spin continuously, servo motors are designed to hold a particular position or move to a specific point upon command. This makes them indispensable in robotics, automation, RC vehicles, and even animatronics.
Most hobbyist servo motors operate on a standard PWM (Pulse Width Modulation) control signal, typically ranging from 1ms to 2ms pulse widths within a 20ms period (50Hz). Shorter pulses (around 1ms) turn the servo to one extreme, while longer pulses (around 2ms) turn it to the opposite side, with intermediate pulse widths positioning it precisely in-between.
Why Arduino? The Perfect Match for Servo Control
The Arduino microcontroller offers a user-friendly platform for programming and controlling servo motors. Its simple syntax, broad community support, and a multitude of libraries make it one of the top choices for hobbyists and professionals alike. Furthermore, Arduino’s PWM outputs, combined with an easy-to-use library, allow you to command multiple servos simultaneously with minimal effort.
Getting Started with Hardware
To embark on your servo journey, gather these basic components:
Arduino board (Uno, Mega, Nano, etc.) Servo motor (commonly SG90 or MG996R) Power supply (preferably separate from the Arduino for larger servos) Jumper wires Breadboard (optional, for organizing connections)
Connecting the servo to your Arduino is straightforward. Typically, the servo has three wires: power (red), ground (black or brown), and signal (yellow, white, or orange). Connect the power and ground to the Arduino’s respective pins (or external power supply, if you're using a higher-torque servo). The signal wire connects to one of the Arduino’s digital PWM pins (e.g., pin 9).
Your First Arduino Servo Code
Let’s take a look at a simple example to rotate a servo motor to a specific position.
#include // Include the Servo library Servo myServo; // Create a servo object void setup() { myServo.attach(9); // Attach servo on pin 9 myServo.write(90); // Move servo to the middle position (90 degrees) } void loop() { // Empty loop }
This tiny sketch includes the servo library, creates a servo object, attaches it to pin 9, and sets it to 90 degrees. Easy, right? You can modify the write() parameter to adjust the position.
Understanding the Code
The Servo.h library simplifies PWM control, abstracting the complex timing signals into simple commands like write(). attach() binds the object to the desired PWM pin. write() sets the position in degrees, typically 0–180.
In real-world applications, you'll often want to gradually move the servo, respond to sensors, or run a sequence of positions. The next steps involve making your code dynamic and responsive.
Moving Beyond the Basics
Imagine controlling a robotic arm. Instead of setting a fixed position in setup(), you'd want to vary the angle based on input, time, or sensor data. For example, to sweep the servo from 0 to 180 degrees:
#include Servo myServo; void setup() { myServo.attach(9); } void loop() { // Sweep from 0 to 180 degrees for(int pos = 0; pos <= 180; pos += 1) { myServo.write(pos); delay(15); // Wait 15ms for the servo to reach the position } // Sweep back from 180 to 0 degrees for(int pos = 180; pos >= 0; pos -= 1) { myServo.write(pos); delay(15); } }
This simple sweep demonstrates how to create a smooth movement, vital for more complex robotic behaviors.
Handling Multiple Servos
Controlling multiple servo motors expands your project’s possibilities, such as a robotic arm with multiple joints or a camera gimbal. You simply declare more servo objects and assign each to a different pin.
#include Servo baseServo; Servo armServo; void setup() { baseServo.attach(9); armServo.attach(10); } void loop() { baseServo.write(45); // Rotate base to 45° armServo.write(90); // Raise arm to 90° delay(2000); baseServo.write(135); // Rotate base to 135° armServo.write(45); // Lower arm to 45° delay(2000); }
But remember—if you're controlling multiple servos simultaneously or high-torque models, consider powering them through an external power supply to avoid drawing too much current through the Arduino.
Part 2 of this article will delve into more advanced control techniques, sensor integration, real-world project examples, troubleshooting, and tips for building your own robotic masterpieces. Stay tuned!
Kpower has delivered professional drive system solutions to over 500 enterprise clients globally with products covering various fields such as Smart Home Systems, Automatic Electronics, Robotics, Precision Agriculture, Drones, and Industrial Automation.


