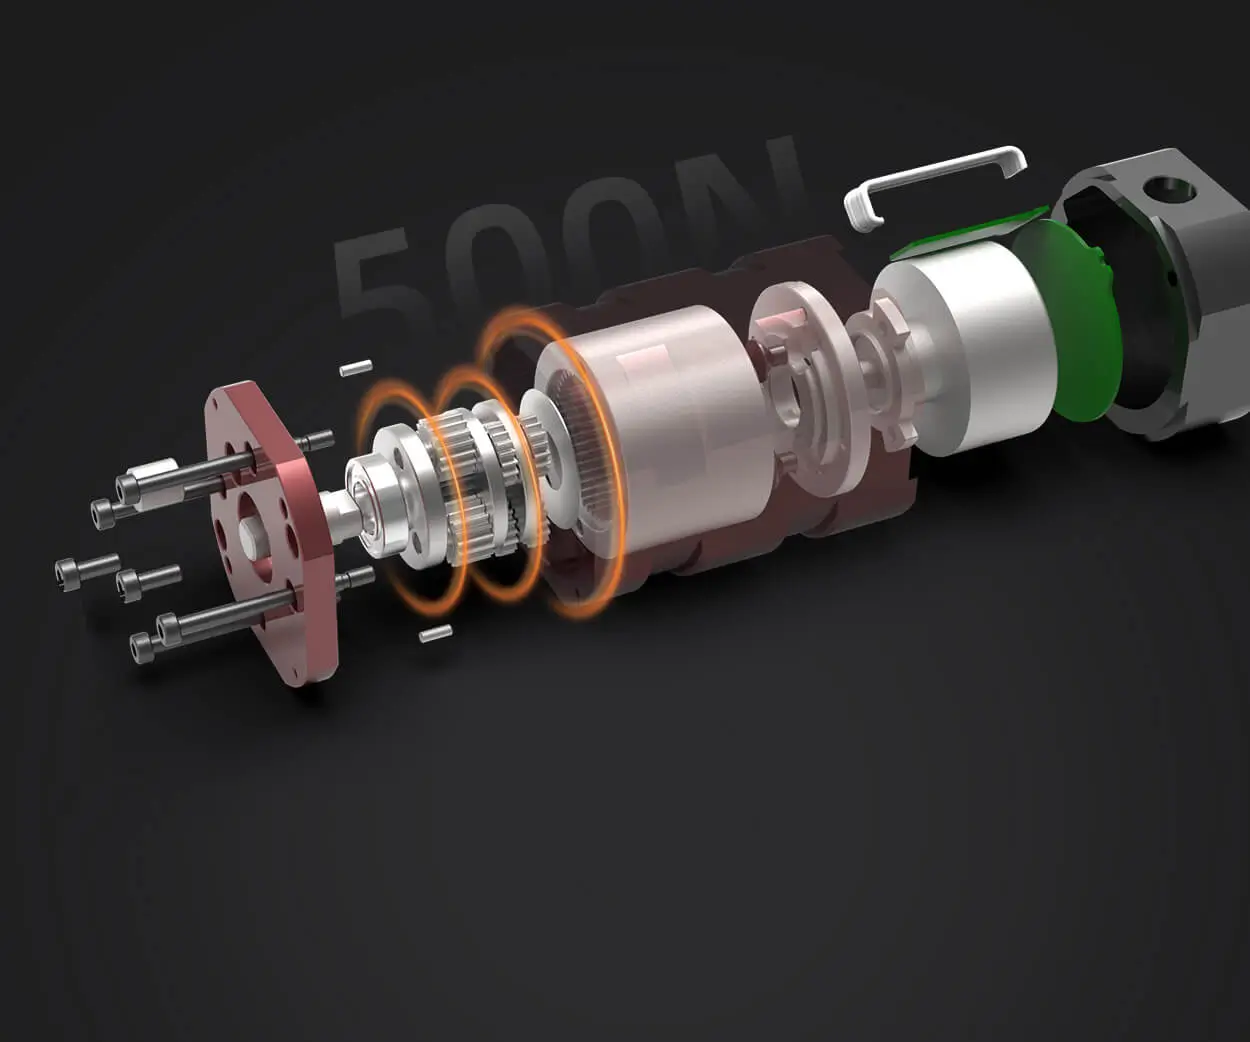
Unleashing Creativity with Micro Servos, Arduino, and Tinkercad: A Beginner’s Adventure
Imagine a tiny robot arm, a moving camera, or a whimsical animation—these are just a few things you can craft with a micro servo, an Arduino board, and a dash of imagination. This trio has become the gateway drug into the world of electronics and robotics, thanks to its versatility and accessibility. Whether you're a seasoned hobbyist or a curious newcomer, understanding how these components work together opens up a universe of possibilities.

What is a Micro Servo, and Why Is It Special? At its core, a micro servo is a compact, lightweight motor equipped with a built-in control circuit. Unlike regular motors that spin freely, servos can be precisely controlled to move to specific angles, making them ideal for applications requiring delicate, repeatable motion—like robotic arms, camera gimbals, or even animated characters. Their size makes them perfect for tight spaces or projects where weight matters.
Micro servos typically offer a rotation range of 0–180 degrees, though some models can spin a full 360 degrees or more. They operate on standard electrical signals, usually PWM (Pulse Width Modulation), which tells the servo exactly how to position its arm or lever.
Getting Started with Arduino and Micro Servos If you’re looking to control a micro servo, Arduino is your trusty sidekick. This open-source microcontroller board is celebrated for its simplicity, affordability, and a vast community of creators. With an Arduino, you can command your micro servo to move to specific angles, respond to sensors, or even follow complex algorithms.
Here’s a quick overview of what you’ll need:
An Arduino board (like Uno, Nano, or Mega) A micro servo motor Jumper wires A power supply (some servos work directly from the Arduino’s 5V pin, but larger ones might need an external power source) A breadboard (for prototyping) Tinkercad’s Circuits platform (more on this later)
The Power of Tinkercad for Learning and Prototyping Tinkercad by Autodesk is an online platform that democratizes electronics design and simulation. It’s fast, intuitive, and free—to a fault. The Circuits module allows you to create virtual breadboards, connect components, write code, and see your project in action—all without any physical hardware.
Think of Tinkercad as your digital laboratory. If you’re new to electronics, it offers visual wiring, simulation, and code editing in an environment that requires no soldering or real-world connections. Plus, you can share your creations and learn from a community of hobbyists and educators.
A Practical Example to Get You Started Imagine you want to animate a robotic hand opening and closing. With a micro servo, Arduino, and Tinkercad, you can quickly prototype this idea:
Drag an Arduino Uno onto your virtual workspace. Add a micro servo from the component menu. Connect the servo’s control wire to one of Arduino’s PWM pins (say, pin 9). Connect power (5V and GND) appropriately. Use Tinkercad’s code editor to write simple commands that move the servo back and forth.
In essence, your project combines hardware concepts with programming, enabling you to see real-time responses virtually—a perfect playground for experimentation.
Why Micro Servo Projects Are Perfect for Beginners Micro servo projects hit the sweet spot between complexity and accessibility. They serve as excellent entry points for understanding control systems, basic programming, and the fundamentals of electronics. With just a handful of components and some patience, you’ll be amazed at how much you can accomplish.
Furthermore, micro servos are adaptable—used in remote-controlled cars, tiny robots, art installations, and educational kits. Their versatility makes them a must-have in any beginner’s toolkit.
Designing Your First Micro Servo Project in Tinkercad To make your journey easier, here’s a simple roadmap:
Start with the basics: connect a servo to Arduino, upload a simple sweep program (move from 0 to 180° and back). Experiment with angles: see how different commands affect the servo’s position. Add sensors: incorporate potentiometers or sensors to have the servo respond to user input or environmental changes. Create motion sequences: program timed or conditional motions to mimic more complex behaviors.
Tinkercad provides a ‘Code’ feature that lets you switch between block-based visual programming and Arduino text code. This flexibility lets you learn at your own pace, from drag-and-drop logic to actual code syntax.
Let’s Summarize the Magic So Far Micro servos are tiny but mighty components that bring precise motion to your projects. Paired with Arduino’s friendly environment and Tinkercad’s virtual simulation, they offer a safe, inexpensive, and fun way to begin your robotics journey.
Ready to take the next step? Dive into creating your first simulated micro servo project, and watch your ideas spring into action—all in your browser.
Part 2 will continue to explore advanced project ideas, troubleshooting tips, real-world applications, and how to transition from virtual prototyping to physical builds. Stay tuned!
Kpower has delivered professional drive system solutions to over 500 enterprise clients globally with products covering various fields such as Smart Home Systems, Automatic Electronics, Robotics, Precision Agriculture, Drones, and Industrial Automation.


