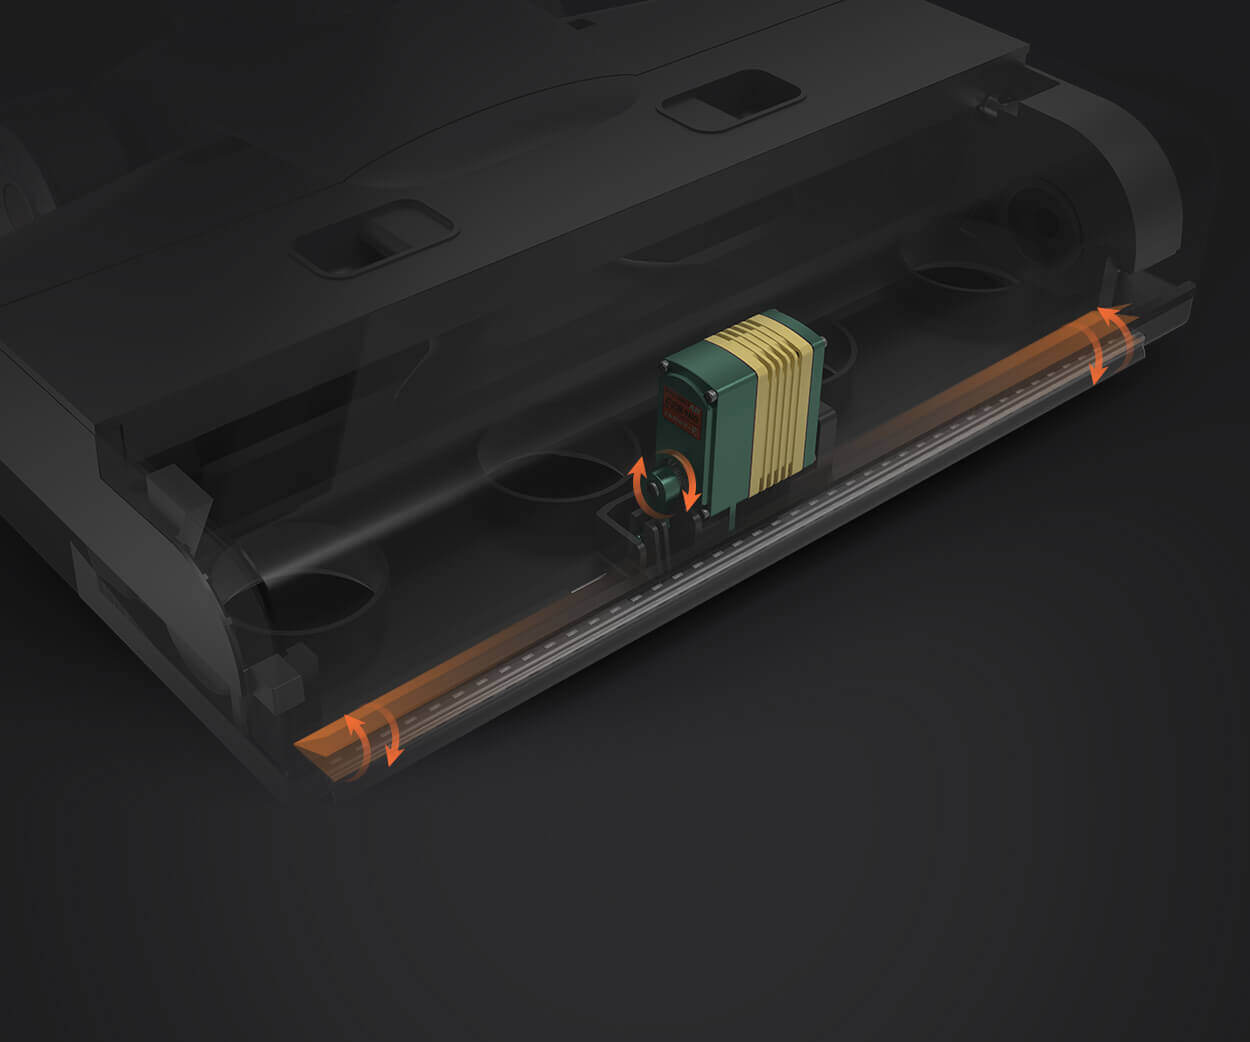
Imagine a world where tiny machines can perform precise movements on command—where your creative ideas come to life through smooth, controlled motion. That’s the magic of combining servo motors with the versatile Arduino Uno. Whether you're an aspiring robotics hobbyist, an educator inspiring young engineers, or a tech enthusiast eager to expand your DIY toolkit, understanding how these components work together opens up a universe of possibilities.

What is a Servo Motor?
At its core, a servo motor is a specialized rotary actuator capable of precise control of angular position, speed, and acceleration. Unlike regular motors that rotate continuously, servo motors are designed to move to a specific position within a range—typically 0 to 180 degrees—and hold that position until instructed otherwise. This makes them ideal for applications requiring exact movements, such as robotic arms, camera gimbals, or automated door systems.
Servo motors operate using a feedback mechanism. They have built-in potentiometers that constantly monitor the shaft's position, allowing the motor's control system to make real-time adjustments. When you send a command to move a servo to a certain angle, the internal circuitry compares this target with the actual position, powering the motor to bridge any gaps until the desired position is reached.
Why Use a Servo Motor with Arduino Uno?
The Arduino Uno, with its user-friendly design and widespread popularity, is the perfect microcontroller for hobbyists and beginners. Paired with a servo motor, it becomes a powerful tool to execute automated tasks with impressive precision. The synergy between Arduino’s programmable interface and the servo motor’s accuracy enables countless creative projects.
Some advantages of using servo motors with Arduino Uno include:
Ease of Control: Arduino provides straightforward commands to position servos with simple functions like servo.write(). Cost-Effective: Servo motors are affordable, making them accessible for hobby projects. Compact & Lightweight: They don’t require bulky driver circuits; just power, control, and ground connections. Versatility: Servos can be integrated into a variety of systems—robots, animatronics, art installations, and more.
Getting Started: Essential Components
To kickstart your project, you'll need:
An Arduino Uno microcontroller board A standard servo motor (e.g., SG90, MG90S, or similar) Jumper wires for connections A power supply (if controlling multiple servos or larger models) A breadboard (optional, for organized wiring)
Basic Wiring Instructions
Connecting a servo motor to the Arduino Uno is remarkably straightforward:
Signal (Control) Pin: Connect the servo's control wire (often white or orange) to a PWM-capable digital pin on the Arduino, such as pin 9. Power (Vcc): Connect the red power wire of the servo to the Arduino's 5V pin. If you’re controlling multiple servos or a high-torque servo, consider an external power supply. Ground (GND): Connect the black or brown ground wire of the servo to the Arduino's GND pin.
This simple connection allows you to send commands from the Arduino to move the servo precisely where you want it to be.
Programming Your First Servo with Arduino
Once wired, the next step is programming. The Arduino IDE provides a servo library that simplifies this process. Here's a tiny code snippet to make your servo sweep back and forth:
#include Servo myServo; void setup() { myServo.attach(9); // Attach servo to digital pin 9 } void loop() { for (int pos = 0; pos <= 180; pos += 1) { myServo.write(pos); delay(15); } for (int pos = 180; pos >= 0; pos -= 1) { myServo.write(pos); delay(15); } }
This program makes the servo rotate smoothly from 0 to 180 degrees and back, demonstrating how simple it is to control movement with Arduino. It’s an excellent starting point for understanding the mechanics before experimenting with more complex behaviors.
Applications of Servo Motors in Practical Projects
Now, imagine applying this basic control to real-world projects:
Robotics: Crafting a robotic arm that can pick up and place objects. Camera Gimbals: Stabilizing cameras for smooth video footage. Automated Curtains or Doors: Opening or closing based on sensors or remote commands. Art Installations: Creating moving sculptures or animated displays. Educational Demonstrations: Visualizing physics, engineering principles, or programming concepts.
Each of these projects hinges on precise movement control, which servo motors excel at providing, especially when guided by the flexible Arduino platform.
Stay tuned for Part 2, where we'll delve into advanced control techniques, troubleshooting tips, and innovative project ideas to elevate your servo motor and Arduino Uno experience!
Kpower has delivered professional drive system solutions to over 500 enterprise clients globally with products covering various fields such as Smart Home Systems, Automatic Electronics, Robotics, Precision Agriculture, Drones, and Industrial Automation.


