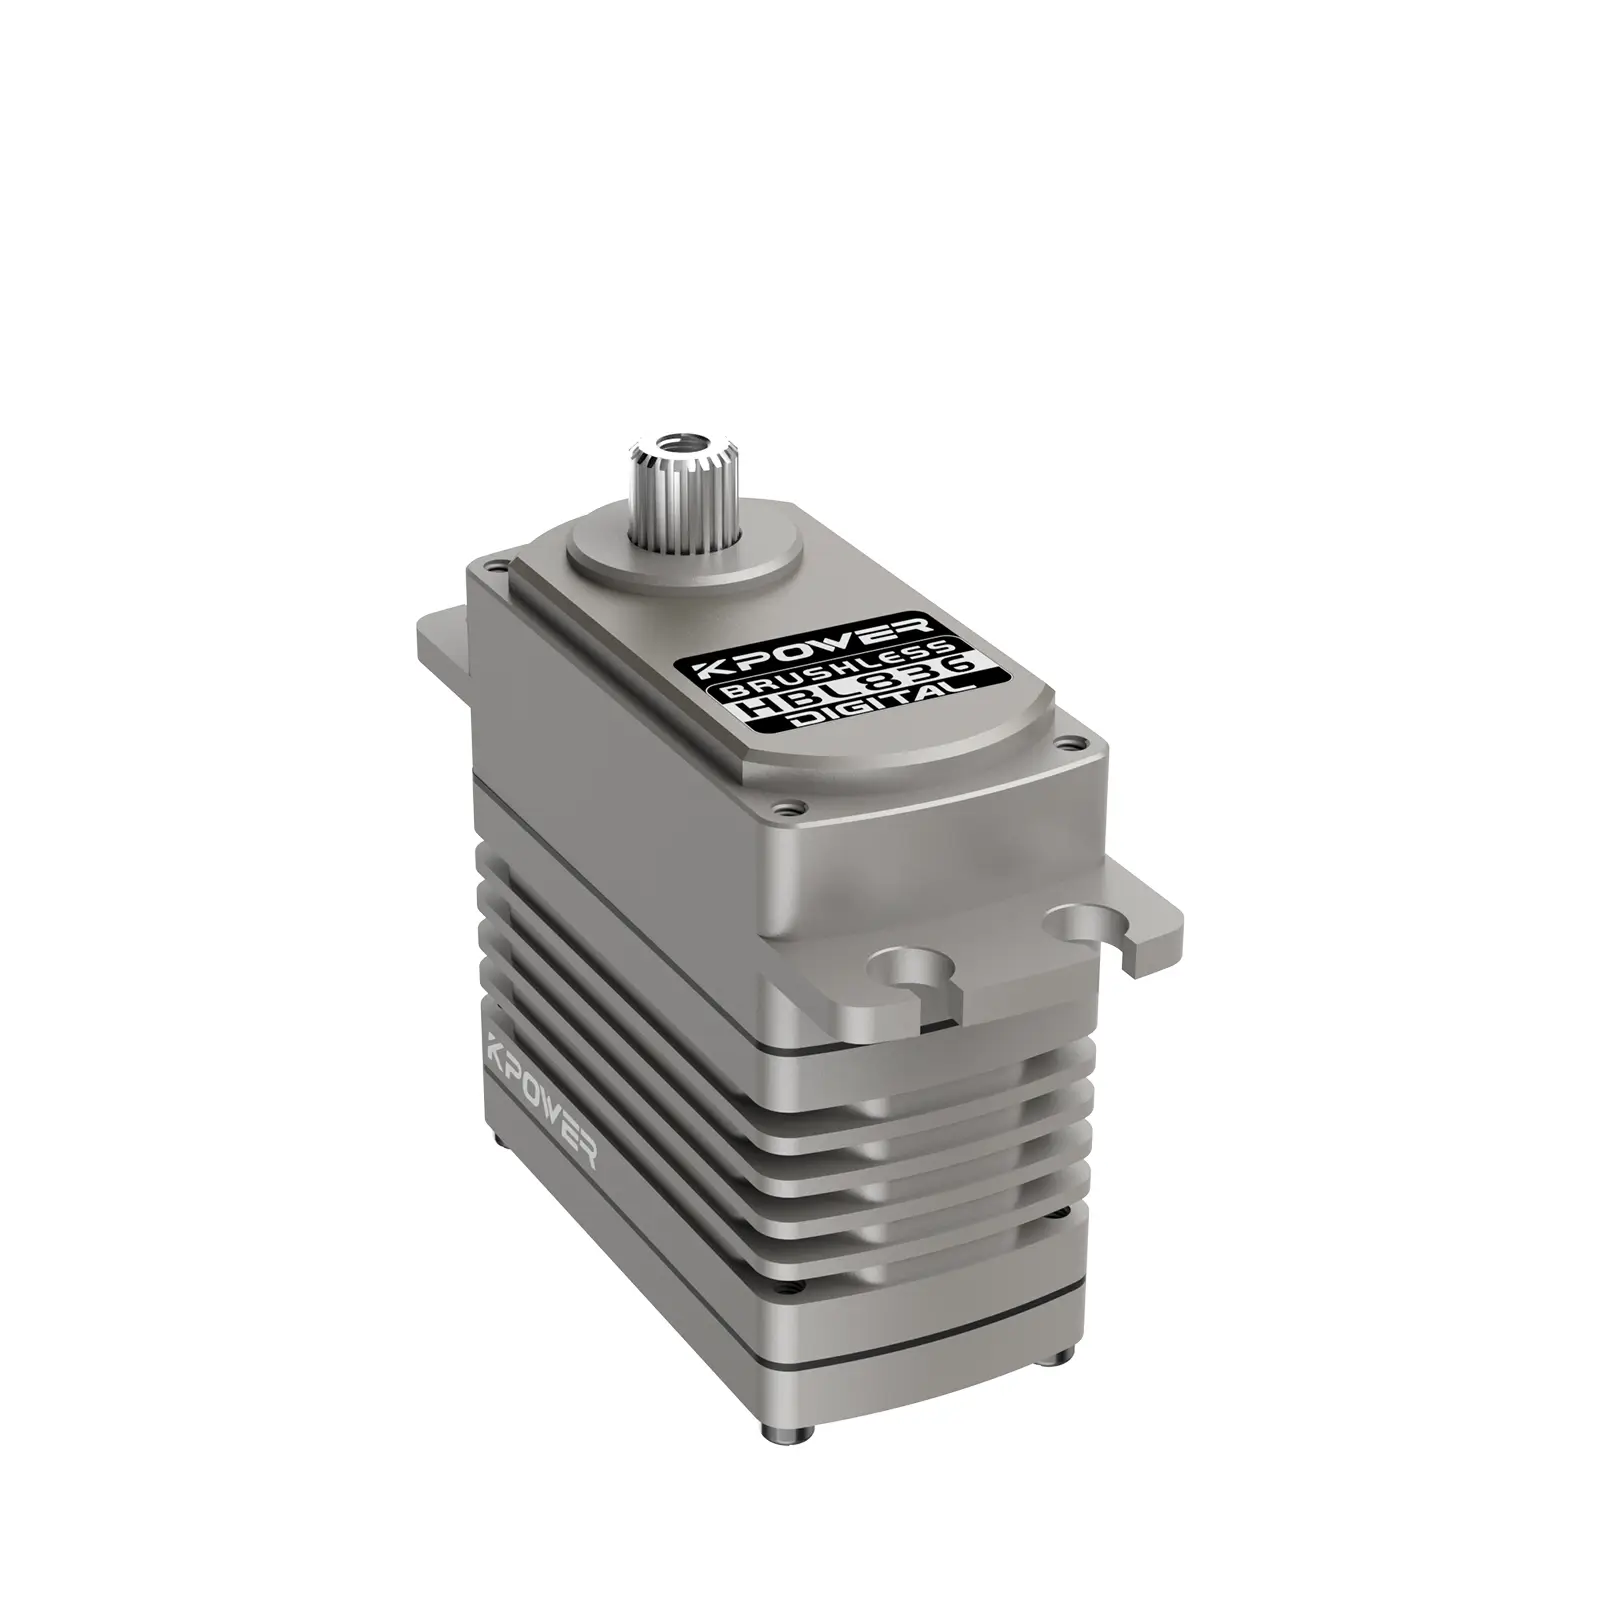
Imagine a tiny wizard that can spin infinitely without hitting a wall—a magic trick in the realm of robotics and electronics. Enter the 360-degree servomotor, a marvel of engineering that pushes past the limitations of traditional servos, unlocking a universe of creative possibilities, especially when combined with an accessible platform like Arduino.

What Is a 360-Degree Servomotor?
Most standard servomotors are designed for limited angles of rotation—usually 0 to 180 degrees—making them perfect for precise positioning in robotics, RC cars, or animatronics. But what if you need a motor that can spin endlessly or rotate more than once in either direction? This is where the 360-degree servomotor shines.
Unlike standard servos, which operate with specific positional blocks and centered control, the 360-degree servo is built for continuous rotation. It acts more like a motor with a position feedback system that permits spinning freely around its axis. Think of it as the difference between a steering wheel that you turn to a particular direction and a wheel that can spin endlessly, fed by your commands.
The Inner Workings of a 360-Degree Servo
The core of this magic lies in its design. It still contains a potentiometer, sensor, and motor, but the control circuitry is adapted to interpret signals differently. Instead of moving to a specific position upon receiving a PWM signal, these servos interpret the PWM duty cycle as a speed command—positive for clockwise, negative for counterclockwise, and around the middle for stop.
This simple yet powerful functionality allows for a range of directions, speeds, and endless rotations, making the 360-degree servo ideal for projects like rotating cameras, robotic arms, or even custom wheels.
Applications of 360-Degree Servomotors
The versatility of these motors unlocks a wide array of applications:
Rotating Cameras or Sensors: Allow camera modules to pan continuously for surveillance or scanning purposes.
Robotic Wheels: Replace traditional motors to give robots a smooth, proportional, and controllable rotation capability.
Animatronics and Art Installations: Create mechanisms requiring endless rotation, such as rotating display elements or kinetic sculptures.
Conveyor and Mechanical Actuators: Offer precise, continuous control for items that need to rotate freely or at specific speeds.
Why Choose a 360-Degree Servo Over a Regular Servo?
While both types of servos operate via PWM signals, their control strategies differ significantly. A regular servo expects your commands as specific angle positions, always seeking to reach the set point. In contrast, a 360-degree servo interprets PWM signals as speed commands, providing a continuous range of motion.
Another key advantage is their affordability and compatibility with common microcontrollers like Arduino. Many 360-degree servos are designed for hobbyist use, which means they are easily available and straightforward to integrate.
Getting Started: Essential Components
Before diving into programming, gather your essentials:
Arduino Board: Any version (Uno, Mega, Nano) will do. 360-Degree Servo Motor: Brands like TowerPro MG90S, or specialized continuous rotation servos. Power Supply: Ensure it can deliver enough current; these motors can draw more at higher speeds. Jumper Wires: For connecting everything. Breadboard: Optional but useful for prototyping.
Wiring Your 360-Degree Servo
Connecting the servo to your Arduino is straightforward. Usually, the servo has three wires: power (red), ground (black or brown), and signal (white or yellow). Connect these as follows:
Wire Color Connection Description Red Arduino 5V Power supply Black/Brown Arduino GND Ground connection White/Yellow Arduino PWM Pin Control signal (e.g., Pin 9)
Note: Check the datasheet or manual of your servo, as some models might have different wiring or voltage requirements. Using an external power supply is often recommended to avoid overloading the Arduino's onboard regulator.
Writing Your First Code
With hardware in place, the next step is programming. Using the Arduino IDE, you can send PWM signals to control speed and direction. For standard servos, the Servo library simplifies this process, but for continuous rotation servos, you'll typically send specific PWM values to control speed.
Here's a simple code snippet to get you started with rotation:
#include Servo myServo; void setup() { myServo.attach(9); // attach the control pin } void loop() { myServo.write(90); // stop delay(1000); myServo.write(0); // rotate clockwise delay(2000); myServo.write(180); // rotate counterclockwise delay(2000); }
In this context, write(90) usually means stop, while values approaching 0 or 180 cause rotation in opposite directions. However, depending on your servo's specifications, the exact PWM values might vary, and some experimentation can help fine-tune your control.
Fine-Tuning the Control
The knob of control lies in understanding your servo's PWM range for speed control. Usually, a PWM value around 90 (or a duty cycle of 50%) corresponds to stop, while lower and higher values induce rotation in different directions. Some servos may require calibration to find the precise PWM values corresponding to 0%, 50%, and 100% speed.
Pro tip: Use analogWrite() if your servo responds to raw PWM, but most hobby servos require the Servo library, which handles the necessary timing.
Safety and Power Management
Since continuous rotation servos can draw significant current at higher speeds, consider using a separate power supply to prevent voltage drops or resets in your Arduino. Always disconnect the servo when not in use to prevent overheating or damage.
Established in 2005, Kpower has been dedicated to a professional compact motion unit manufacturer, headquartered in Dongguan, Guangdong Province, China.


