


Looking for a suitable motor?


小编
Published2025-10-15
Imagine this: you've got a brilliant idea for a small robot or an intricate animatronic project, and you're eager to bring it to life. The heart of many of these projects is the trusty micro servo. Compact, powerful, and versatile, micro servos are the backbone of precise movement in robotics, RC aircraft, and countless other DIY adventures. But one question often sneaks into the minds of beginners and seasoned enthusiasts alike: How do I securely attach components to a micro servo for optimal performance?
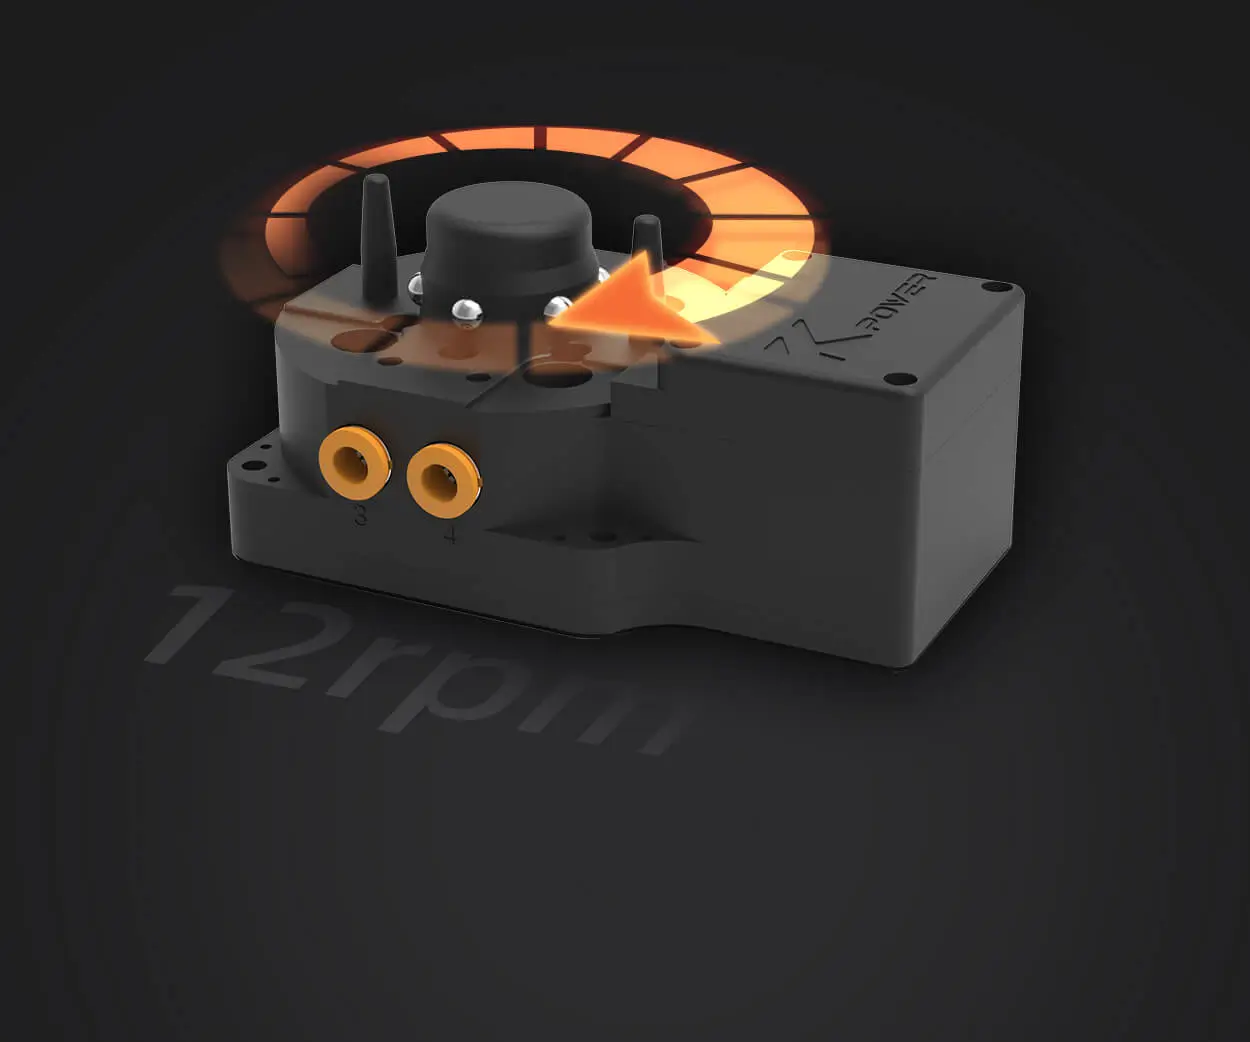
Understanding the anatomy of a micro servo is the first step. Micro servos typically consist of a small gear train powered by a motor, all housed within a sturdy casing. On the outside, you'll find a control arm (or horn) attached to a central spline, which transmits the rotational movement. To harness the micro servo's full potential, you need to attach linkage components—be it arms, levers, or other mechanical parts—precisely and securely.
The process of attaching components to a micro servo involves several key considerations:
Selecting the Right Connectors: The first decision is what kind of linkage to use. Options range from simple push rods and metal or plastic arms to custom 3D-printed parts. The connection point on the servo—usually the servo horn—has multiple mounting holes. Choose a connector that matches your project’s movement range and load requirement. Metal horns offer durability and rigidity; plastic ones are lightweight and easy to modify.
Understanding the Servo Horns: Micro servos generally come with a handful of different horns, including round, star, or arm-type connectors. These are fastened to the spline using screws or clips, varying between models. Ensure you’re using the correct horn that fits snugly onto the spline without wobbling. Proper fit ensures precise control and minimizes wear.
Securing the Horn to the Servo: The critical step here is attaching the horn to the servo’s spline. Typically, the process involves aligning the hatch or key of the horn with the spline’s notch. Once aligned, fasten the horn using the provided screw or clip. Do not overtighten, as this can strip the spline or crack the plastic. Tighten just enough to eliminate play but still maintain smooth movement.
Connection of Linkages: After mounting the horn, attach your control linkage—be it a control arm, pushrod, or servo arm. Use reliable connectors like ball joints or clevises, depending on your specific setup. Secure them firmly but avoid overtightening, which could restrict movement or cause stress.
Adjusting and Testing: Once connected, power up your circuit and test the movement. Make sure the linkage moves freely through the intended range without binding or wobbling. Adjust if necessary, repositioning links or tightening screws appropriately. This fine-tuning is vital for achieving smooth, accurate motion.
Additional Tips for Stability and Durability:
Use thread-locking adhesive on screws to prevent loosening due to vibration. Incorporate washers or spacers where needed to reduce wear and ensure proper alignment. Periodically check connections during extended use to prevent failures.
Attaching components isn’t just about the mechanical connection but also about understanding how the setup responds under movement, load, and over time. Patience pays off—taking a methodical approach will save you headaches later.
Now, let’s explore common challenges and how to troubleshoot them, ensuring your attachment process remains smooth and successful.
Even experienced hobbyists encounter hurdles when attaching to a micro servo. From alignment issues to unstable connections, understanding common pitfalls and their solutions can elevate your project. Here, we dive deeper into troubleshooting and some advanced tips that turn this basic skill into mastery.
Common Challenges & How to Overcome Them
1. Wobbling or Loose Horns: One of the most frequent issues is a loose servo horn, which causes jittery movements or imprecise control. To prevent this:
Ensure the horn is aligned properly with the spline before tightening. Use the right screws provided, and apply a small amount of thread-locking compound to prevent loosening over time. If wobbling persists, consider replacing the horn with a higher-quality or custom-fit model.
2. Difficulty in Attaching Linkages: Sometimes, connecting the control arm or linkage to the horn can be frustrating—either too tight or too loose. To achieve the perfect fit:
Choose the appropriate size clevis or linkage connector. Use washers or spacers if necessary to reduce play. Experiment with different lengths of pushrods to optimize the lever arm for your application.
3. Limited Range of Motion or Binding: If your linkage isn’t moving smoothly, it’s often a matter of misalignment or interference. Solutions include:
Rechecking the angles of your linkages—try to keep them as straight as possible. Loosening and re-positioning the attachment points to achieve a smoother arc. Making sure there’s enough clearance for the linkage to operate throughout the full range.
4. Vibration and Noise: Unwanted vibrations can stem from loose attachments or components rubbing against each other. Combat this by:
Tightening all screws, but without overtightening. Using small rubber or silicone grommets to absorb shocks. Securing wires away from moving parts to prevent entanglement or interference.
Advanced Tips for Optimal Attachment
Custom Attachments and Modifications: If your project demands a specialized linkage, don’t hesitate to customize. 3D printing custom horns or arms tailored to your design can provide precise fit and function. Materials like nylon or PETG are durable and lightweight options.
Balancing Weight and Force: Less weight on the servo arm means less strain and more accurate control. Use lightweight materials and minimize unnecessary attachments. Also, check that your control linkages don’t create excessive torque on the servo.
Calibration and Programming: Once your physical setup is in place, calibrate the servo’s range of motion within your controller’s software. Fine-tuning the limits prevents over-driving your servo and ensures accurate, repeatable movements.
Routine Maintenance: Micro servos are not maintenance-free. Regularly check screw tightness, clean dust or debris, and replace worn-out parts. A well-maintained attachment system extends the life of your servo and enhances performance.
Safety and Best Practices: When working with micro servos, especially in mobile or robotic applications, beware of the potential for damage from overloading or forcing parts. Always test movements gently at first, gradually increasing to full operational range.
Ultimately, attaching to a micro servo isn’t just a mechanical task—it’s an art form that combines precision, patience, and a bit of creativity. By understanding the nuances and applying best practices, you unlock the full potential of your micro servo, paving the way for intricate, reliable, and impressive projects.
Remember, each project might demand a slightly different approach, so don’t hesitate to experiment and iterate. Sometimes, the most unexpected tweak can elevate your design to new heights. Keep exploring, keep testing, and enjoy the rewarding process of transforming tiny gears and parts into dynamic creations.
Leveraging innovations in modular drive technology, Kpower integrates high-performance motors, precision reducers, and multi-protocol control systems to provide efficient and customized smart drive system solutions.
Update:2025-10-15
Contact Kpower's product specialist to recommend suitable motor or gearbox for your product.


